Showing posts with label mid-century. Show all posts

Saturday, August 11, 2012

Shadowbox Mirror - I FINALLY Got One!

If you've been reading this blog for a while, you probably know I've been looking for a really over-the-top, gaudy shadowbox to hang on the wall here at the Uncle Atom crib.

Well, the planets finally aligned.  A few days before we were set to leave for Chattanooga and the World's Longest Yard Sale, I spotted this great shadowbox on that auction site.


The price was not ridiculously low, but it also wasn't ridiculously high.  The seller was willing to work with the buyer on shipping but preferred the item to be picked up.  That's understandable, because it's easy for one of these beauties to be damaged in shipping, with all of the glass and mirror pieces and fragile moldings.


Luckily, I noticed that the seller was within a couple of hours of Chattanooga.  So, I pulled the trigger and bought it.  The seller was great to deal with, and as we were starting the Yard Sale, we already had the shadowbox in the back of our car.  Anything else found at that point was simply gravy, or icing if you prefer.

Originally I wanted to have a shadowbox to go behind our bar in the basement Rumpus Room, but as you may remember, there's now a huge 8-foot Man From U.N.C.L.E. banner there.  So, the shadowbox needed to go upstairs into the living room.


I had this heavy mid-century mirror hanging above the fireplace (I'm guessing it's from the early 1950s).  We now have it up for sale at a local consignment shop.  Whatever we make on it will be gravy (or icing), because I had picked up the mirror at a country auction years ago for about $5.


If you look carefully at the first picture above, you'll see the ugly wire holding the shadowbox against the wall.  Well rest assured dear reader, I fixed that problem.  The wire is gone and the shadowbox now hangs on two reinforced screws using the original hooks on the back.  No ugly wire now.

Now that it's safely in its new home, I'm starting to look around for stuff to display on the shelves.  Any ideas?  I'll probably try to dig up some more vintage bobblehead nodders.


This shadowbox was made by the Illinois Molding Company, as noted on the back.


And.....it's celebrating a birthday this week!

If you want to see some more great shadowboxes, check out my Flickr photo group for mid century shadow boxes.  And hey, if you have photos of other great shadowboxes, how about sharing them in this group on Flickr?


Tuesday, January 10, 2012

Project: Refinish Lane Acclaim tables, part 2

OK, picking up where we left off on the project last time --

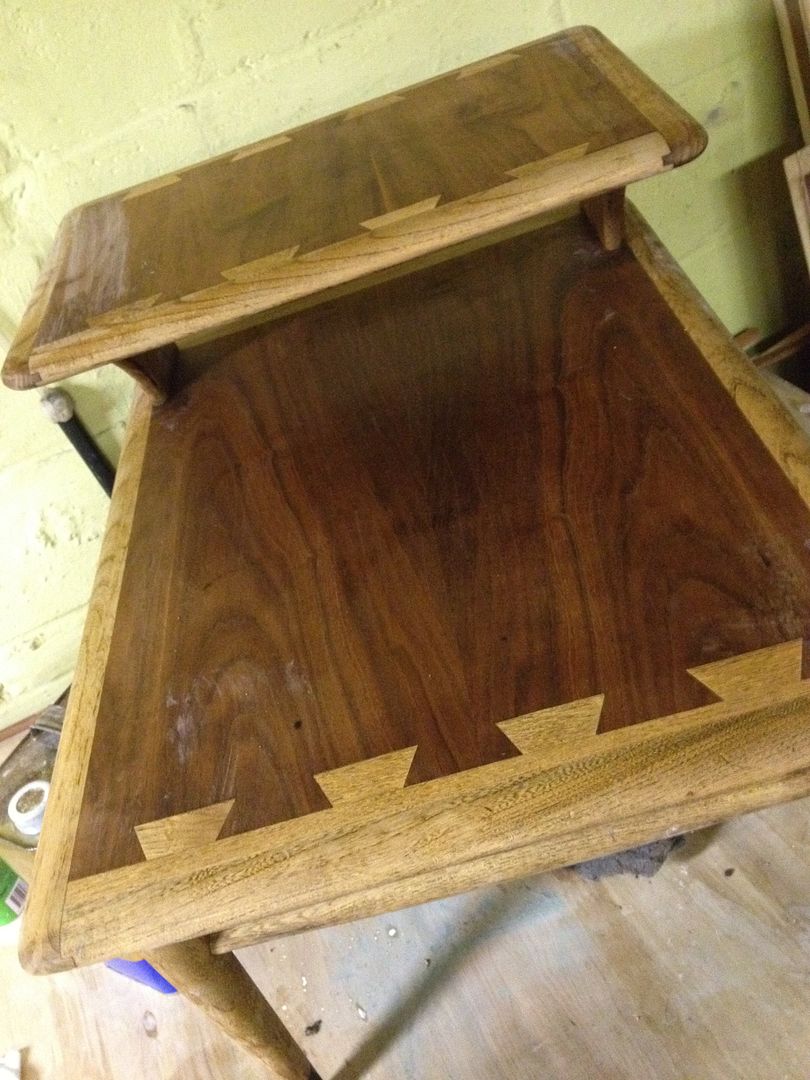
Next for the two-tiered end table, I hit a few spots with 220 grit sandpaper, and then went over the whole table with extra fine 0000 steel wool.  Then I wiped all areas down with mineral spirits and let the table dry, which didn't take long.  Here's what it looked like at that point:


As you can see, the side wood and dovetail areas are much lighter from the stripper.  I debated with myself and decided that I would not re-stain at first.  


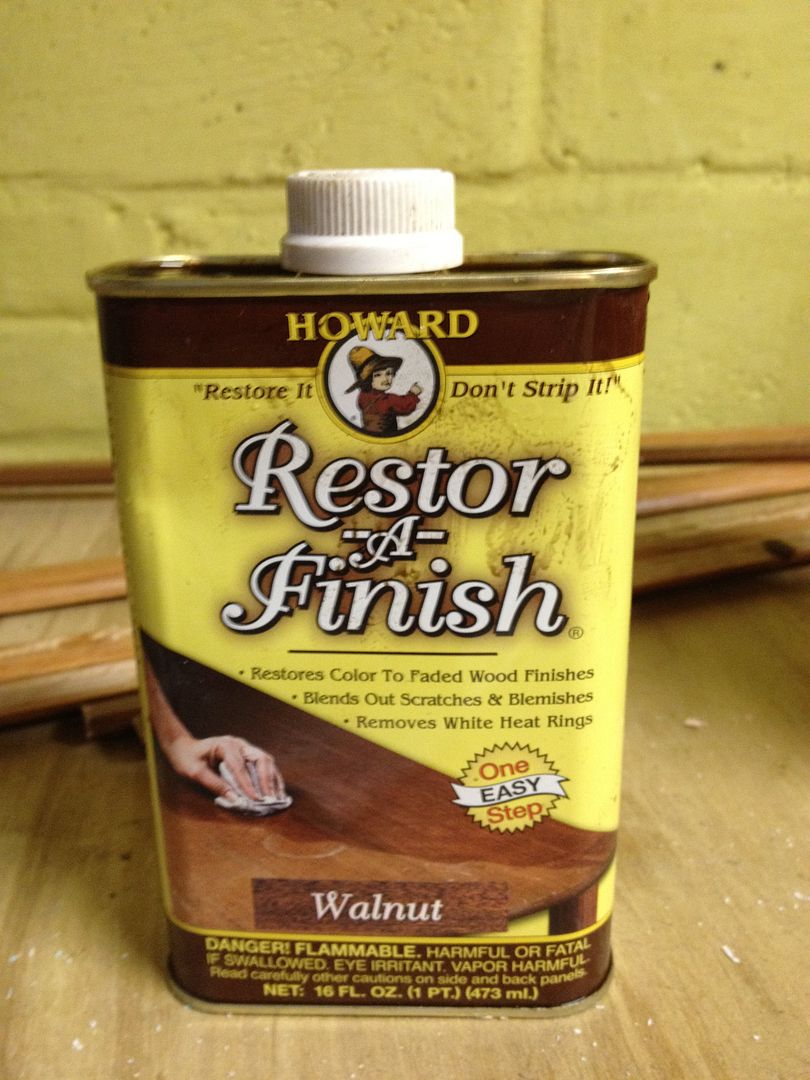
I've had good success with Howard's Restor-A-Finish.  This stuff will cover up small scratches and bring back some color, so instead of using a stain, I wiped the whole table down with the Walnut variety of Restor-A-Finish and let that sit for about an hour.  

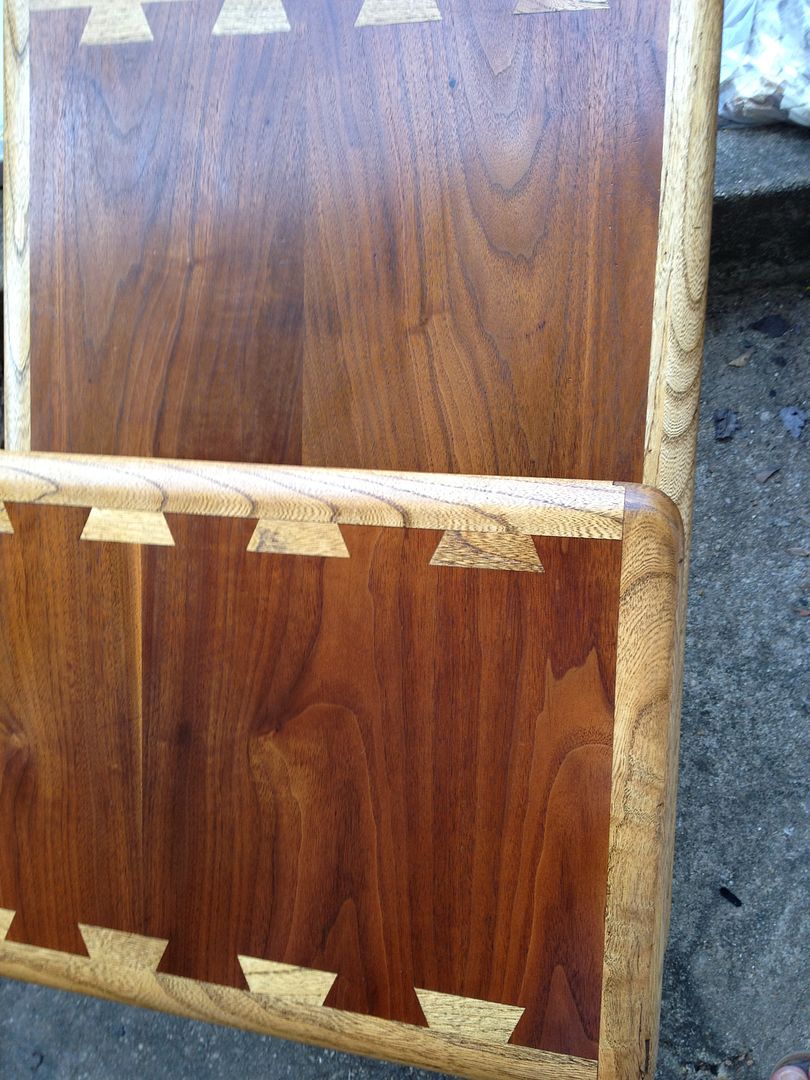
Then I wiped off the excess, and at that point, this is what it looked like:


The light areas are still not nearly as dark as they were before. 


But honestly, I like it this way, so that's all the staining work I'm doing.  Sorry if you were hoping I would figure out how to get it back to the exact finish it was originally.  Oh well.  My table.  :-D

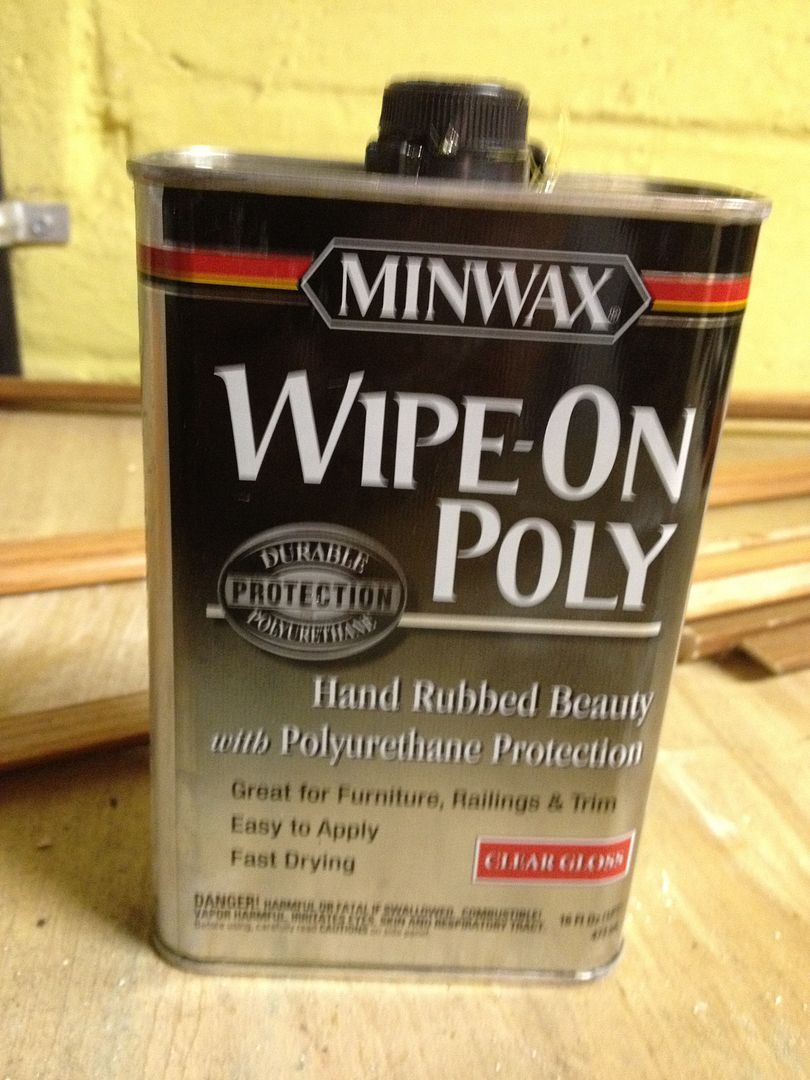
To finish the table off and protect it, I'm using  this Minwax product.  


I like that this stuff wipes on. No brushing or spraying to run or streak.  Grab a clean cotton cloth, wipe it on, let it dry, do a once over with extra fine steel wool and wipe down the whole table again so you don't have little steel wool fragments laying around, then repeat with a second or third coat of the Wipe-On Poly and I'm  done - except for masking off the leg bottoms and adding a coat of black paint, which is how they were originally.

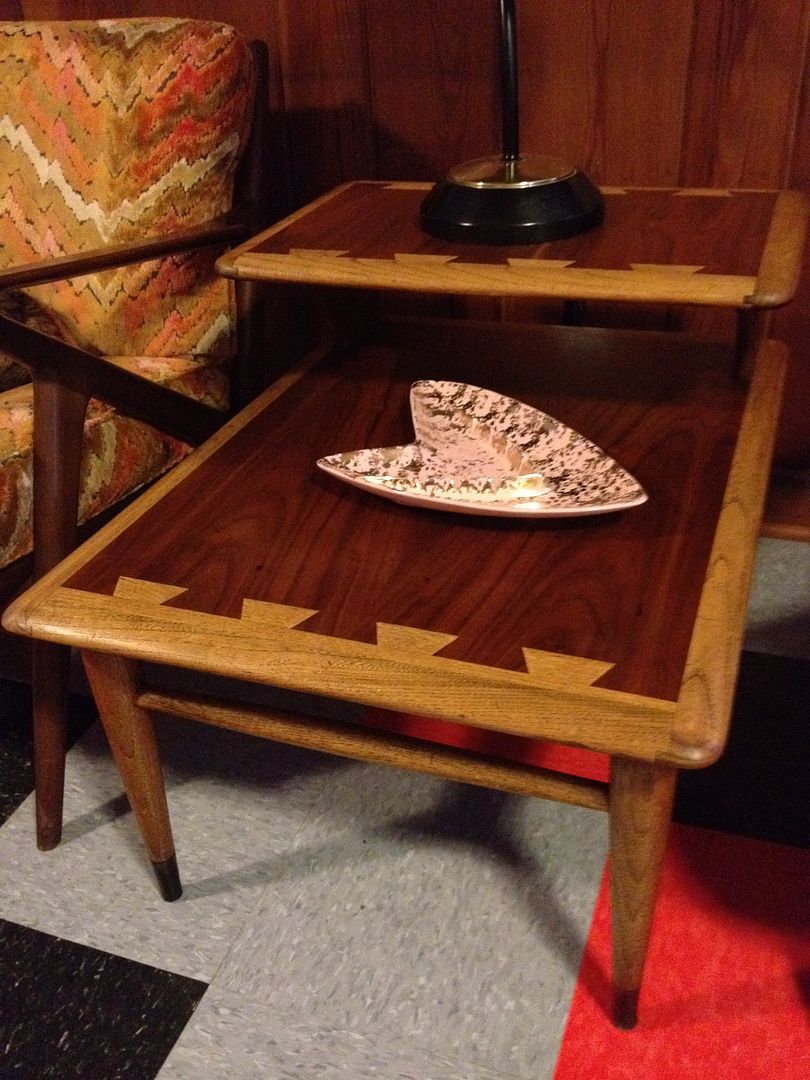
So here's the two-tiered end table after two coats of poly and with the black paint renewed on the legs.


(That lump on the chair on the left is just Miss Patchelina - she thinks that Z chair is hers. Ha!  She is sooooo wrong.)

I'll be finishing the coffee table the same way, and once that's done look for final photos of that table too.

Overall I'm happy with how these turned out.  

If I wanted the tables to be darker as original, I would suggest  not using strippers but lightly sanding and refinishing with a dark stain like walnut, and probably using multiple coats to get the darker look.


Saturday, January 7, 2012

Project: Refinish Two Lane Acclaim Tables, Part 1


OK, so back in the summer I scored this great Lane Acclaim coffee table at an estate sale for a nice price because it had some serious wear on the finish.

I've been biding my time on tackling this project, but the other day I happened to find a two-tier Lane Acclaim end table at the nearby thrift shop/consignment shop, and it had similar finish issues but also was very solid.  Together I have only about $80 in these tables, so I think I'm doing pretty good.  Now to see if I can get them looking good again.

I've picked up some good information on these from several sources, including Mr. Modtomic, and from this link at JetSetModern.  I learned that the dovetailing at the ends of the tops is very think veneer, and so is the center section of the table tops.  When I say thin, we're talking almost paper thin.

I ran across someone on Flickr who did a lot of sanding and then applied multiple coats of lacquer to make her's look like new, so that was an option I for me, but man I hate sanding.  I do it, but I hate it.  And sanding this thin veneer is risky, you can cut right through it if you're not careful.

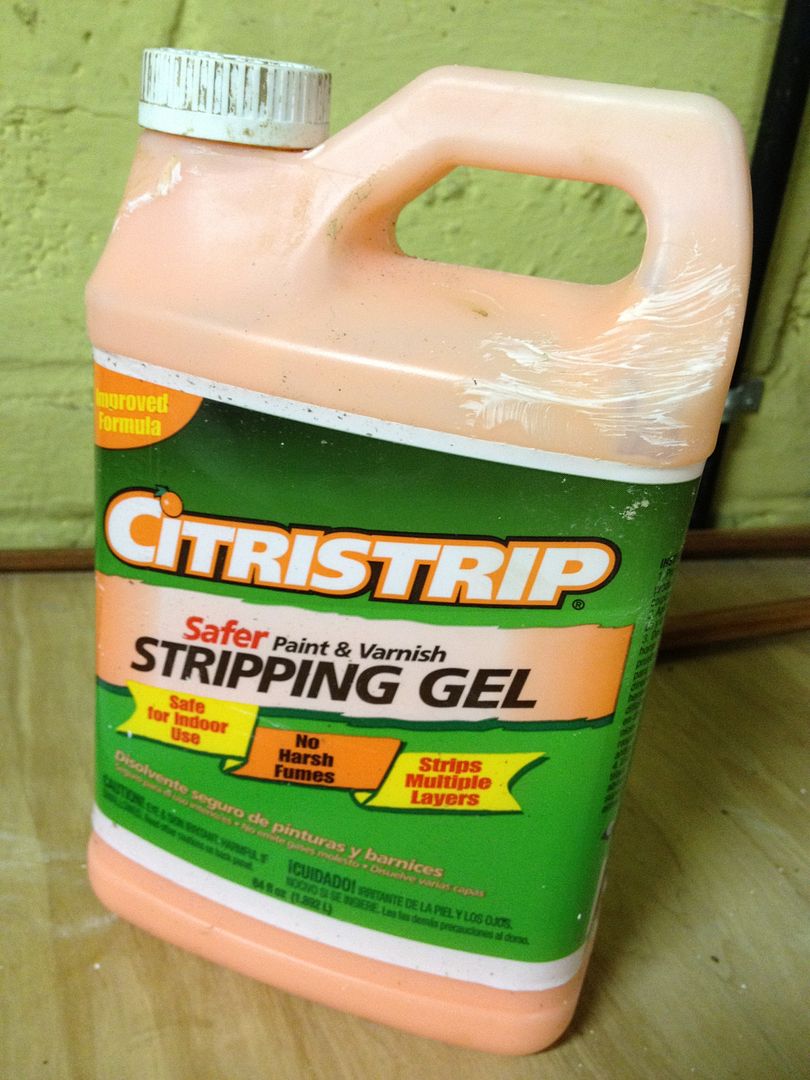
I figured I would first try a variety of stripper I've been using a lot (I went through a whole jug of the stuff on the metal outdoor chairs project).


It really works great and it's orange-based so it's not too harsh to work with.


The coffee table's one end was practically bare so I figured I would try a little of the orange stripper around that area.  After you let this stuff work for a while (usually 20 minutes is enough) you can scrape it off with a razor blade.  So I tried that, and I knew right away that I liked the results, so I did the whole coffee table top this way.

What I scraped off was sort of like molasses, but underneath I had a pretty nice looking result.  I did have one spot where the razor blade caught the veneer and took it right off, leaving an inch-long splinter that I had to glue down again.  That's how I know how thin this veneer is.

The razor also left some scratches in places, so I will have to do some sanding, and that light sanding should help ensure that I've gotten all traces of the stripper removed from the wood.


I decided to wipe down the remaining areas with mineral spirits after I had wiped off as much of the stripper as I could.


A couple of rounds of wiping with the mineral spirits showed where I still had some old finish to remove, so I hit those spots again with the stripper.

For the two-tiered end table, I decided to skip the razor blade and just wipe off the stripper with paper towels and 0000 steel wool.  This worked great, and I did the same with the legs and frame underneath.

That brought me to this point. that's where I'll pick up with my next post to finish these up.


Tuesday, January 3, 2012

Gossip Bench Finally Gets a Lampshade

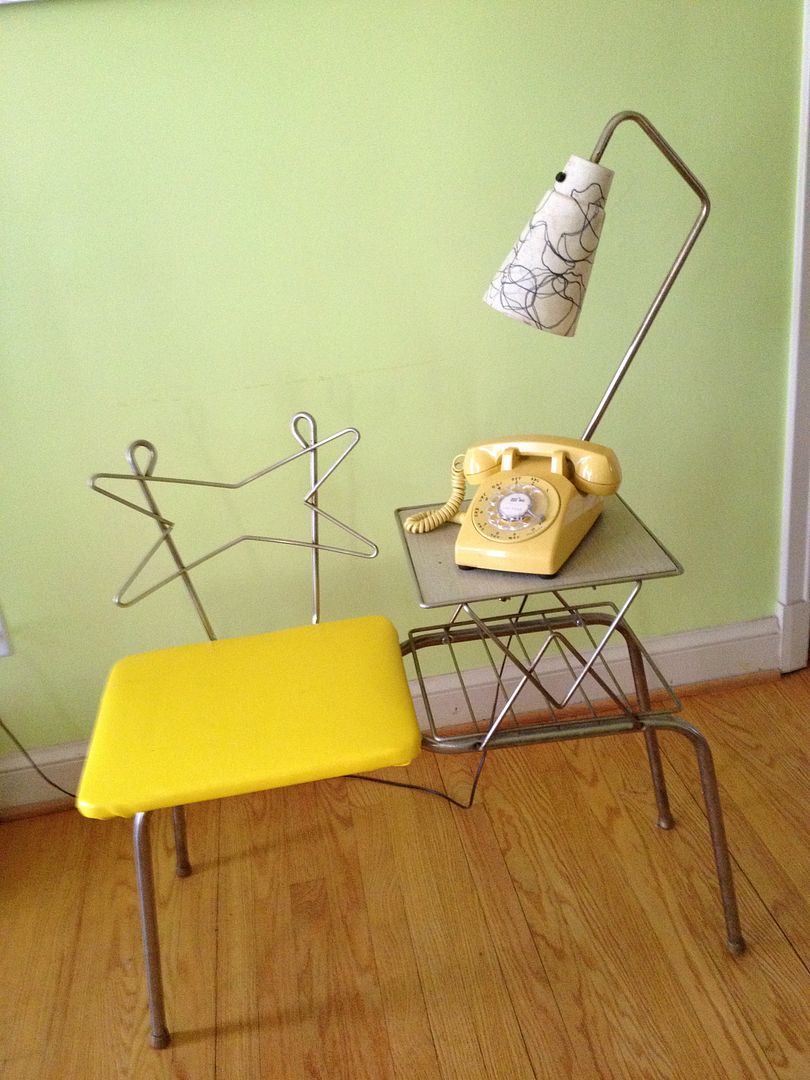
I had the day off so I spent a couple hours rewiring and attaching the lamp arm and shade to one of my first atomic-styled furniture acquisitions - this great telephone table / gossip bench.  BEST $40 purchase I've ever made!!!

Thanks to Sara of NoPatternRequired.com, I had an inkling of what kind of shade I should look for.  And I finally lucked into a fiberglass shade on ebay a couple weeks ago.

To connect the shade, the lamp had to come apart, which meant rewiring.  Rewiring the lamp took longer than I expected, because the wire cord had to pass through the lamp arm and make a really sharp turn before coming out at the top.  I used some WD-40 spray to help the cord through the arm, and soon enough I had it rewired.

I have never had the lamp arm attached to this before, and I've had it so long I could not recall how the thing attached, but from what I can tell, this angled orientation is probably how it was.


I've never seen another one of these, but Sara had seen one in Texas but didn't have a photo.  She described it from memory and that was enough to get me on the right track.  THANKS Sara!!!

Sunday, December 11, 2011

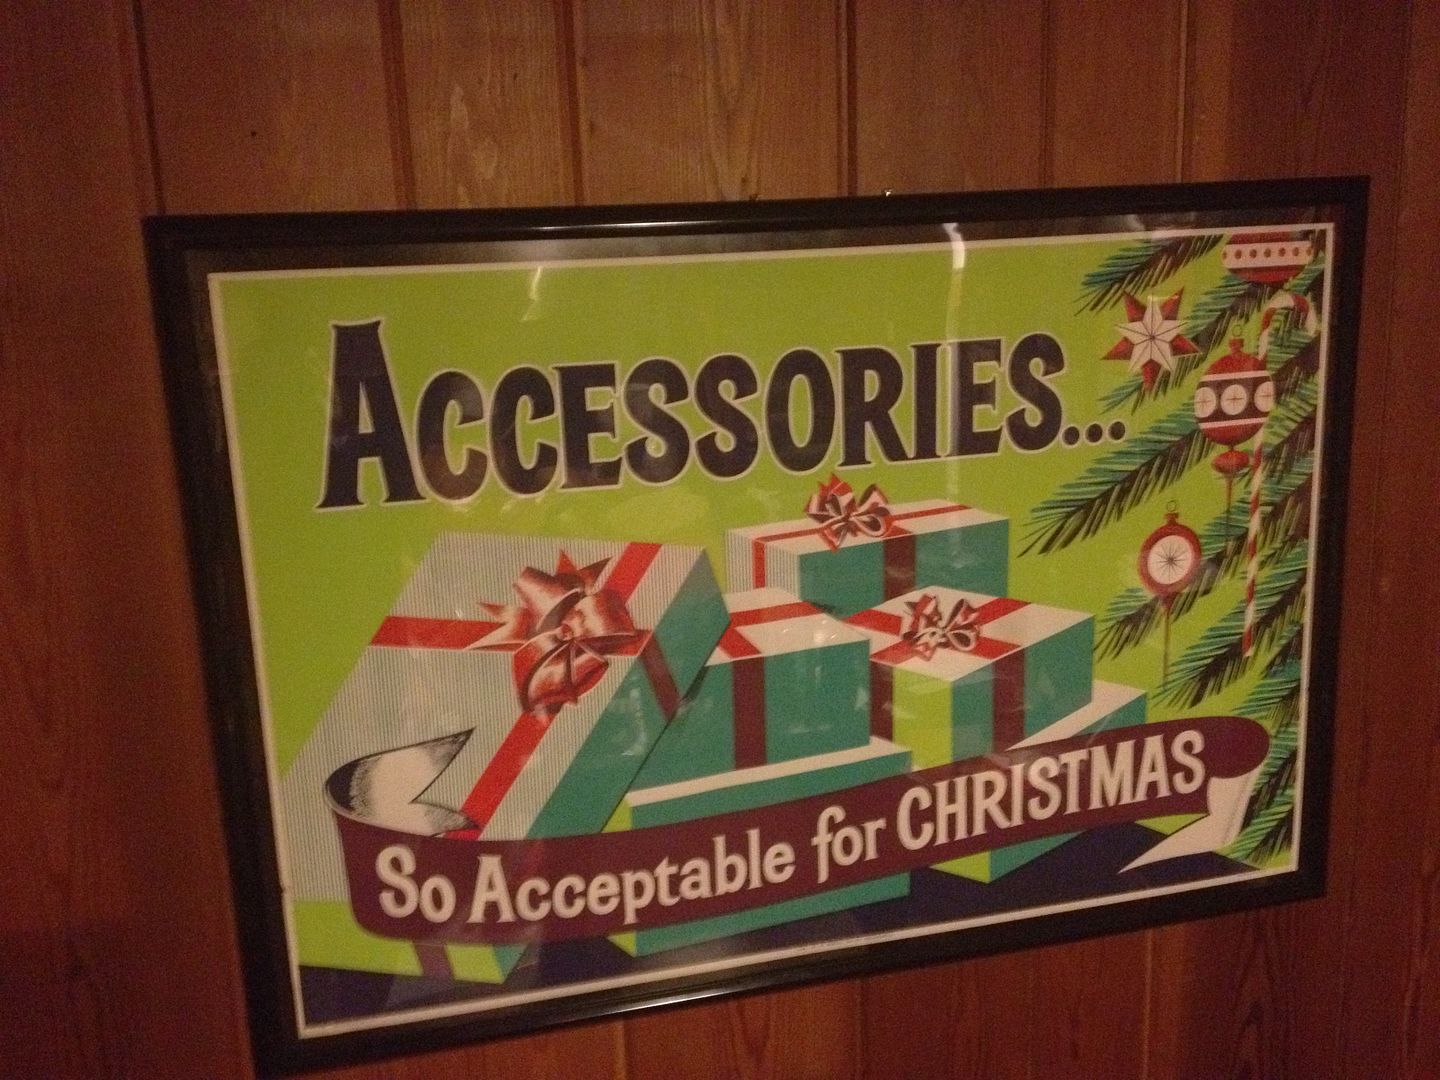
Vintage 1961 Chevrolet Car Dealership Christmas Poster


Here's another of the items I picked up at Hershey back in October. It was in among a big bunch of old Chevrolet dealership advertising posters that someone had preserved for 50 years. It's big - but luckily I found a poster frame that would fit it. So while the finishing work in the basement is sucking up a lot of my free time, this is the one Christmas decoration we have up in the house.

I love the starburst ornaments, and the whole illustration just looks great. And isn't that headline cool? "So acceptable" is a phrase you would never see in an ad today, when absolutely everything is incredible, stupendous, amazing, or awesome.

Who do you think this ad was aimed at? In the early sixties, car dealerships almost exclusively targeted men as buyers. Do you think many men gave their sweethearts ice scrapers or mudflaps as gifts? Really?