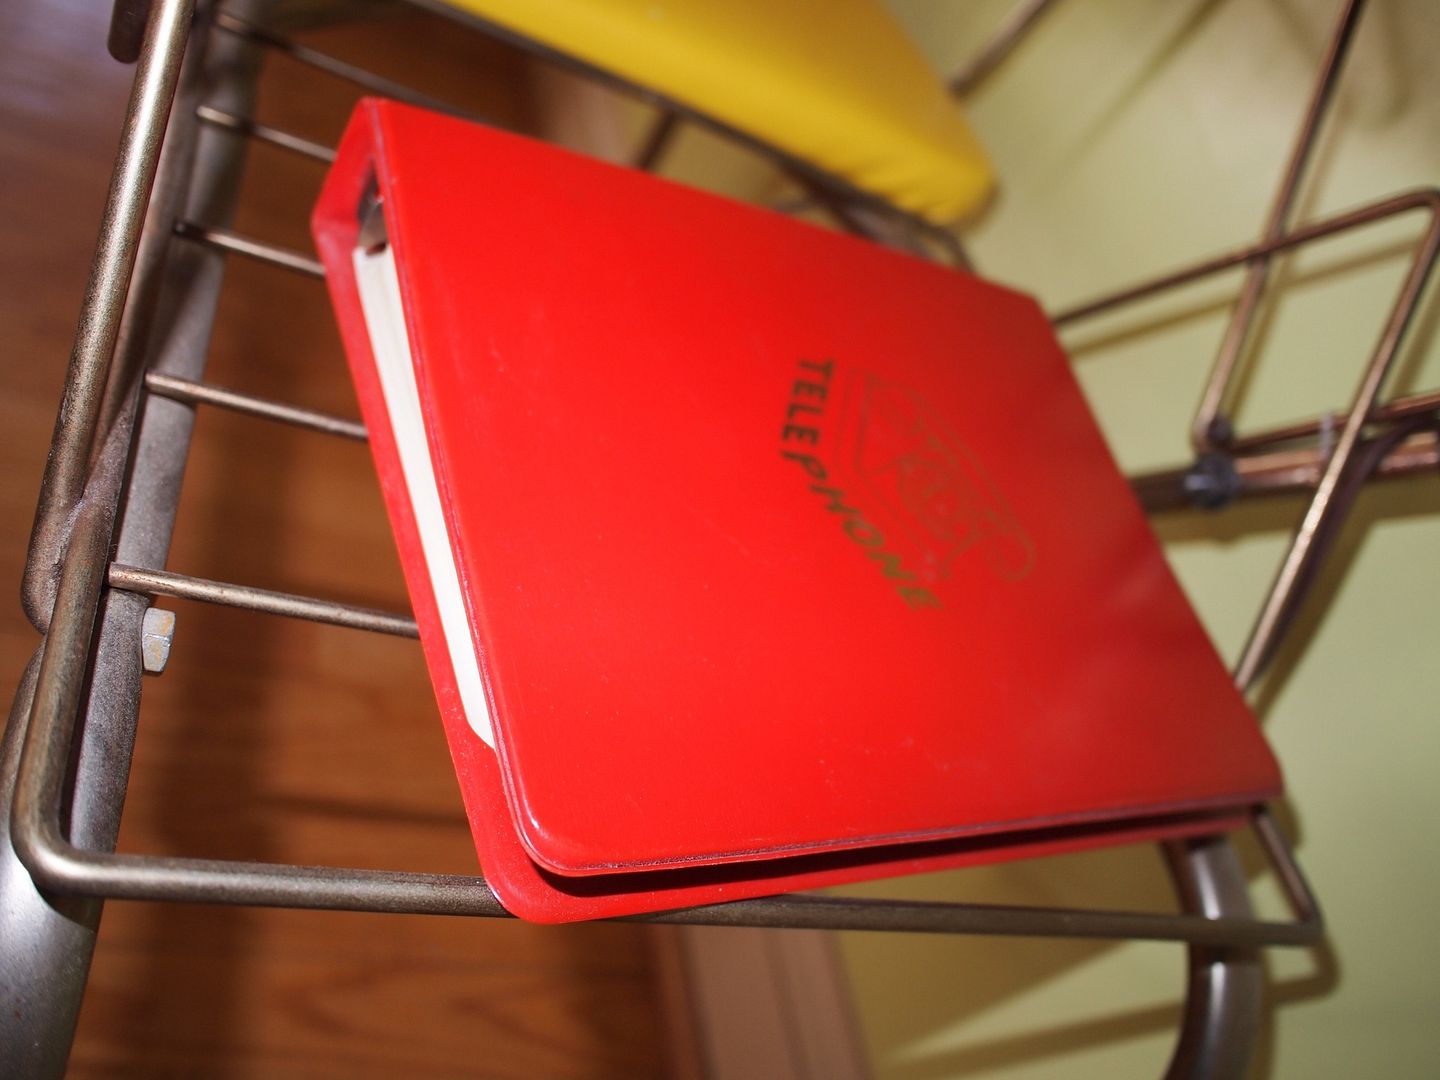
I've been looking for an old telephone book for this shelf, and until I find one I picked up this great vintage binder for keeping phone numbers. It was an etsy.com find, and it's in great shape.
Showing posts with label Gossip bench. Show all posts
Sunday, March 10, 2013
Update on the Gossip Bench with Clock and Sconces: Looking Good!
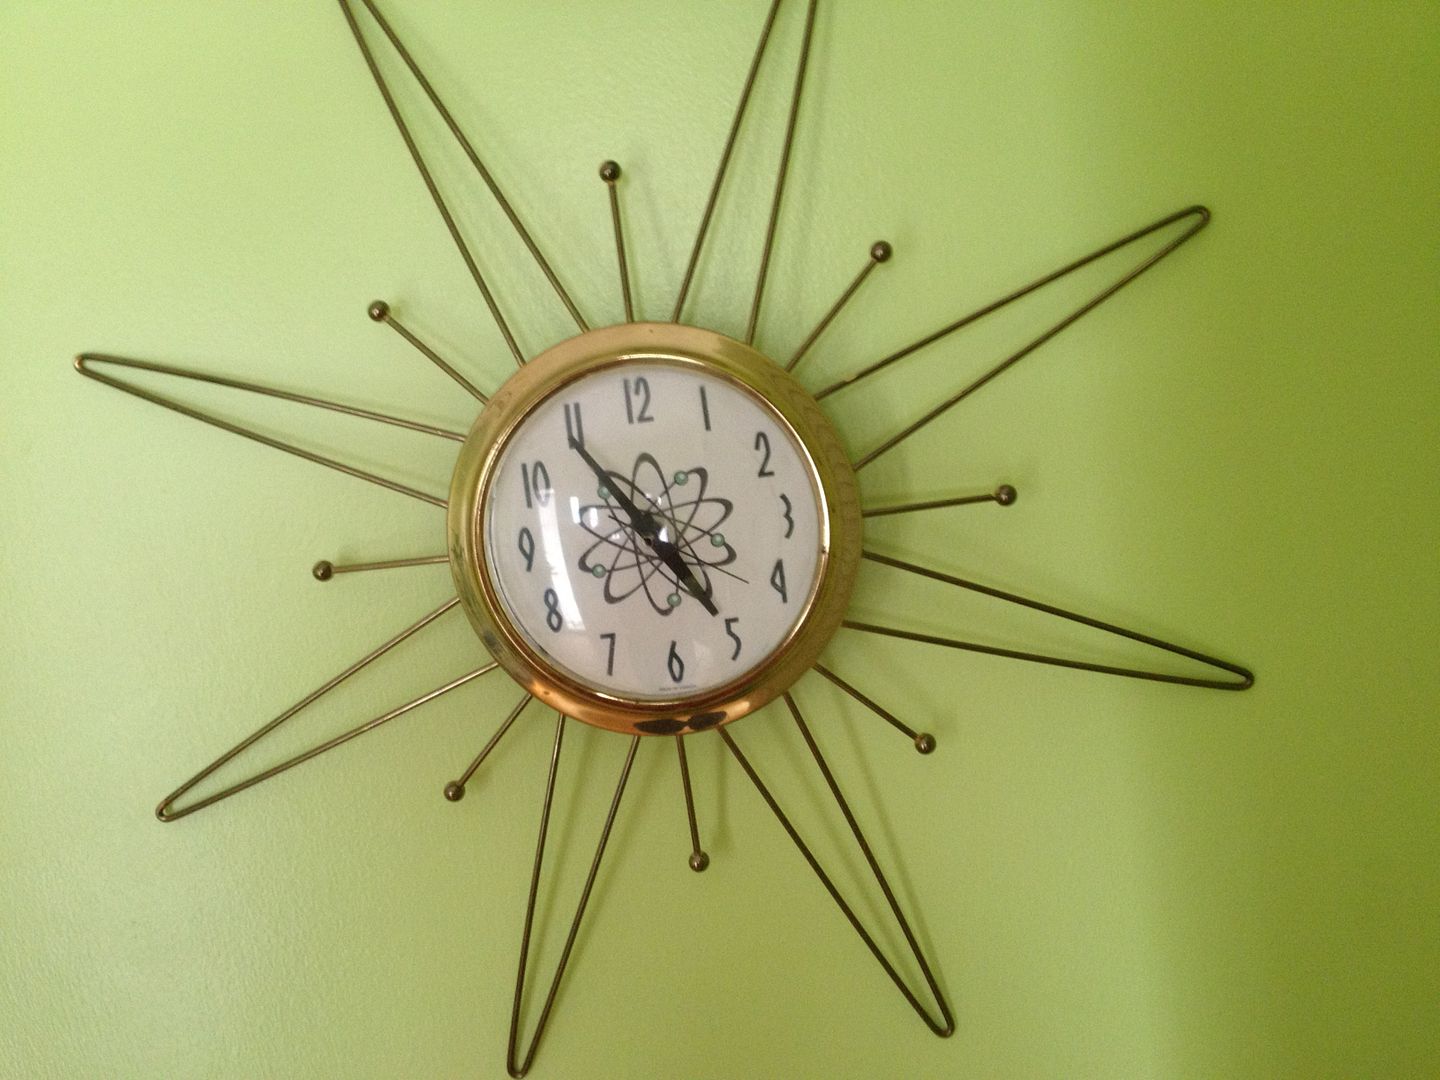
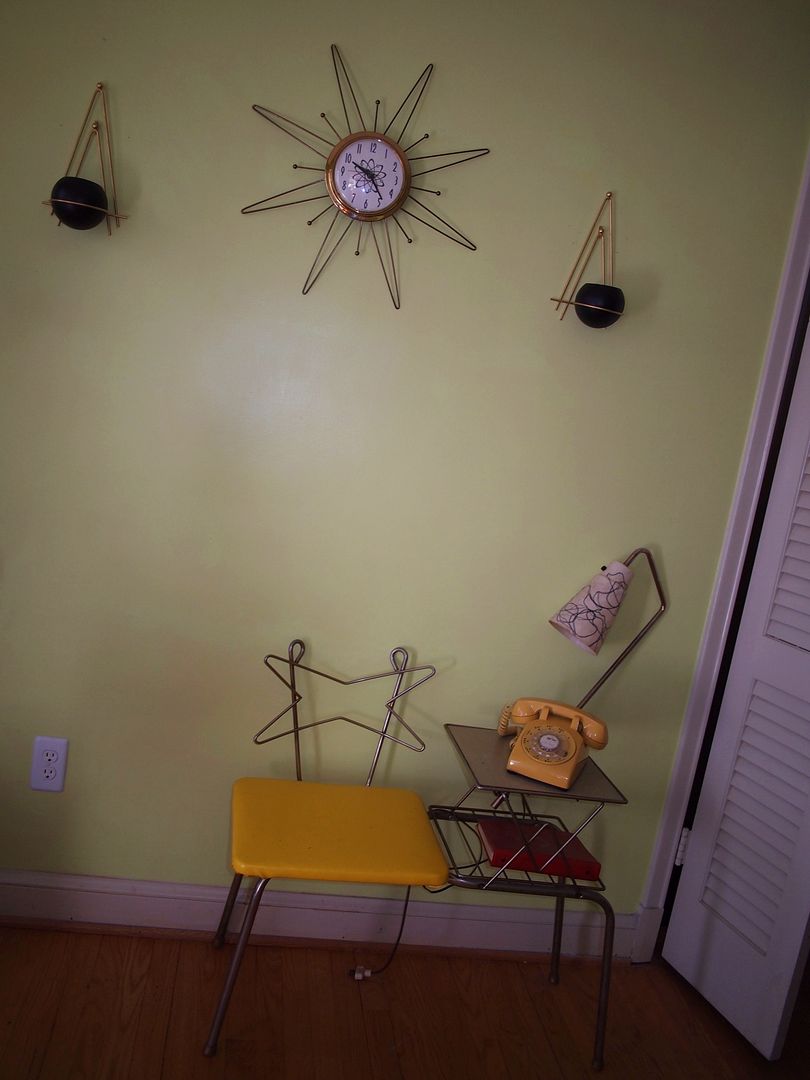
A couple posts ago, I showed off this pair of sconces and speculated that they would match up pretty well with one of my brass starburst clocks and the funky telephone table/gossip bench in our foyer. I finally got around to shooting some photos, so here's where we are now.
I still need to put something in the sconces - it's probably going to be some fake ivy or another type of fake plant.
I've been looking for an old telephone book for this shelf, and until I find one I picked up this great vintage binder for keeping phone numbers. It was an etsy.com find, and it's in great shape.
Sunday, February 3, 2013
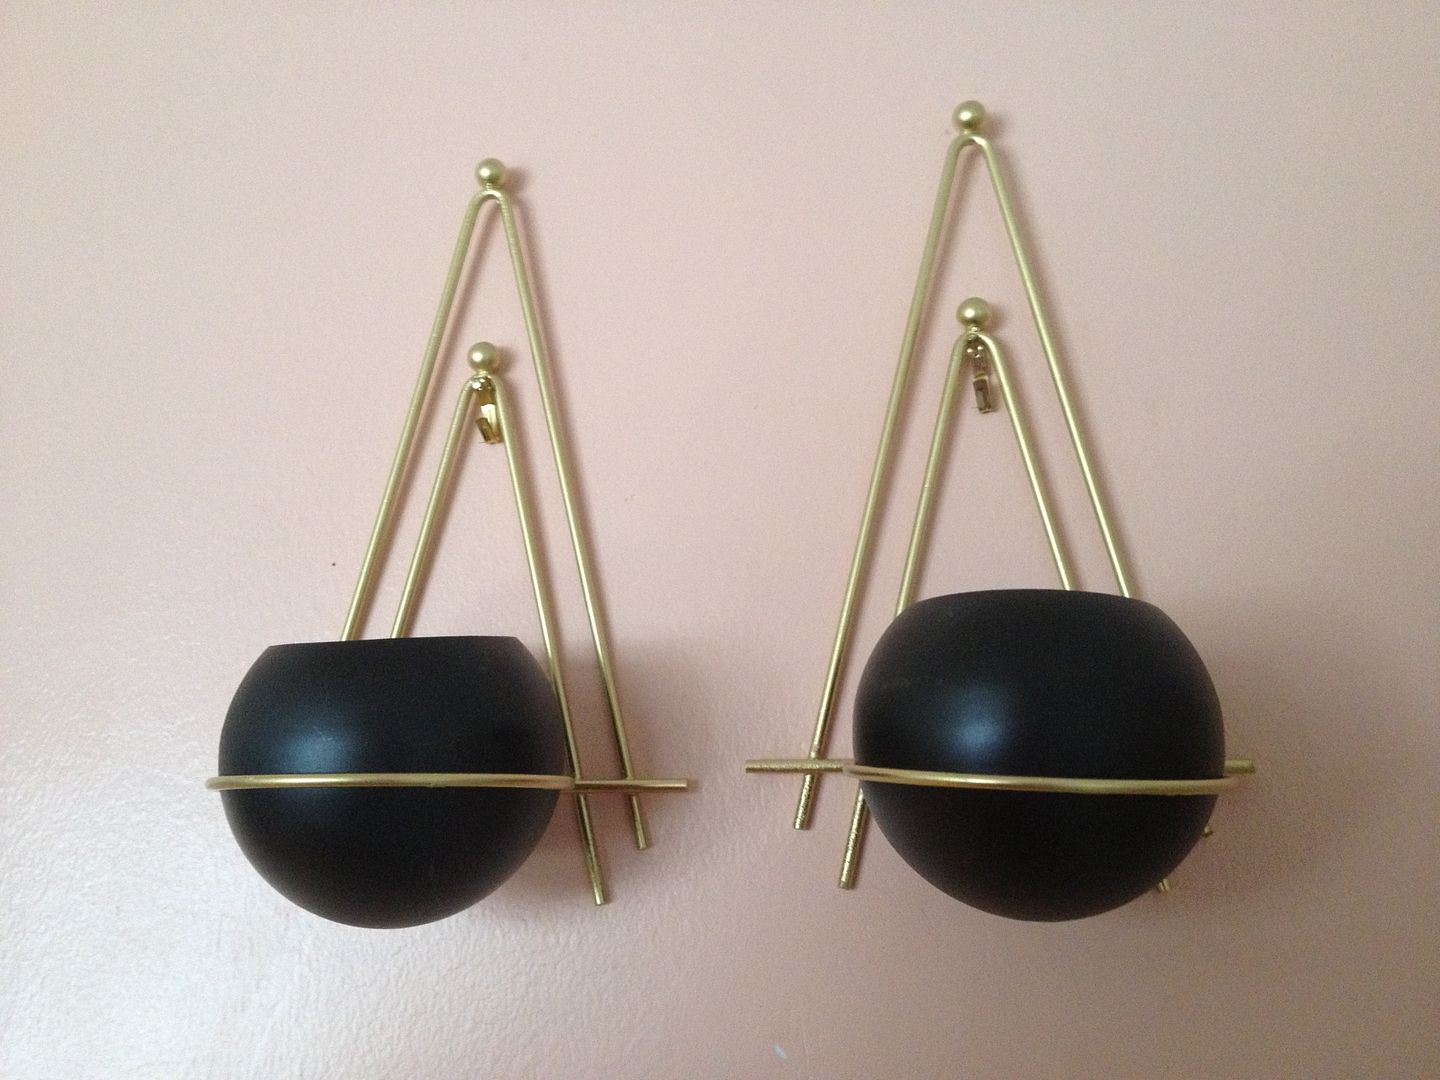
Mid-Century Brass and Black Sconces
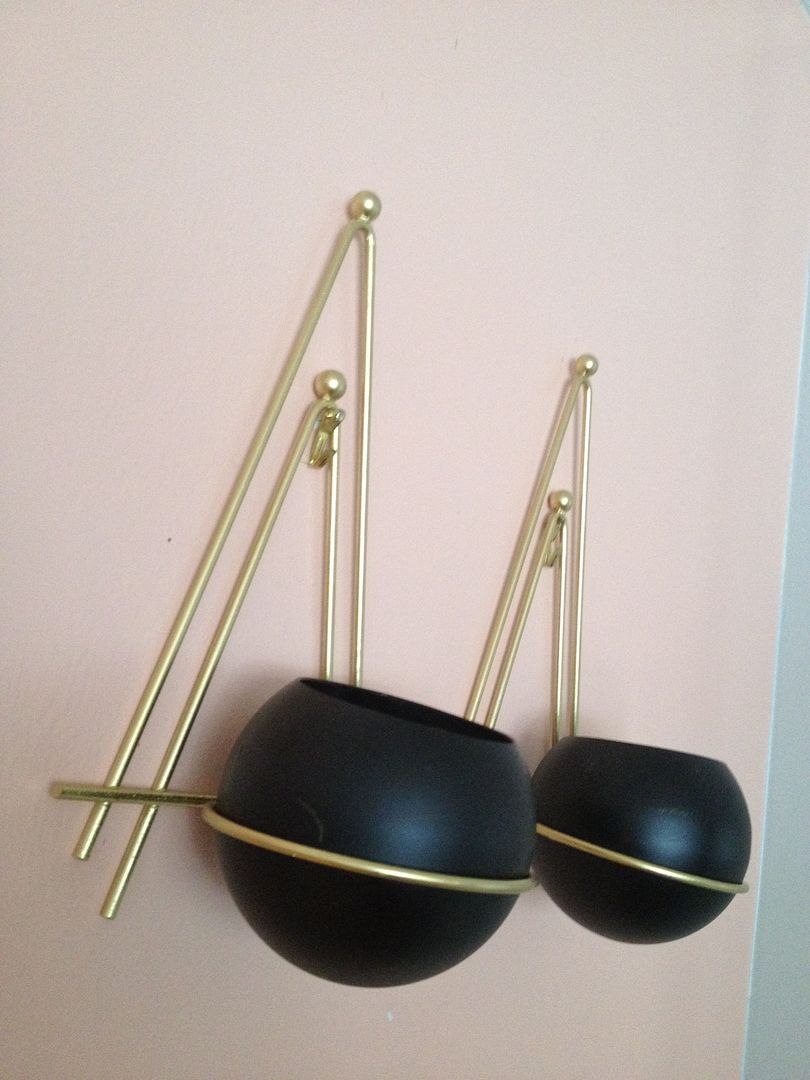
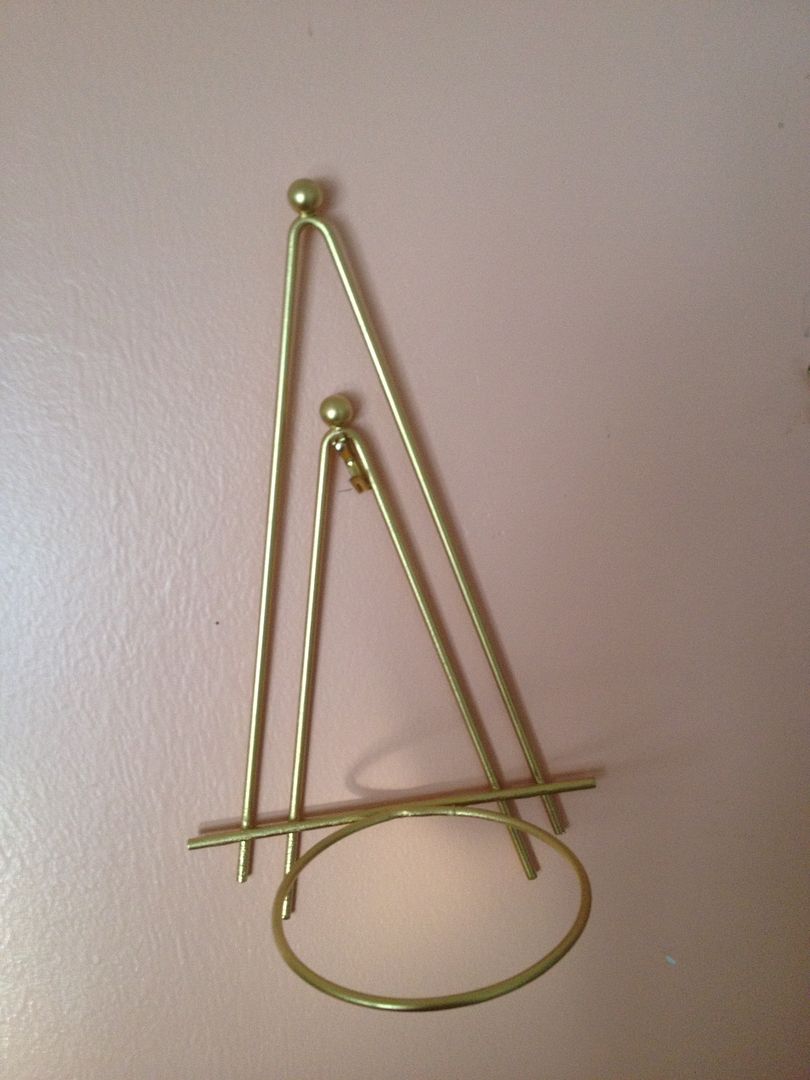
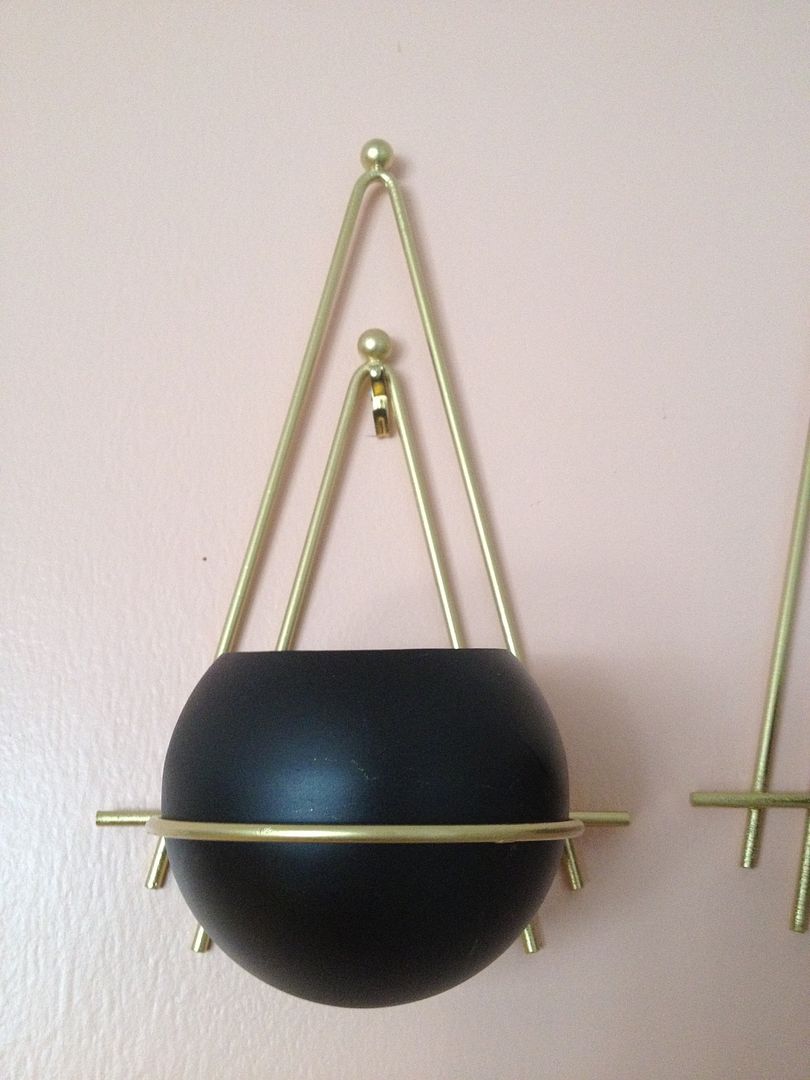
I've always had a thing for the common mid-century combination of brass and black. Here's the latest acquisition from that auction site: a pair of sconces. The brass parts are close to 12 inches tall, and the globes are about 3.5 inches in diameter.
I took a chance on the brass being salvageable, but this set had some serious rust issues. I tried but could not get the brass polish to clean one of these well enough for display. So sadly, I broke out the spray primer and then the brass paint. I also primed and repainted the steel globes.
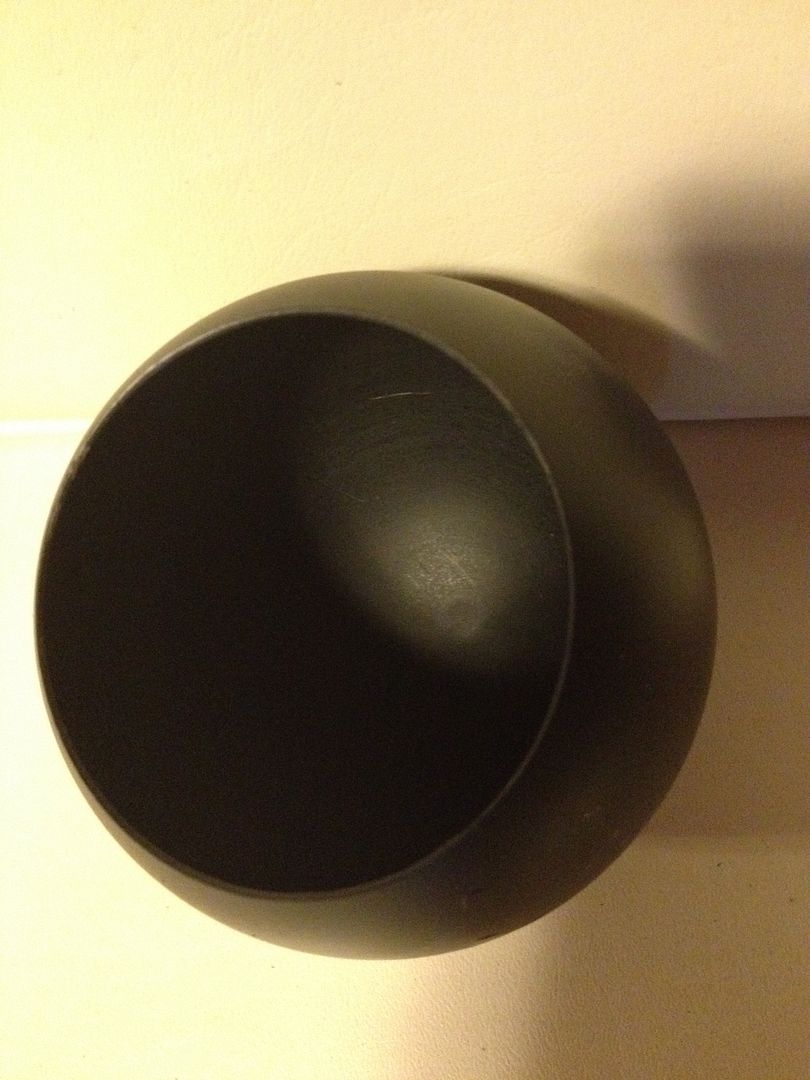
Anyone have an idea what could have been contained in these globes?
I don't see any sign of rust inside, so I doubt if live plants were ever put in these. And there's no spike or flat part where a candle could have been installed. It's puzzling.
Right now I'm still thinking about where I'll hang these - for the photos I just used a couple of hooks already on one of our walls. I often see a pair of sconces like this teamed with a wall clock, and I think I already have just the clock for this...
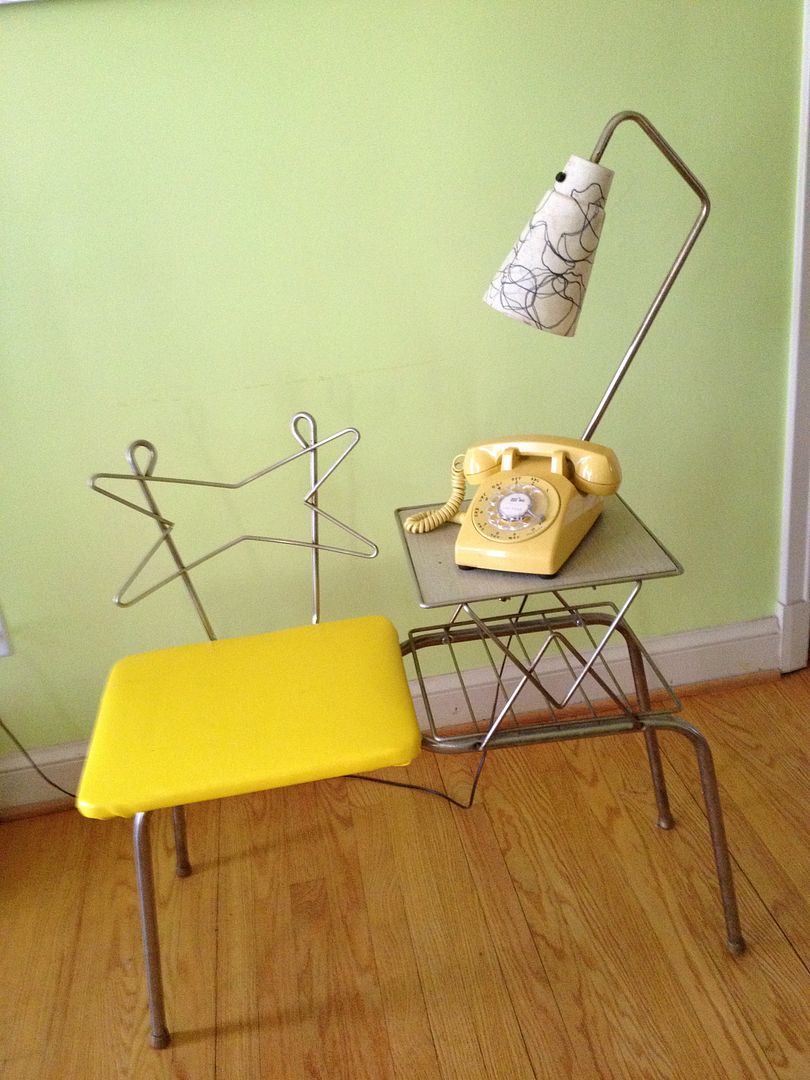
Now I just need the right space for it. Maybe in our entry way, perched above this gossip bench/telephone table?
I've been toying with recovering the seat on this with a vintage pattern fabric, so maybe that's what I'll do, and pair all these pieces together.
Stay tuned...
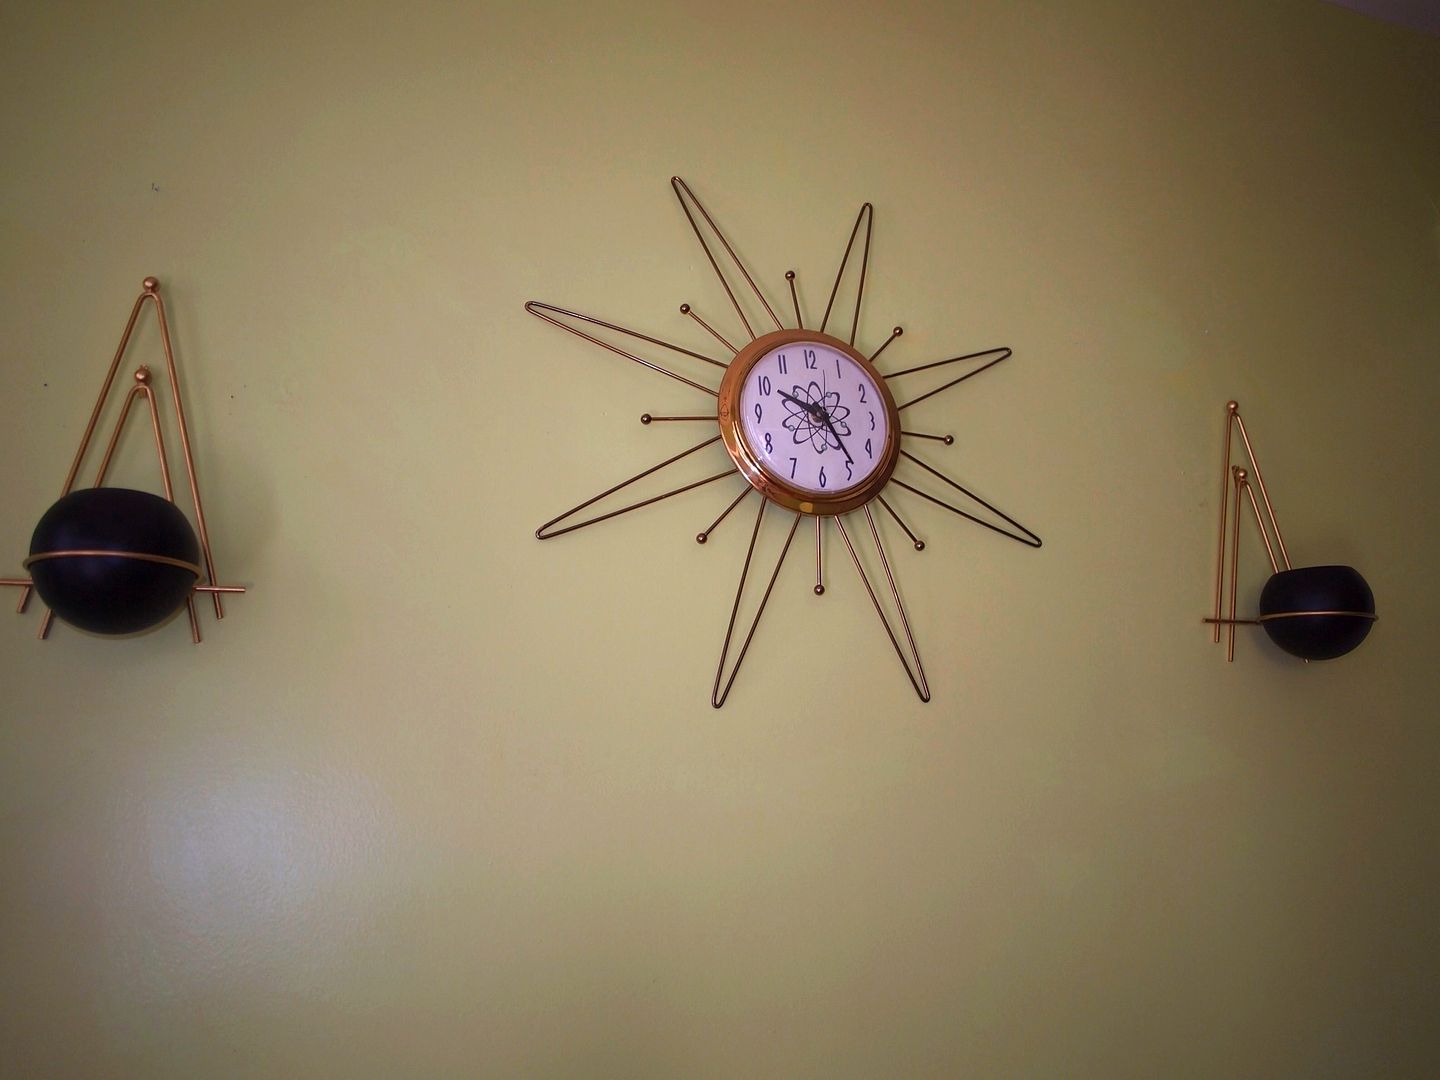
I took a chance on the brass being salvageable, but this set had some serious rust issues. I tried but could not get the brass polish to clean one of these well enough for display. So sadly, I broke out the spray primer and then the brass paint. I also primed and repainted the steel globes.
Anyone have an idea what could have been contained in these globes?
I don't see any sign of rust inside, so I doubt if live plants were ever put in these. And there's no spike or flat part where a candle could have been installed. It's puzzling.
Now I just need the right space for it. Maybe in our entry way, perched above this gossip bench/telephone table?
I've been toying with recovering the seat on this with a vintage pattern fabric, so maybe that's what I'll do, and pair all these pieces together.
Stay tuned...
Labels:
black,
brass,
Gossip bench,
metal,
sconce,
sconces,
telephone table
Tuesday, January 3, 2012
Gossip Bench Finally Gets a Lampshade
I had the day off so I spent a couple hours rewiring and attaching the lamp arm and shade to one of my first atomic-styled furniture acquisitions - this great telephone table / gossip bench. BEST $40 purchase I've ever made!!!
Thanks to Sara of NoPatternRequired.com, I had an inkling of what kind of shade I should look for. And I finally lucked into a fiberglass shade on ebay a couple weeks ago.
To connect the shade, the lamp had to come apart, which meant rewiring. Rewiring the lamp took longer than I expected, because the wire cord had to pass through the lamp arm and make a really sharp turn before coming out at the top. I used some WD-40 spray to help the cord through the arm, and soon enough I had it rewired.
I have never had the lamp arm attached to this before, and I've had it so long I could not recall how the thing attached, but from what I can tell, this angled orientation is probably how it was.
I've never seen another one of these, but Sara had seen one in Texas but didn't have a photo. She described it from memory and that was enough to get me on the right track. THANKS Sara!!!
Thanks to Sara of NoPatternRequired.com, I had an inkling of what kind of shade I should look for. And I finally lucked into a fiberglass shade on ebay a couple weeks ago.
To connect the shade, the lamp had to come apart, which meant rewiring. Rewiring the lamp took longer than I expected, because the wire cord had to pass through the lamp arm and make a really sharp turn before coming out at the top. I used some WD-40 spray to help the cord through the arm, and soon enough I had it rewired.
I have never had the lamp arm attached to this before, and I've had it so long I could not recall how the thing attached, but from what I can tell, this angled orientation is probably how it was.
I've never seen another one of these, but Sara had seen one in Texas but didn't have a photo. She described it from memory and that was enough to get me on the right track. THANKS Sara!!!
Subscribe to:
Posts (Atom)