Showing posts with label chair. Show all posts

Sunday, January 3, 2016

Old Office Chair Gets a New Suit of Leather

This office chair was my first furniture purchase at an auction more than 20 years ago.  I used it for years as is, and when the vinyl was too torn up, I used an automotive seat cover on it.  I've been putting off working on it forever, but I finally tackled it recently, and I'm pretty happy with the results.

Here's what it looked like when I started.  The vinyl was torn and had a very sticky coating all over it. Pretty gross.


It also had a lot of tacks, and a ton of staples which all had to come out.


And the cardboard on the back was badly torn.  I fixed that with some packing tape and I also cut another piece of cardboard in the same pattern and used both pieces for the new back.


After I cleaned and used some Restore-A-Finish on the wood arms, back, and base, I picked up some upholstery quality batting at a local fabric store, and with a manual hand stapler I started to reassemble using this dark red leather.  I cut the new batting in the same shape as the old cotton batting which I also used, doubling up on the seat padding.

I reused the 1/8-inch cord from inside the old vinyl piping to make new piping with strips of the leather.  Then I just took my time and tried to stretch and fold the leather around the corners the way it had been done with the vinyl.  The leather was a little thicker than the old vinyl, but with some cutting and stretching and a lot of staples, I got it done.  Here's the end result.


For the new back, I used the same brass tacks I used on the turquoise chair in my last post.  It was hard to tuck the leather under the cardboard back and as a result, it isn't nearly as "tight" as I would like it, but I'm satisfied with the look.  Heck, it's a very old, heavy chair that has years of new life now, but it won't be mistaken for something brand new, and I like it that way.


It's good to be posting here again.  I don't think I'll be as prolific with my posts, but I am hoping with the new year to be somewhat more regular.  Happy New Year!


Thursday, December 24, 2015

Mid Century Swivel Chair Reupholstered

Hey everyone and Merry Christmas!

I thought I would do a post about another cool chair I've been wanting to reupholster.


I got this swivel chair years ago at a local flea market for a nice price and had it at work for a long time.  Great lines, don't you think?


Once it began to develop a tear in the vinyl (OK, after a few YEARS of living with the tear), I finally brought it home and acquired some turquoise vinyl.  Initially I wanted to try and use a sewing machine to come close to reproducing the look of the original with piping, but after a lot of thought I went with the easier approach.

The burplap underneath remains in pretty good condition so I reused it and the original cotton padding.


I picked up some upholstery quality batting at a local fabric store and cut it to fit over the original stuffing for some much needed extra padding.


Using a heat gun I warmed up the vinyl in places and carefully stretched it to fit the seat back.


In this photo you can see how the original vinyl was started at the top back of the seat back and then cardboard was stapled over top of the vinyl.  Then it was a matter of folding the vinyl over the cardboard and beginning to staple the bottom.  I left the cardboard unstapled along the two sides of the back so I could tuck the excess vinyl under the cardboard.  To finish the seat back, I picked up some brass tacks similar to the original ones, which were only used along two back edges.


The rest of the work just involved carefully stretching the vinyl and stapling it to the frame of the seat base.  I'm reasonably satisfied with the end result.


I have enough vinyl to have the base re-done by a pro using piping and fitting it better, but for now, it's going back to the office.

Sunday, August 19, 2012

Stuff I Picked Up at the World's Longest Yard Sale

I've been kinda inattentive to the old blog lately -- apologies that I haven't made progress on an mid-century projects.  I actually have been working on my 1963 Mercury Comet station wagon, but the work has been on the front suspension and brakes, and that doesn't make for much of a blog post here, mainly because I'm nowhere near done.  I've had to acquire a couple of special tools to help with removing rusted/stuck front brake drums and to take out the coil springs.

So anyway, I have owed you all some photos of the goodies I picked up during our first foray to the World's Longest Yard Sale.  If you looked at my Flickr photo stream from the sale, you maybe got a feel for what was happening along Route 127 in parts of Tennessee and Kentucky.

I was a little disappointed on our first afternoon of the sale.  Saw a lot of awful castoff junk and just a few gems here and there, and not much that I wanted to buy, but I didn't come away totally empty handed that day.


I scored these brown plastic letters all in a bunch.  I'm guessing they date to the 1970s or 80s, but it's kinda hard to be certain.

These had threaded studs to attach to a wall.  The capital letters are each about 12 inches tall.

I also bought this cool Vogue sewing pattern magazine pretty cheap.


The next day we had some rain in the morning, and we passed up a few places where most vendors had tarps thrown over everything.  I couldn't help noticing that some vendors didn't bother to cover their stuff!


Finding this bunch of lunchboxes sitting on these shelves in puddles of water made me a little angry.

Now, I don't know about you, but it drives me nuts when I find something I want to buy, and I can't buy it because the seller is galavanting around somewhere!  I found a couple record albums and these two perforated brass lamp diffusers at one wet stop we made, and the teenage boy who was left to mind the store had no idea what to price them at. "They'll be back soon," he said.


I waited about 10 minutes and then made two laps around the muddy field waiting for the vendor to come back.  Finally I convinced the kid to take 2 bucks per album and six bucks for the two diffusers.


I don't think I can ever have enough lamp parts.  I hope he didn't get a beating for selling the unpriced merch, which would probably still be in their possession if I hadn't pushed the issue.

Once the rain stopped, I had my best find of the day in a field full of junk.


These etched starburst glasses were not a complete set, but they were uber cheap and they  seem to exactly match the tall glasses I found several years ago.


And this is the set that I already had.  Pretty close match.


One thing I saw a TON of all along the route was glass of all kinds.  I'm not big into glass, but I sure was happy to find these starburst glasses.


I don't collect soda bottles either, but I liked the look of this soda bottle marked Chattanooga, Tenn., so I bought it from the same guy who sold me the glassware.


Never heard of Ski soda before, but the seller said it was a citrusy soda comparable to 7-Up and Sprite (?)

I also found this metal letters and bills wall hanger thing on our second day.


It cleaned up pretty well for something that's probably 50 years old and may have sat in a barn for years.  It had some dirt, light rust and cobwebs all over it, but the price was right.

Our third and last day of the sale was the best in terms of stuff I found, and most of it I got in one farm yard that had probably 100 vendors.  A couple seemed to specialize in mid century and kitschy stuff - jackpot!

I'm not a big 1970s avocado/orange/harvest gold fan, but I do appreciate that others are, so I picked up this four-piece soft plastic canister set for a good price.  I'll be adding it to my etsy store soon.


Within a couple minutes of getting the canisters, I picked up this danish lamp.  


The wood looks like it could use some refreshing, so this is going in the projects pile. 


Eventually I'll disassemble it, shine up the brass, restore the wood and maybe give it a grounded electrical rewiring.  The shade that came with it looks original, but it's kinda beat up.  I'm not tossing the shade yet because I'm hoping I can figure out a way to remove the dents and get it looking decent.  If not, I'll keep it until I can find a close replacement shade.


I was surprised that I didn't find a single tiki mug during the whole trip, but I did get a great buy on both these guys in the same farm field.


They look better than they did when I bought them, thanks to some tung oil.

Next, I just missed getting this great looking record player for $10.  The buyer was marking sold on it when I walked up to it.


And the last thing I bought in that field (and the last purchase of the trip) was this chair -- 


it was a great deal, and fortunately I had brought some tools with me, so I was able to take it apart and fit it into our car top carrier.  It's marked Yugoslavia, the rope is in great shape.  I cleaned up the wood and gave it a coat of tung oil and it's looking good now.

I also picked up probably about 25 more record albums, but I haven't shot pics of them yet.  I know, I'm lame.  I'll try to get that done soon.

Overall, we had a good time driving the back roads and hitting as many sales as we could.  I'm not sure I would do it again, but maybe by July next year we'll be itching for a repeat.

Friday, December 30, 2011

Project: Plycraft chair gets a bargain makeover

When we last saw the cheap vintage Plycraft chair and ottoman, it was waiting patiently for Uncle Atom to get on with the resto.  Well folks, the time has come.

Here was our starting point - rust-colored leather in fairly good shape, but some upholstery buttons were missing, and the armrests were a clashing shade of red leather.


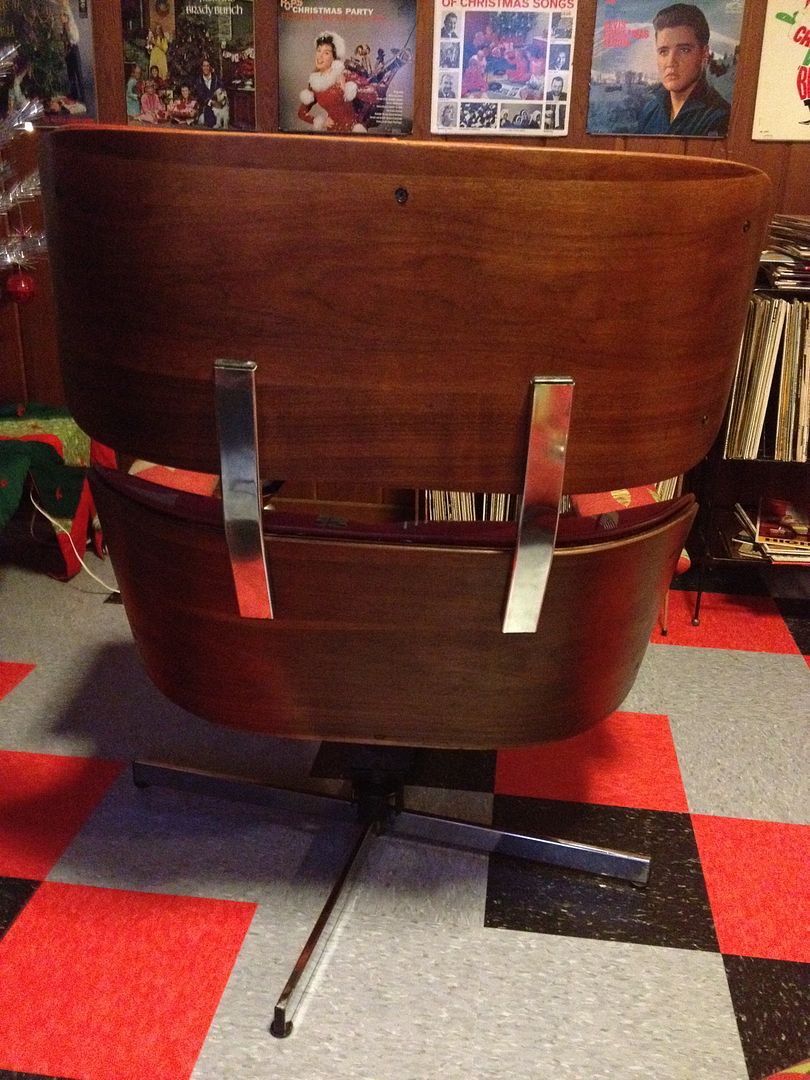
The chrome was dull and rusty, the bent plywood back and base were dull and needing refinishing, and the swivel and rocker functions were not working.  The leather was still pretty good except for some cracking on the seat and ottoman, and the fact that I hate the color!


Someone had done an amateurish recovering of the armrests.

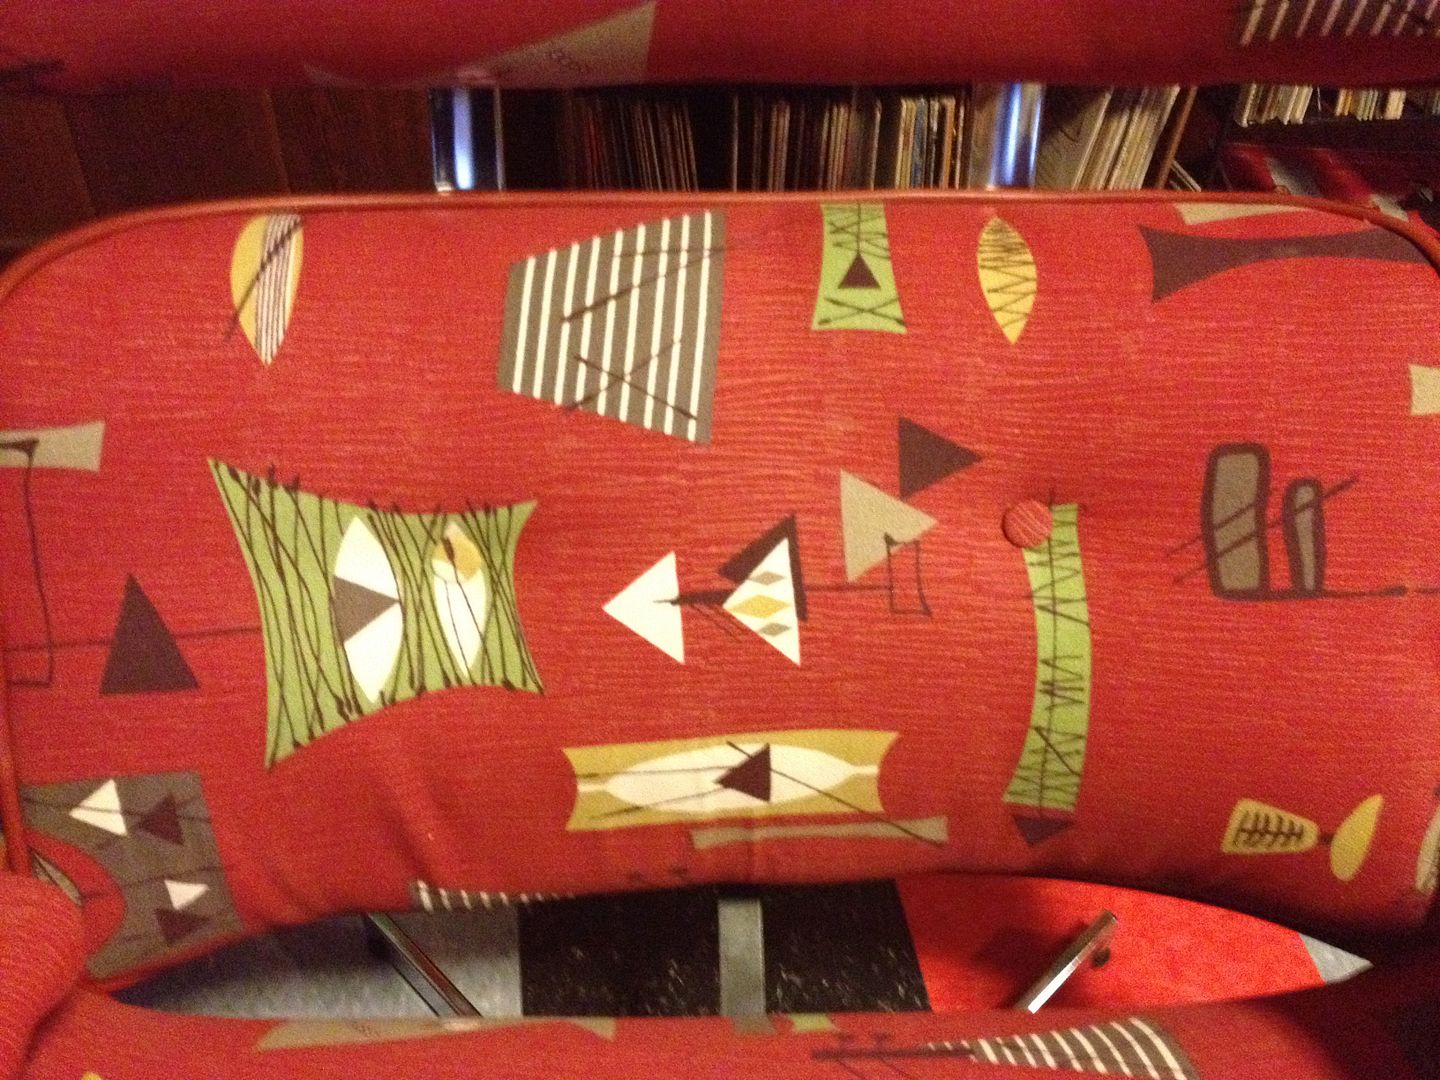
My plan was to recover it with red leather, and I picked up a red cowhide from that auction site.  It was labeled "lipstick red" but it looks a lot more like a darker shade of burgundy to me.  As I tore the chair apart, I realized I would need some professional help to do it right if I used the leather.  The red would require new piping, and I can't do that my self.  Kaching - this could get expensive.  After a little more thought, I remembered that Mr. Modtomic had done a similar project like this.  I got out some reproduction barkcloth fabric I had picked up and never used.  The nice part was, the rust-colored piping complemented the fabric so I could probably reuse it.  So this became the cheap cheap cheap Plycraft chair project.

Teardown was easy.  A bunch of screws made removal of the padded parts very fast.  All the screws and other hardware went immediately into ziplock bags and each set of screws was in a separate bag and labeled so I would know which screws went with which part of the chair.


All of the piping was sewed on really well, but once I loosened a few threads, it pulled off from the old leather covering very nicely.  With the piping all removed, I had the old leather to use as a pattern so I would get the fabric cut to the right size.

The base of the ottoman was pretty scratched up, so I cleaned, primed, and painted it.


A few bread bags and some tape protected the chrome base which had already been cleaned and buffed using some bronze wool and Brasso.  I did the same with the base for the chair.  That base also needed some lubrication, so a little spray-on white lithium grease and it was working nicely again.


After I cut the fabric, it was a lot of pulling and stapling to get the fabric stretched tight.

The wood all got sanded with some 220 grit sandpaper and my random orbit sander, then wiped down with mineral spirits.  After that I used the dark color of Howard Restore-A-Finish and then finished the wood with Howard Feed-N-Wax.  These worked great on the Z chairs I refinished last month.   If these hadn't given me good results, I would have been looking at restaining and then probably applying polyurethane.  Those steps would have taken a lot more time.  Thanks Howard!


Here's the base going back onto the finished ottoman.

So I guess I've made you wait long enough for the fabric choice.


This variety was produced in 2003, and I got it online at J & O Fabrics.  Sadly, it's out of stock now, along with most of J & O's other varieties of this great reproduction barkcloth.  I sure hope some new varieties become available.


Here you can see the leather piping already stapled over top of the fabric all around the edge of the cushion.
Pretty nice match, isn't it?  Total luck out - woo hoo!  If the piping had not matched, I was going to try dying it with some SEM spray-on dye.  Saved some money and time there too.


Here's the finished ottoman.  And here's the finished chair.


The chrome cleaned up and polished pretty nicely.  I put a good coat of wax on all of the chrome so hopefully it will stay nice for a while.


The hardest part of this project for me was the fabric-covered buttons, and covering the armrests.  The buttons went together pretty easily, but installing them was a job that really required three hands.  And the only buttons I could find locally were not as heavy duty as the old buttons that were leather-covered.


I ended up skipping the buttons on the seat, and unless you're looking for them, you don't miss them.  I think the pattern fabric helps with that.  If it had been a solid fabric, the missing buttons would have been noticeable.  I'm experimenting with metal wire (the stuff you use to hang a picture frame) instead of heavy thread or string to hold the buttons in place.  I pulled too tightly on a couple buttons and popped the backing off of them.  We'll see how that works out.

The armrests required a lot of stretching and stapling, and I ironed some extra fabric and stapled and hot glued it under the armrests to give them a slightly better finished look.  Not perfect - for that I needed some of the strips of metal with teeth that you fold under and hammer down, but the stuff I have was not the right size for the armrests.

The final tally = $75 for the chair and ottoman; about three yards of fabric approximately $75 with shipping; the supplies I used were already on hand - staples, cleaner, wax, and paint.  I'm pretty darn pleased.  Now excuse me whilst I go enjoy a beer in my Plycraft chair!