
Here was our starting point - rust-colored leather in fairly good shape, but some upholstery buttons were missing, and the armrests were a clashing shade of red leather.

The chrome was dull and rusty, the bent plywood back and base were dull and needing refinishing, and the swivel and rocker functions were not working. The leather was still pretty good except for some cracking on the seat and ottoman, and the fact that I hate the color!


Someone had done an amateurish recovering of the armrests.
My plan was to recover it with red leather, and I picked up a red cowhide from that auction site. It was labeled "lipstick red" but it looks a lot more like a darker shade of burgundy to me. As I tore the chair apart, I realized I would need some professional help to do it right if I used the leather. The red would require new piping, and I can't do that my self. Kaching - this could get expensive. After a little more thought, I remembered that Mr. Modtomic had done a similar project like this. I got out some reproduction barkcloth fabric I had picked up and never used. The nice part was, the rust-colored piping complemented the fabric so I could probably reuse it. So this became the cheap cheap cheap Plycraft chair project.
Teardown was easy. A bunch of screws made removal of the padded parts very fast. All the screws and other hardware went immediately into ziplock bags and each set of screws was in a separate bag and labeled so I would know which screws went with which part of the chair.

All of the piping was sewed on really well, but once I loosened a few threads, it pulled off from the old leather covering very nicely. With the piping all removed, I had the old leather to use as a pattern so I would get the fabric cut to the right size.
The base of the ottoman was pretty scratched up, so I cleaned, primed, and painted it.

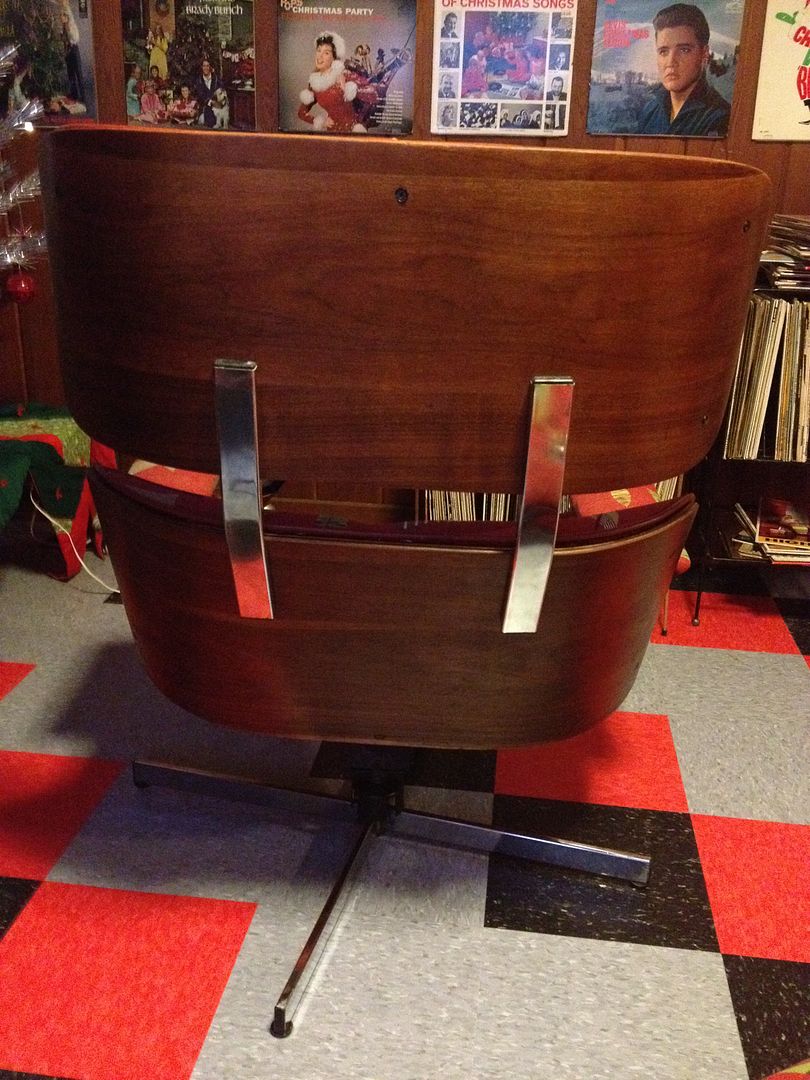
A few bread bags and some tape protected the chrome base which had already been cleaned and buffed using some bronze wool and Brasso. I did the same with the base for the chair. That base also needed some lubrication, so a little spray-on white lithium grease and it was working nicely again.

After I cut the fabric, it was a lot of pulling and stapling to get the fabric stretched tight.
The wood all got sanded with some 220 grit sandpaper and my random orbit sander, then wiped down with mineral spirits. After that I used the dark color of Howard Restore-A-Finish and then finished the wood with Howard Feed-N-Wax. These worked great on the Z chairs I refinished last month. If these hadn't given me good results, I would have been looking at restaining and then probably applying polyurethane. Those steps would have taken a lot more time. Thanks Howard!

Here's the base going back onto the finished ottoman.
So I guess I've made you wait long enough for the fabric choice.

This variety was produced in 2003, and I got it online at J & O Fabrics. Sadly, it's out of stock now, along with most of J & O's other varieties of this great reproduction barkcloth. I sure hope some new varieties become available.

Here you can see the leather piping already stapled over top of the fabric all around the edge of the cushion.
Pretty nice match, isn't it? Total luck out - woo hoo! If the piping had not matched, I was going to try dying it with some SEM spray-on dye. Saved some money and time there too.

Here's the finished ottoman. And here's the finished chair.


The chrome cleaned up and polished pretty nicely. I put a good coat of wax on all of the chrome so hopefully it will stay nice for a while.


The hardest part of this project for me was the fabric-covered buttons, and covering the armrests. The buttons went together pretty easily, but installing them was a job that really required three hands. And the only buttons I could find locally were not as heavy duty as the old buttons that were leather-covered.

I ended up skipping the buttons on the seat, and unless you're looking for them, you don't miss them. I think the pattern fabric helps with that. If it had been a solid fabric, the missing buttons would have been noticeable. I'm experimenting with metal wire (the stuff you use to hang a picture frame) instead of heavy thread or string to hold the buttons in place. I pulled too tightly on a couple buttons and popped the backing off of them. We'll see how that works out.
The armrests required a lot of stretching and stapling, and I ironed some extra fabric and stapled and hot glued it under the armrests to give them a slightly better finished look. Not perfect - for that I needed some of the strips of metal with teeth that you fold under and hammer down, but the stuff I have was not the right size for the armrests.
The final tally = $75 for the chair and ottoman; about three yards of fabric approximately $75 with shipping; the supplies I used were already on hand - staples, cleaner, wax, and paint. I'm pretty darn pleased. Now excuse me whilst I go enjoy a beer in my Plycraft chair!
That is flippin' awesome! Love the repro bark cloth fabric. Nice redo!
ReplyDeleteNicely done Sir! It's kinda blasphemous in the most awesome way! Re-using the piping? We are both so lazy.
ReplyDeleteThanks P
ReplyDeleteMr. M - lazy is a relative term, as you know it still takes probably a good two full days of work to do this! Thanks for the inspiration, I meant to acknowledge your earlier project in my post - I'll go back and add that
That's one of my favorite J&O repro barkcloth patterns. I have pillows made out of it. What's up with J&O's barkcloth supplier? They've been out of almost every pattern now for ages. It's getting harder and harder to find. Luckily, I have some stashed back too.
ReplyDeleteugh. I wish J&O would get their act together. I want to buy some of that BC in the worst way!!!
ReplyDeleteThe chair looks awesome now, you did a wonderful job with it! After you mentioned the buttons and how hard it was to do them it made me think of my one armed couch and all the buttons. I wonder if the upholstery people had a hard time doing that? I insisted that I wanted all the buttons to match to original upholstery and they did a great job. Hope they are not too mad at me for that! :D
With the right tools the button are probably easy to do. I was using the only needle we had that had an eye big enough for the 'thread' but it the needle was maybe five inches long instead of the shorter one I was using it would not have been so hard. I improvised with two sets of needle-nosed vice grips and they got the job done but not easily. I like having the right tools so I may look around for some basic upholstery tools.
ReplyDeleteWhat an AWESOME referbish! Dont you just love it when everything just lines up, and comes out perfectly! It will Look KILLER in your Basement Den(which BTW I am extremly envious of!) Happy New Year!
ReplyDeleteI'm liking the results so far - had to tighten one armrest screw, and the four feet on the base of the chair don't want to level out, so I've used some longer screws and washers to get it closer to level. Little stuff like that will drive you nuts. I sure do wish the J&O supplier would realize there's a demand for this kind of fabric and repop some more. Happy New Year everybody!
ReplyDeleteHot Diggity! It turned out so snazzy! I think you have improved on the original look of this chair. For sure, you will be the only person with one like this! It matches your rumpus room perfectly!
ReplyDeleteThanks - I'm liking the fabric more all the time. A solid color kinda makes the headrest look too large - but I wouldn't hesitate to buy another with leather if the price was right.
ReplyDeleteThat looks fab, UA! Your inspiring me to get some stuff done over at our pad as well...I mean for me to get on Retro Roadhusband to get it done over ;-) (Mod Betty is about as handy/crafty as an armless paperhanger!)
ReplyDelete