Sunday, September 18, 2011

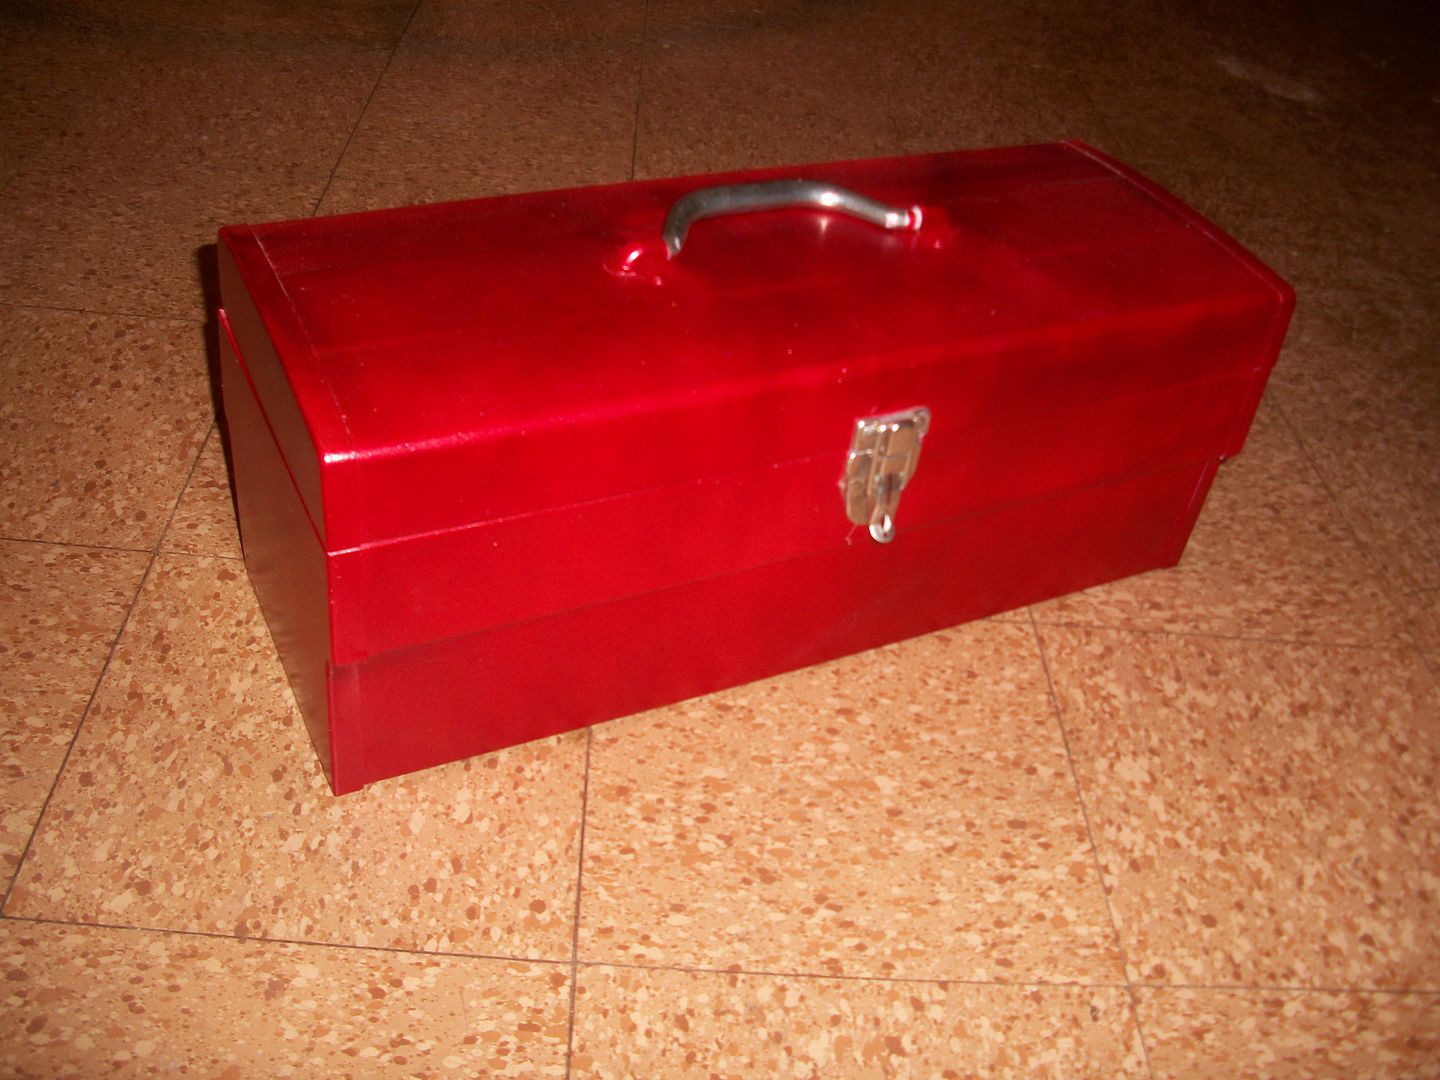
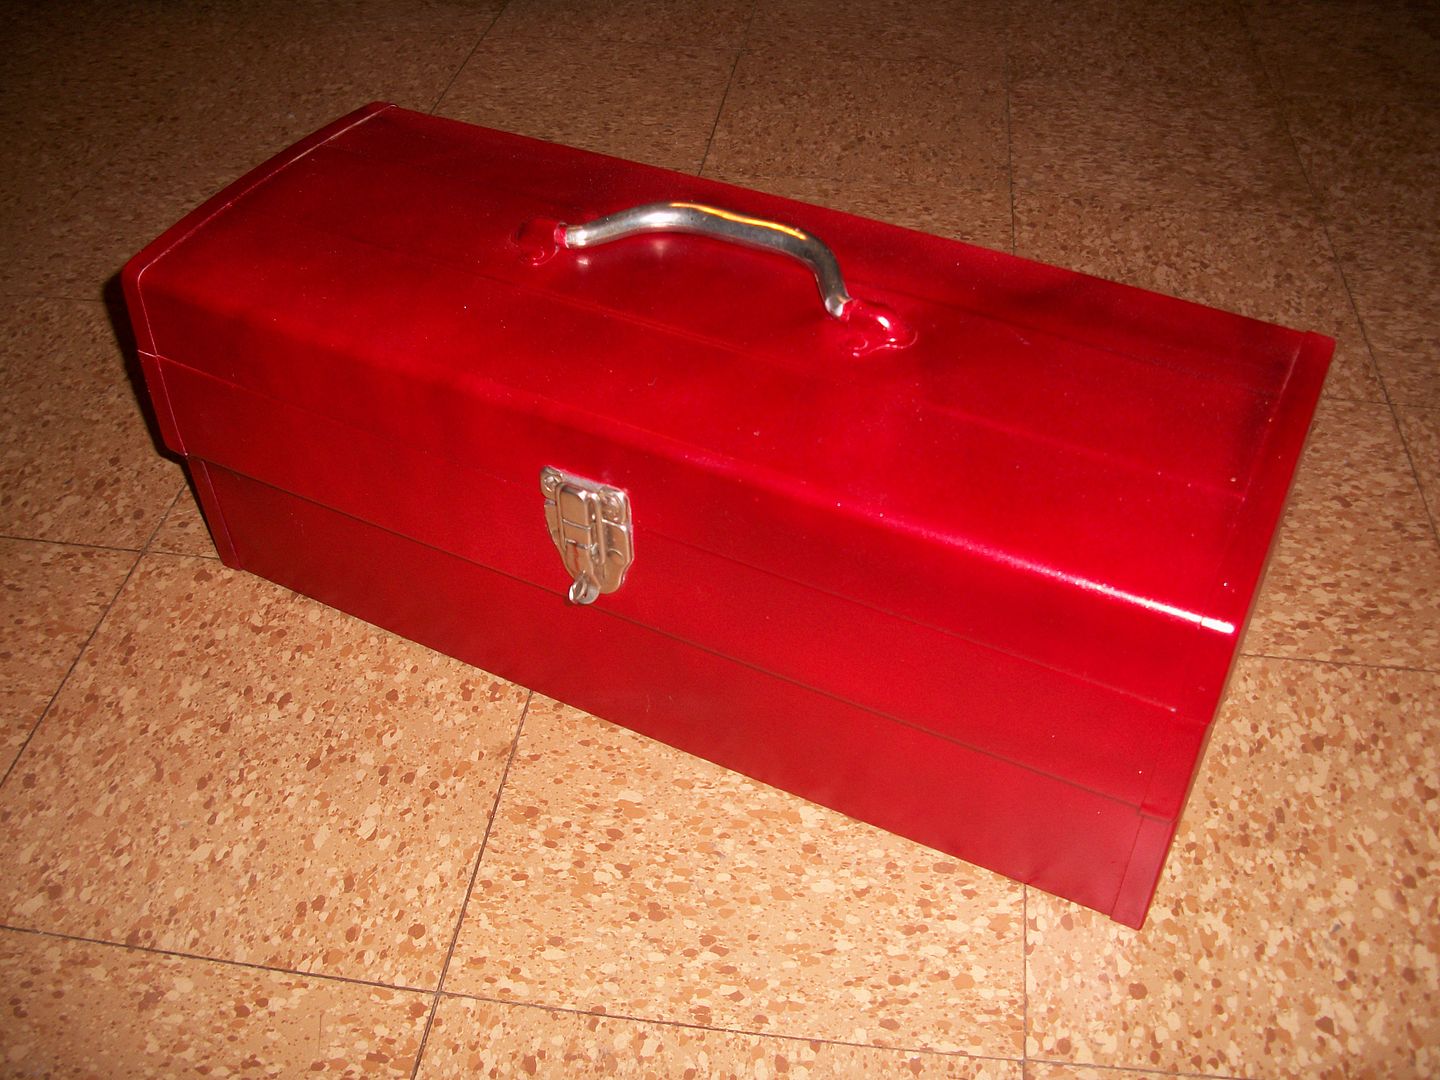
Vintage toolbox gets kinda flakey

I'm fighting off a cold, getting ready to fly to LA for work this week, and while I've kept momentum on several projects I don't have much ready for a complete post, so here's something I photographed weeks ago and never got around to posting.

I've had this toolbox a few years. In profile you can see it has sort of a mid century vibe - definitely more interesting than the standard Sears Craftsman rectangle or a plastic box.


The plan was always to clean it up and paint it something other than grey, and use it to carry survival tools in one of my old cars for when I need to do some maintenance on the road.


I got it cleaned, sanded, and primered, and after looking through the rattle cans of paint I now keep in an old metal cabinet, I settled on Retro Red Metal Flake, which should be a good base for eventually adding some pinstriping or stencils or decals.


I masked off the handle and latch before starting with the primer, and kept that masking tape there for the final spray.


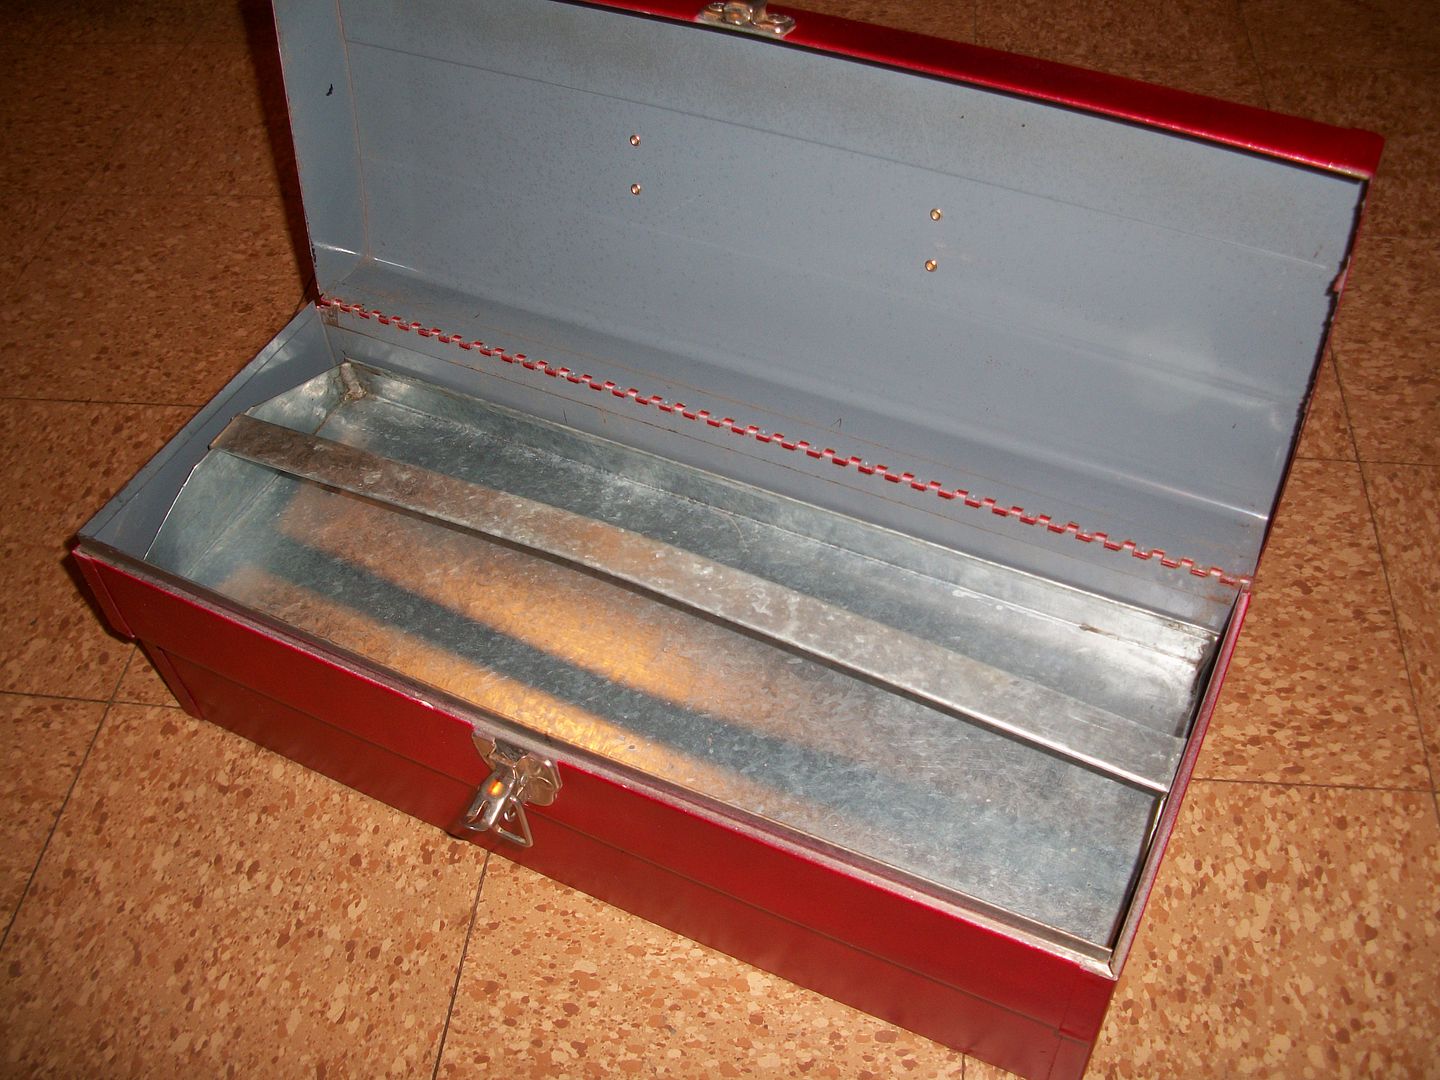
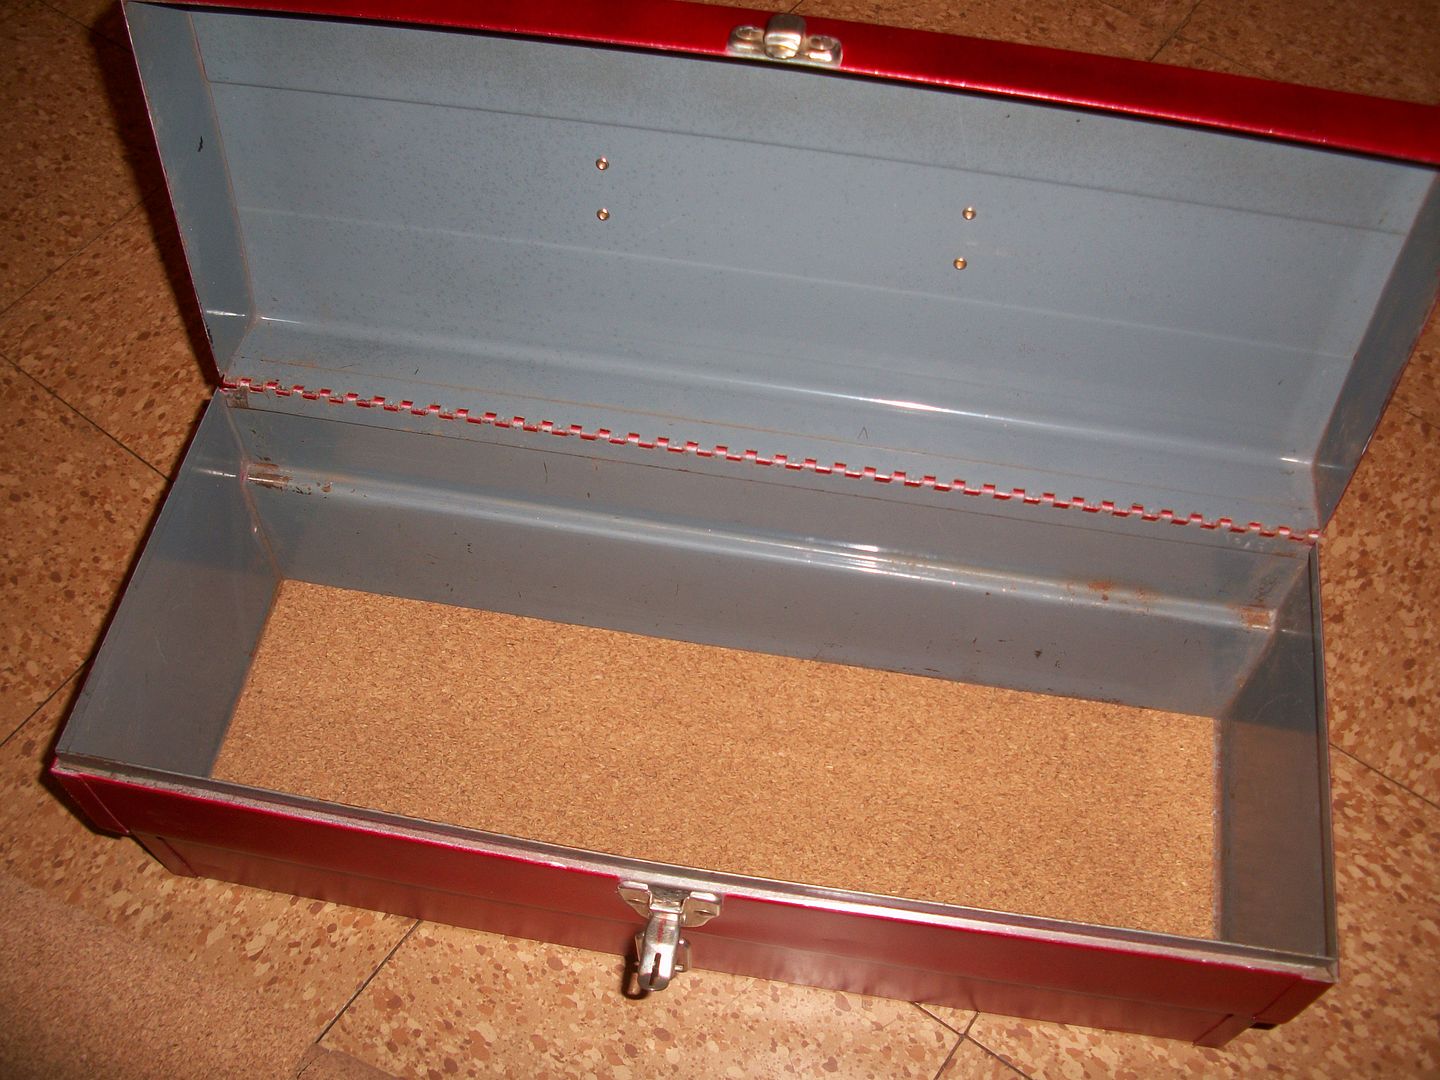
The inside looks pretty good so I decided to only paint the outside of the box.


Before I start to spray primer, I like to wipe the metal down with some mineral spirits to get rid of dust and anything left over from sanding.


The primer went on pretty fast.


 This is my first experience spraying metal flaked paint.  It definitely does not have the depth that you'll see in a professionally painted car covered in metal flake, but it's not bad for something that only costs about $5 a can.


Despite masking very carefully, I still got some paint on the handle which I still need to carefully remove.  There's also a tiny little bit of gray behind the latch where I couldn't get any paint (the latch is riveted on, and I hate to drill out an original rivet because it's very hard to duplicate the rivet and have it look original.


Since I didn't paint the inside of the box, I decided to use some leftover adhesive-backed cork shelf liner on the inside.  That should keep the tools from making a lot of noise when the box is riding in the trunk.


I'm thinking some white, gold, or silver starbursts would look good over the metal flake red, and it would be cool to stencil some lettering on the box.  Any other ideas?

Thursday, September 8, 2011

Rainy staycation means finishing another project: folding metal tray tables and shadowbox

All this darn rain from the remnants of Hurricane Lee is forcing me to hang out indoors, with a few quick painting sessions between raindrops.

So in addition to finishing the $2.37 metal lawn chair, I also finished a couple other lingering projects.


I repainted this shadow box and now it's the mate of my other shadow box and they're hanging on opposite sides of the bay window in our living room.


I think bobblehead nodders are a perfect item to display in these shadow boxes, and recently I scored these two four-inch Indian nodders for only $5.  I'll be keep an eye out for one or two more big nodders to keep these two company.

I also stripped, sanded, and painted the set of four folding tables I picked up for $5 at a recent estate sale.

All four trays were this camp stove green color.


While stripping the old paint, I noticed that these had been different colors before and were repainted some time in the past, so I didn't feel bad about using the colors I wanted instead.


Now I just realized while typing this, the repainted trays look a little like the colors in my Google Chrome browser icon! How weird is that?


Tuesday, September 6, 2011

Finishing up the outdoor steel rocking chair

So when I last posted about my $2.37 outdoor steel rocking chair project, it looked like this...


The three holes in the seat are there for drainage and look like they've always been there

Pretty solid but several old layers of paint had to come off, and I had to sand and patch some spots where there were rust holes.


Now you might think that this would require welding a patch on or worse, cutting out the bad spots and welding in a new section of pipe.  Nah, too much work for a $2.37 chair.

So I used something that I've used around old cars before.  It's a product called POR 15 patch.  POR 15 (POR stands for Paint Over Rust) is a paint product that you can brush onto rust and it will harden to an almost plastic epoxy finish.  It's sandable and it really sticks.  You have to wear gloves and old clothes because if you get this stuff on your skin, it will stay there for days.

I remember brushing this stuff on the underside of an old car I was working on, and when I got done my face had lots of tiny black dots that I had to scrub repeatedly before I got rid of them.  POR 15 reacts with oxygen and hardens pretty fast.  You can get the paint on variety in small pint sized cans, but you really need to use it up because the lid will actually harden to the edges of the can if you're not careful, and I've had half a can go to waste because I didn't get a good seal on the lid and the liquid became rock hard.  (By the way, I've used this with pretty good success on wrought iron railings that had rust issues too.)


So anyway, I had a tube of POR 15 patch (it's a paste, much thicker than the paint, so better as a filler) and used a popsicle stick to smear the paste onto the rusty areas on the chair.  I tried to use some scrap aluminum mesh from an old screen door to give the paste something else to adhere to, but I couldn't get it to stay formed around the curve of the pipe so I gave up.


In this shot you can kinda see the black areas where I used the POR 15 Patch

As it turned out, after the paste hardened it was enough to fill in most of the rust holes.  I sanded those areas down and where I needed it I added some additional paste and let that set up.  Then I sanded the patched spots again, and wiped the whole chair down with mineral spirits before using a gray primer over everything.


I love how primer will make ugly bare metal look almost new.  


By the way, a little tip for painting.  Paint the bottom of your project first, then when that dries, turn the project up to paint the top parts so you don't have to lay your freshly primed top parts down on the ground or on anything that could mess up your fresh primer in areas where the finished product will be viewed the most.  Same goes for finish painting.  If you have a small thing to paint, try to rig up something to hang the object from and again, paint the bottom parts first, then hang the item so you can paint the top parts.

Also, wear a proper ventilated breathing mask and goggles when you're working with spray paints.

So after I hit it with a couple coats of sandable primer, I let the chair sit for a week or two and finally got back to it last week.  I had been pondering a color choice, and lately I have a thing for red, so red it is!


Now that it looks this nice, I don't want to leave it sitting outside, so the chair is going to live on the tiki screened porch.


Monday, September 5, 2011

Slot Cars! and Batman?? ! Holy 24 Hours of Sebring!!!!

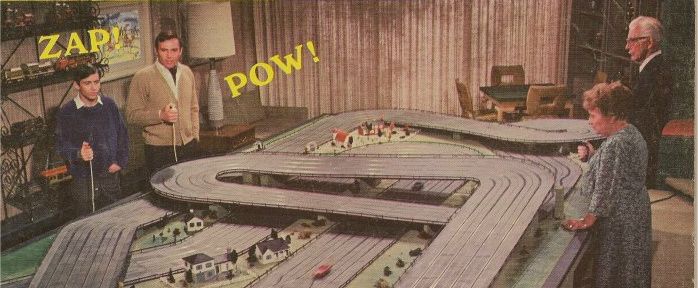
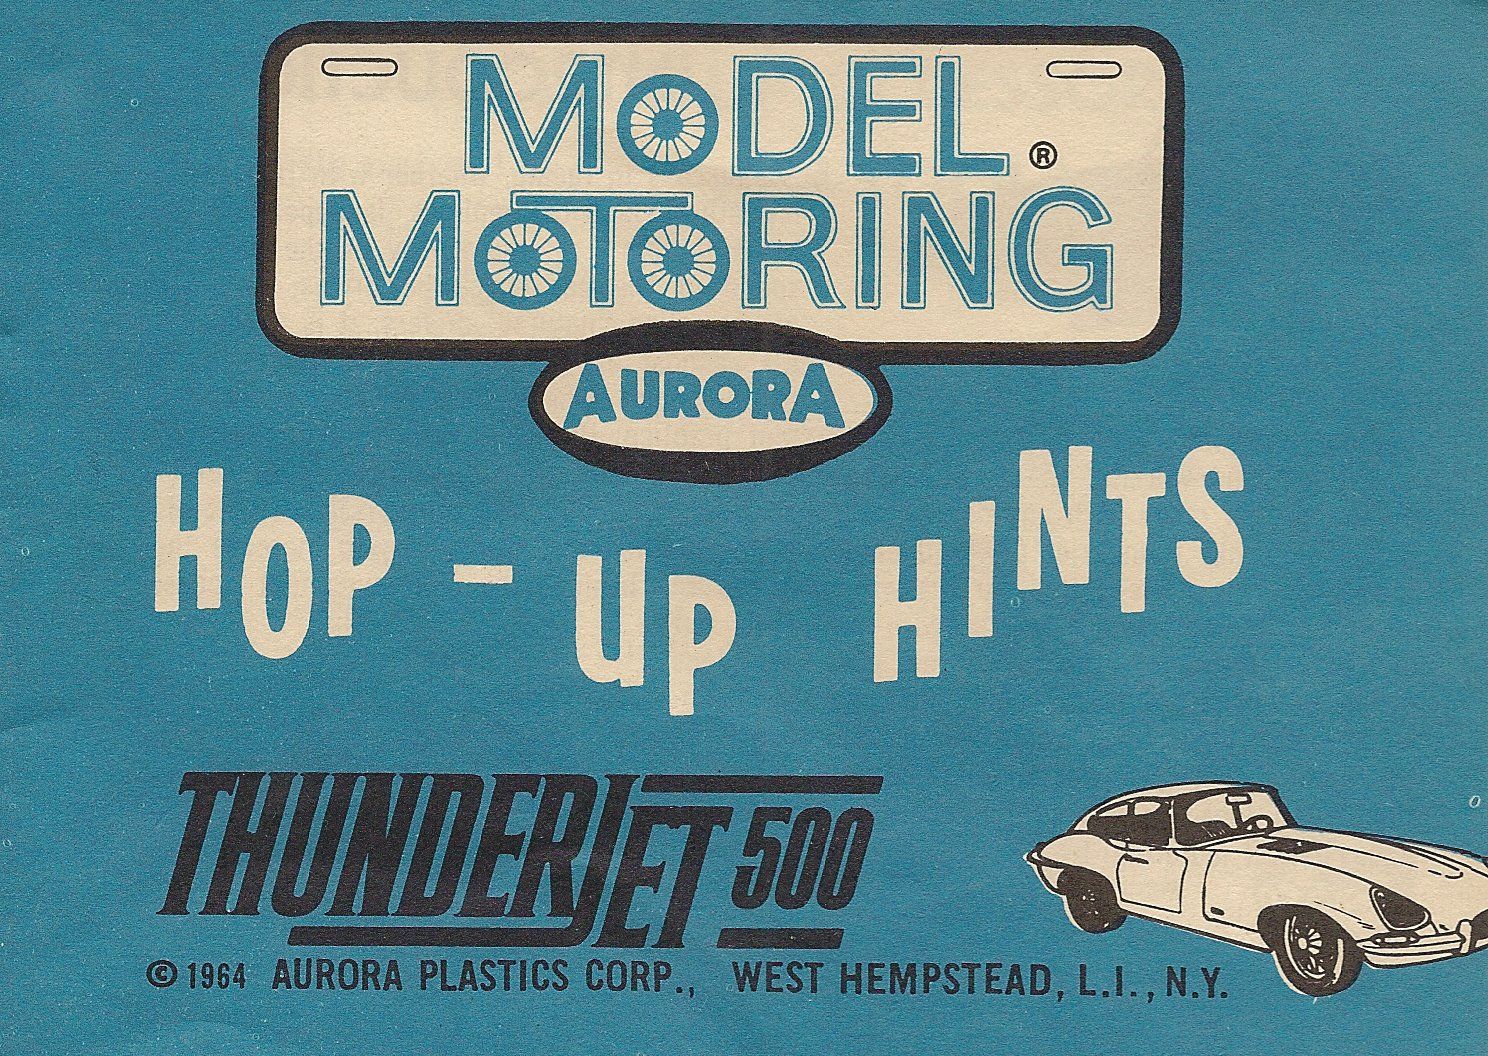
OK, quiz time - what do these two photos have in common?


I mean, other than some groovy guys secret crimefighters holding race car controllers!  (Oh, and how about that TV set, lamp, and sofa in the photo!  And the textured orange carpet, oh I remember that.  I wish I had that TV and sofa, but they're long gone.)

The Aurora Model Motoring Thunderjet race track set in the top photo was probably the greatest Christmas gift I ever received. 


It was great fun creating different track layouts and hopping up the cars for faster performance and better traction.  Heck even the illustrations in the catalog and box graphics are wonderful to look at.


Like many childhood toys, it ended up in a box and eventually was given or thrown away.  I don't have another one, but I do still have a couple of the cars, including a British racing green Jaguar XKE, and this yellow Ford GT with hacked up rear wheel wells modified for huge racing tires.  


The cars I really lusted after were the Aurora Batmobile and Green Hornet car, but I never did get them at $3.49 each!!! 

I do keep my eyes out at sales for this vintage Aurora slot car stuff, but it doesn't come up very often around here.

That Bruce Wayne slot car photo came off of the cover of a 1967 slot car magazine that I picked up at an auction years ago.  Here's the original cover and the inside article.  This is great stuff and probably pretty rare!


I don't have any old home movies of my track, but here's a cool clip from none other than stately Wayne Manor!