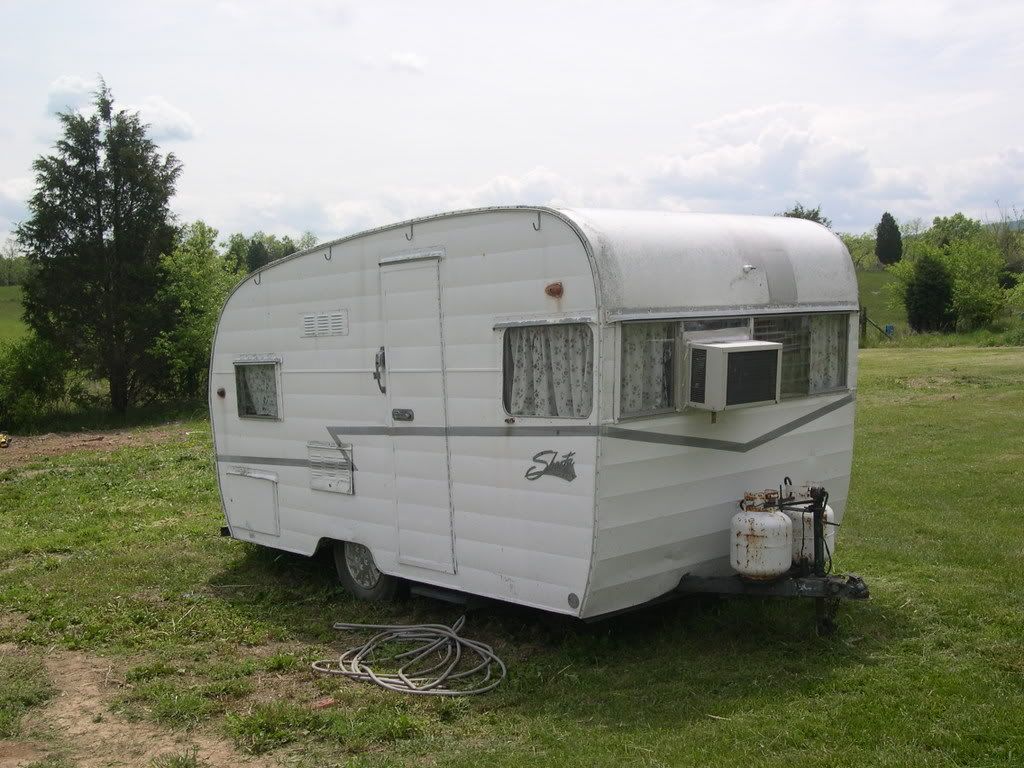
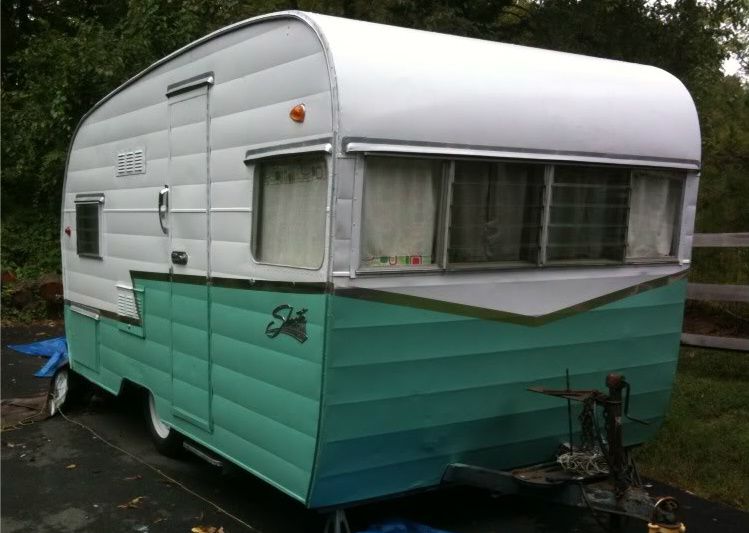
When I still had my old Mercury Colony Park station wagon, I got interested in finding an old camper to tow with the wagon. I kept an eye out, and finally about four years ago I got serious with my search. I wanted a Shasta with the canned-ham shape, wings in the back, and birch-panel interior. I was checking ebay and craigslist, but finally decided I needed to start driving around in the country to find one. My in-laws were living outside of Winchester, VA, so one weekend my father-in-law and I went for a drive and came across this Shasta in the backyard of a house with a real estate sign in the front yard. Looked like they might be interested in selling the camper.
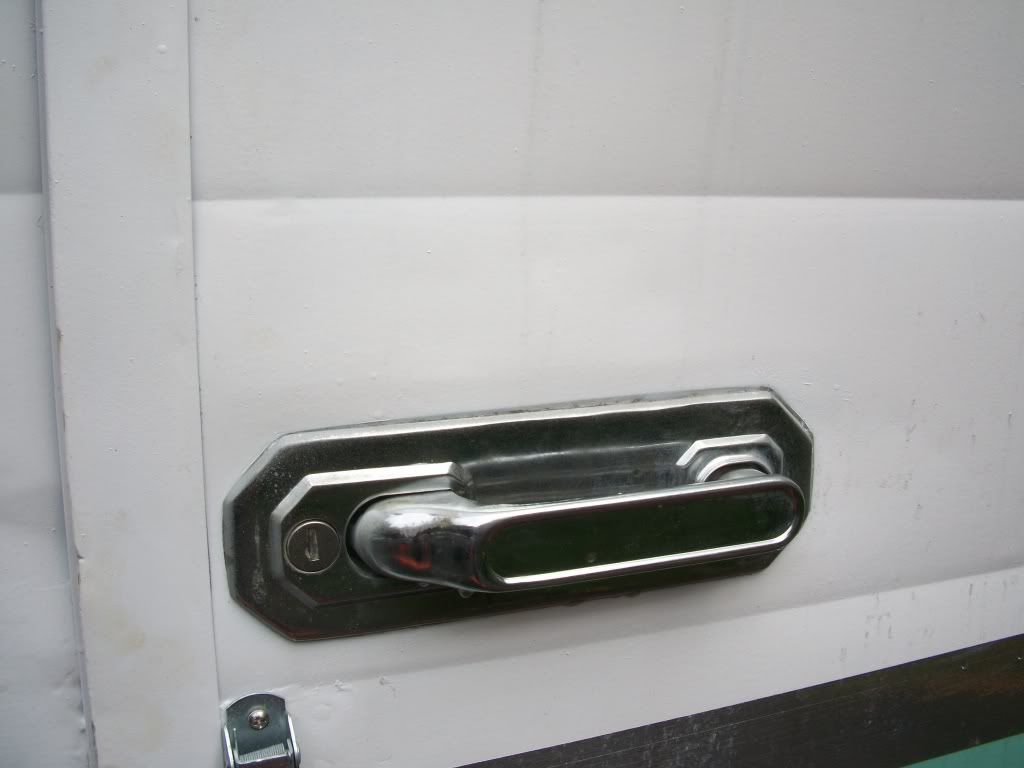
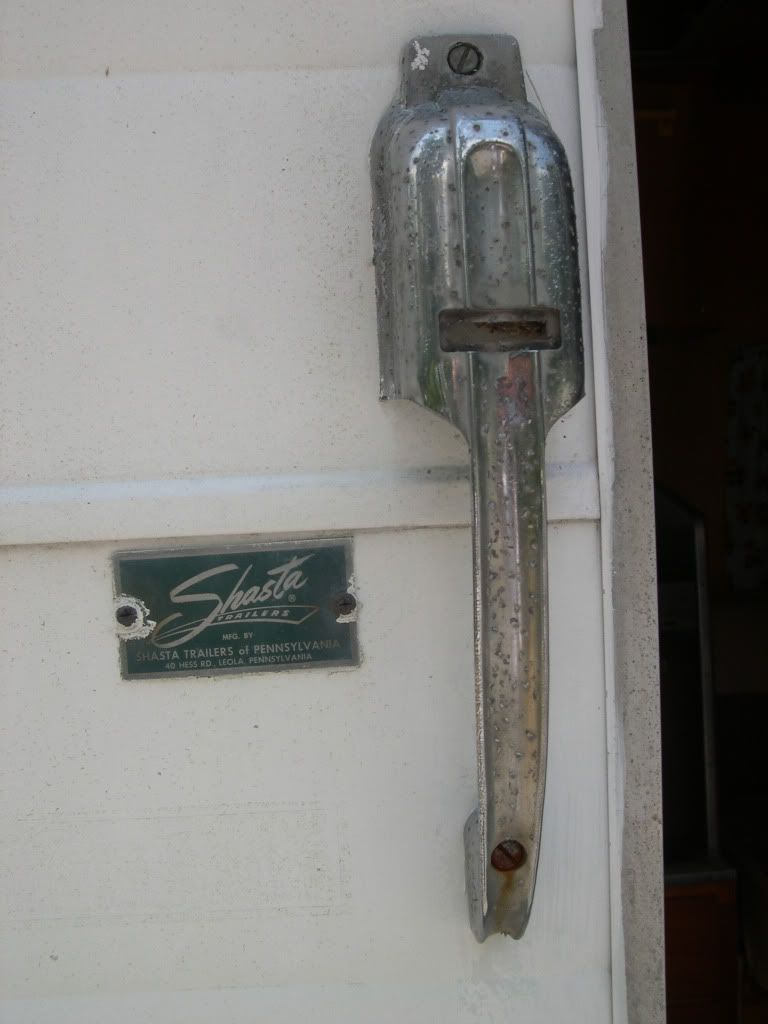
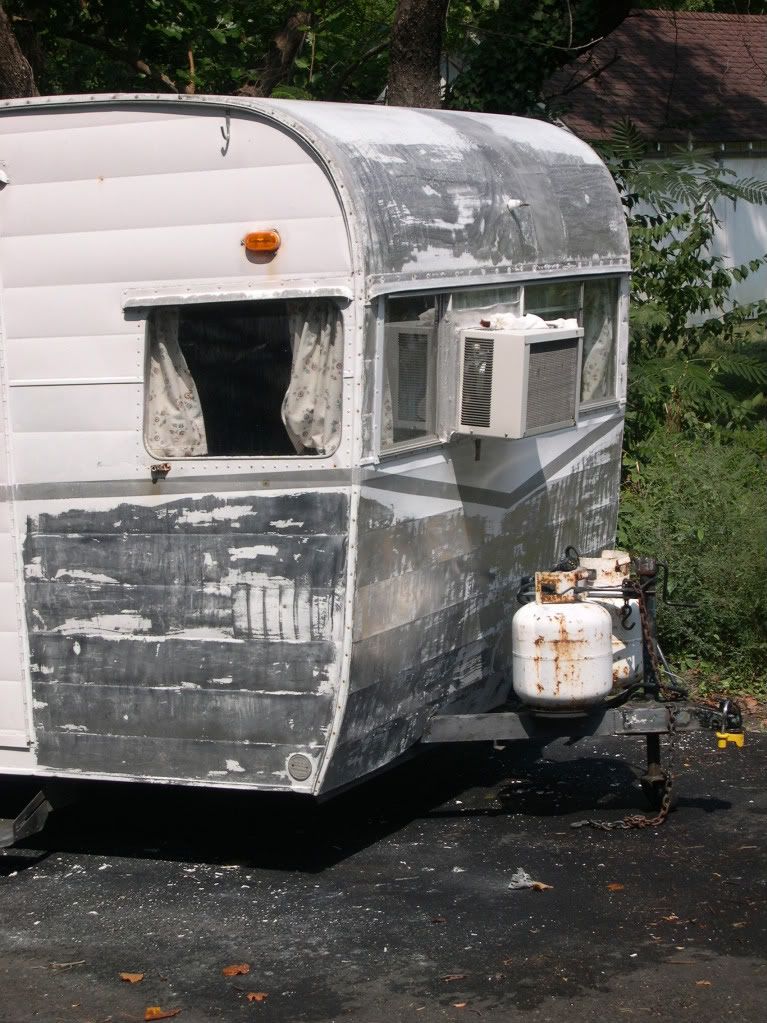
Here it is in the seller's back yard. Winter weather and moisture here in the East takes a toll on chrome

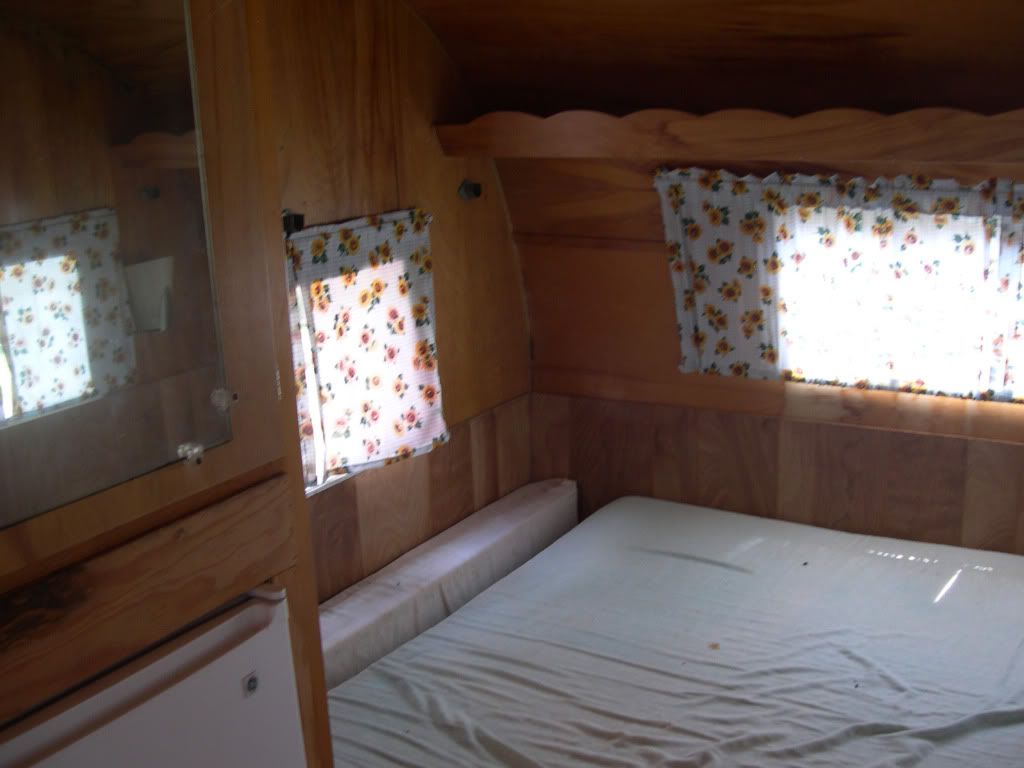
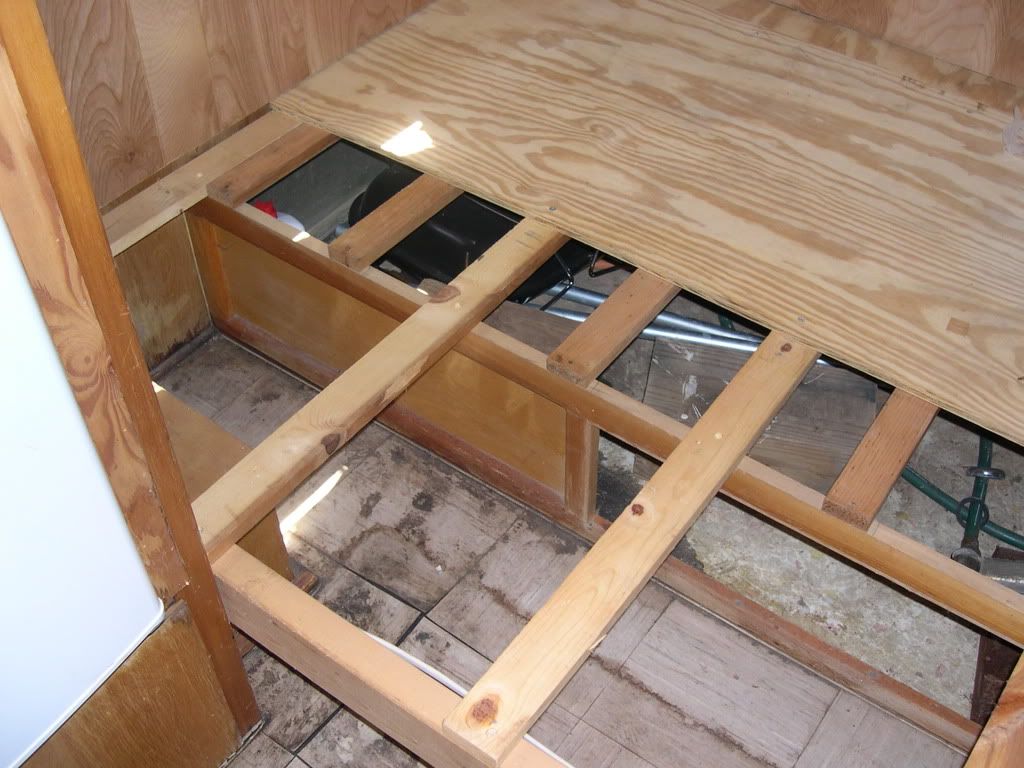
The front dinette cushions were there, but the rear 'gaucho' sofa/bed cushions were gone and the sliding bedframe had been turned into a permanent bed with an old mattress.
After looking it over and negotiating for a few days we struck a deal. It didn't have the original wings, but I figured I could find a set or build a set when the camper was done. We dragged it with my father-in-law's pickup to their driveway. There it sat for a couple weeks until I could get new trailer tires mounted on wheels that would fit. Finally I went back and after I repacked the wheel bearings I used my father-in-law's truck to tow it to a trailer repair business. I had them get the towing lights working and make sure it was safe to tow home.
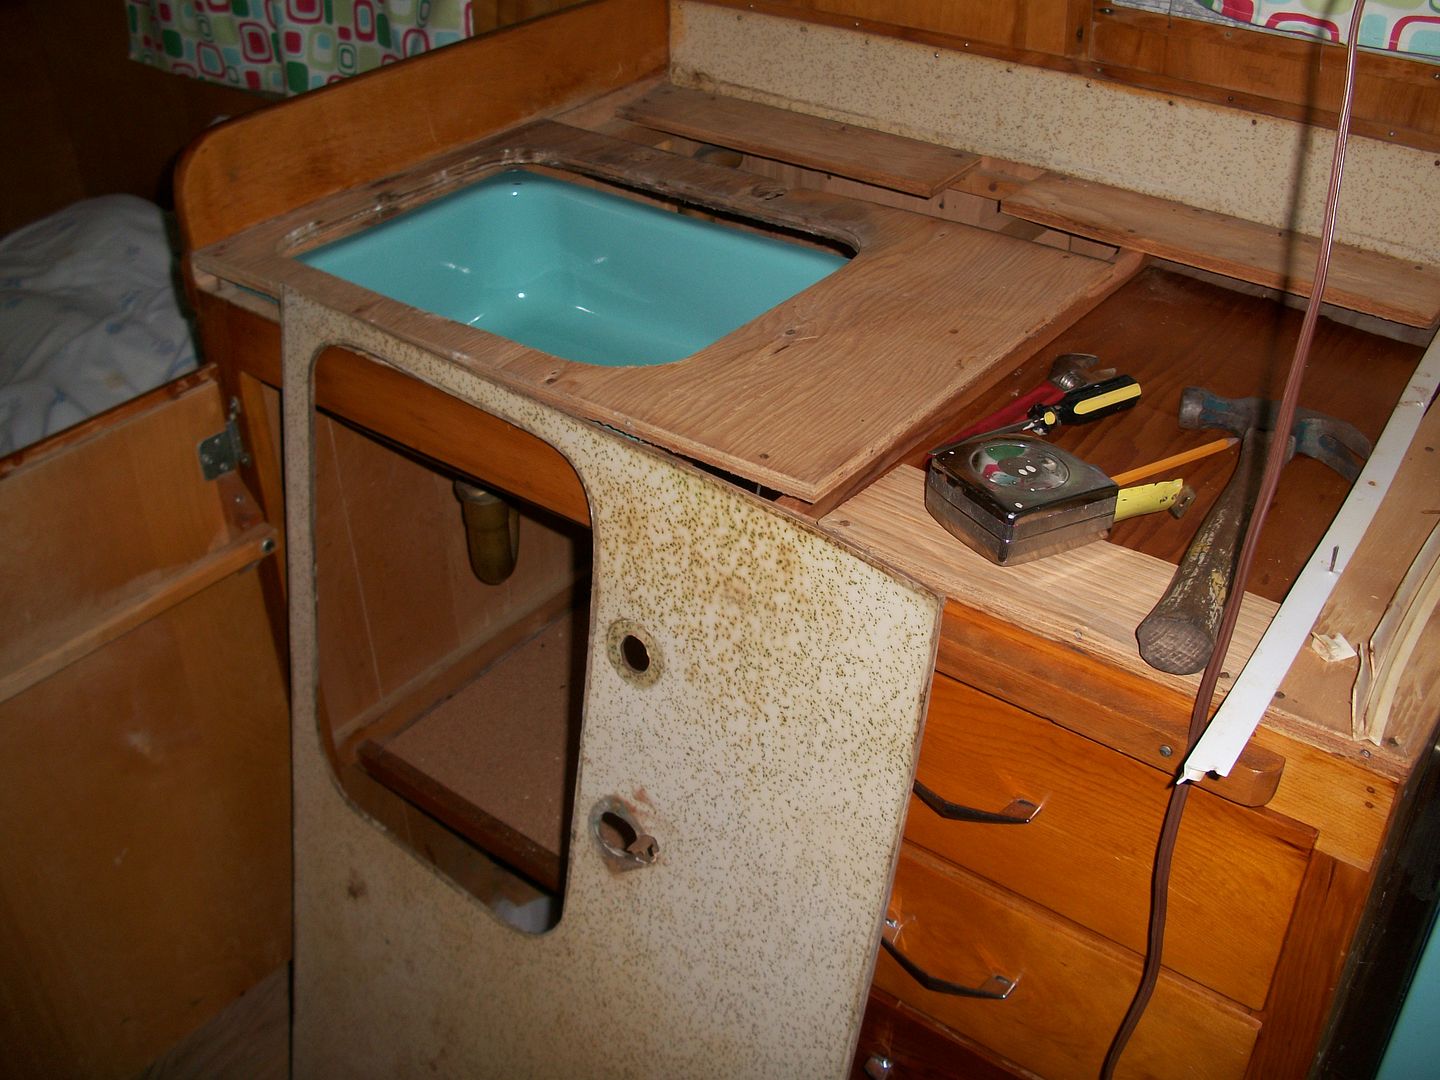
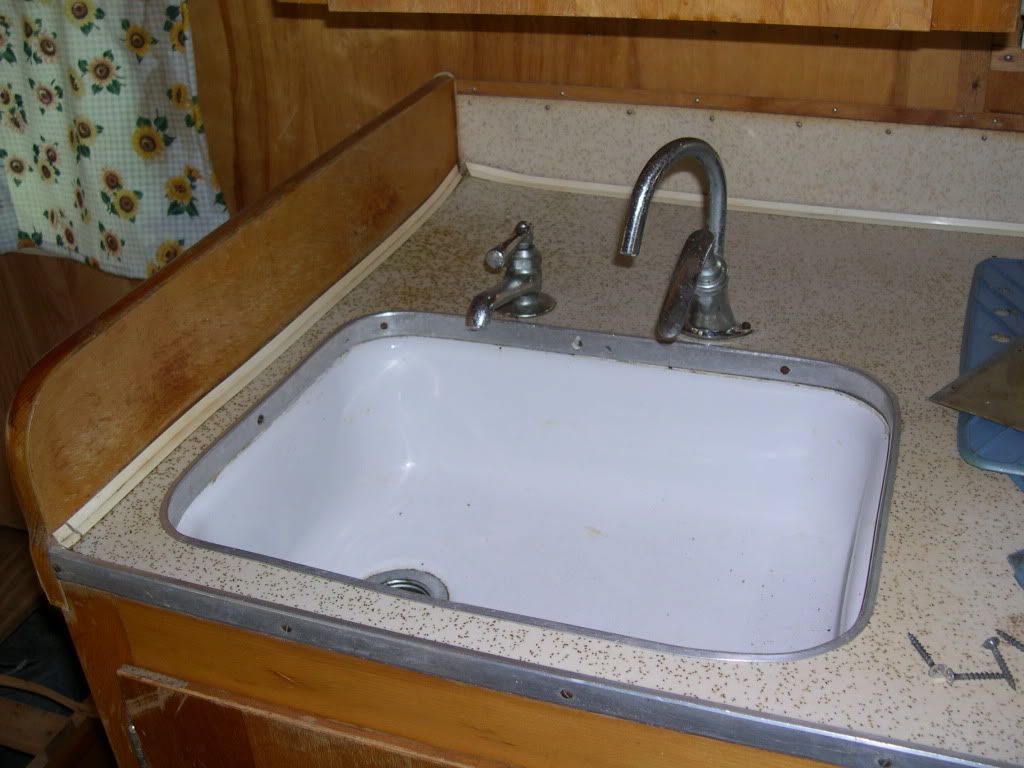
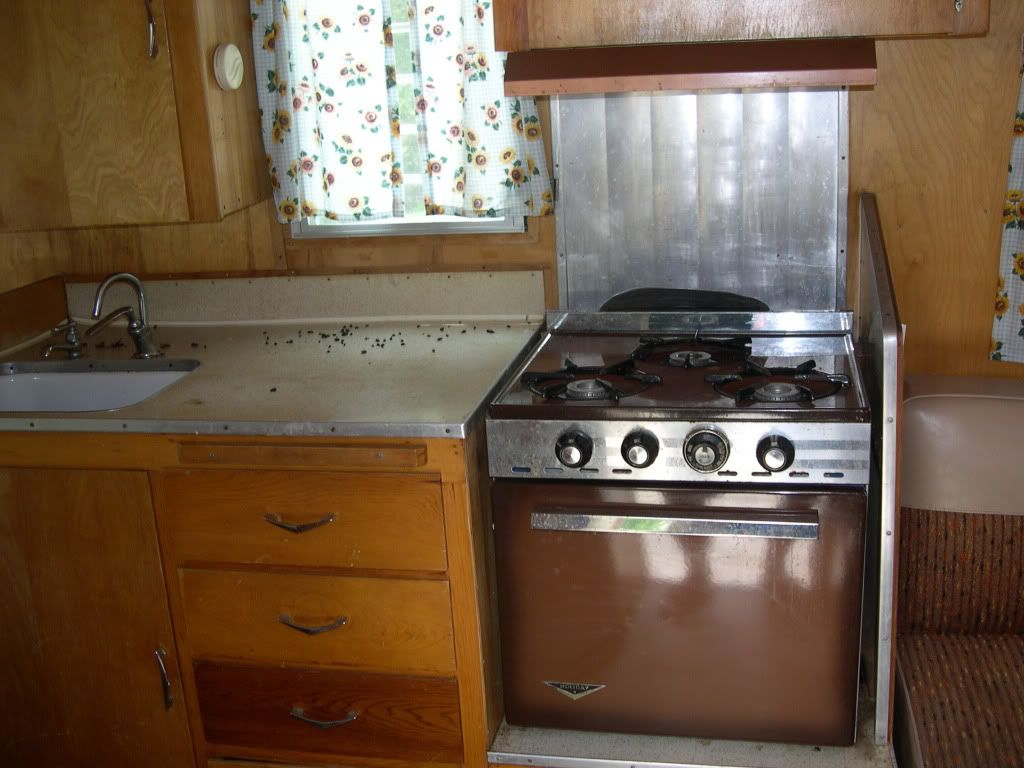
Another shot taken before restoration started. This is the electric light above the kitchen sink. The daisy curtains were saved and used as patterns for new curtains.
I trashed this old mattress that was in the back end of the camper where the gaucho (sofabed) goes.
Here's how the permanent frame looked. It all came out when I began the rear exterior and interior work.
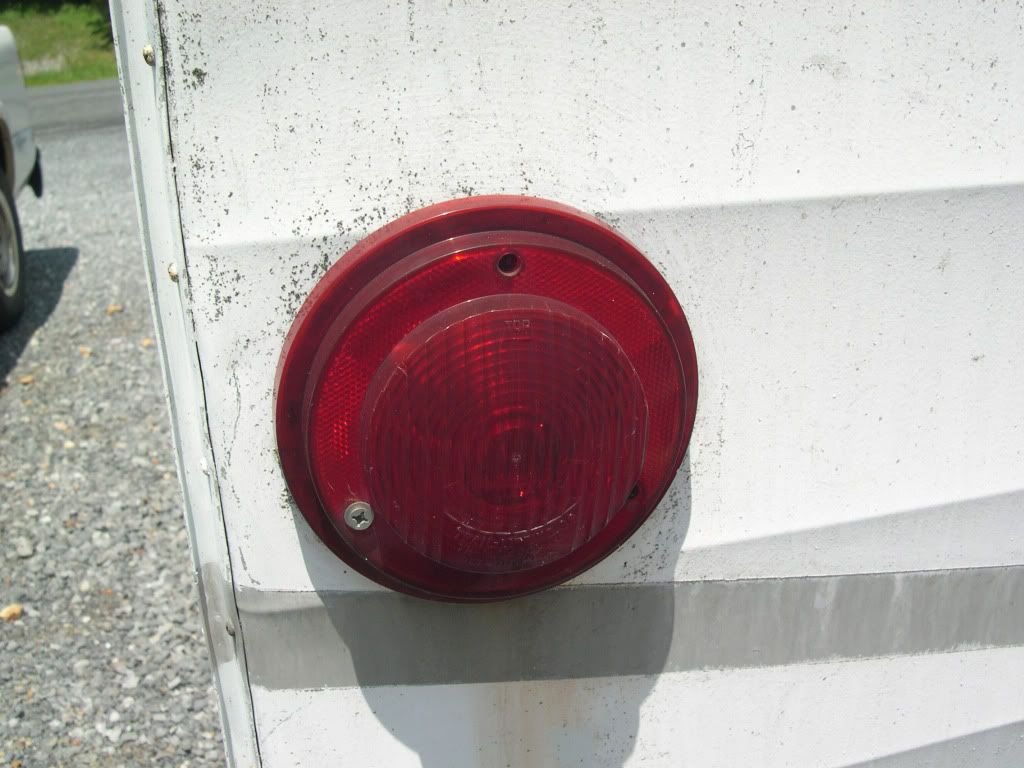
One of the taillights that were tossed out by the trailer repair dudes!
Without asking me, the trailer service center trashed the original exterior lights and wired in new, non-original lights. I didn't think much about it at the time, but later discovered I should have kept the old parts. At least the camper was legal and I towed it home with a friend's truck (the station wagon by then had developed some problems which eventually led me to sell it).
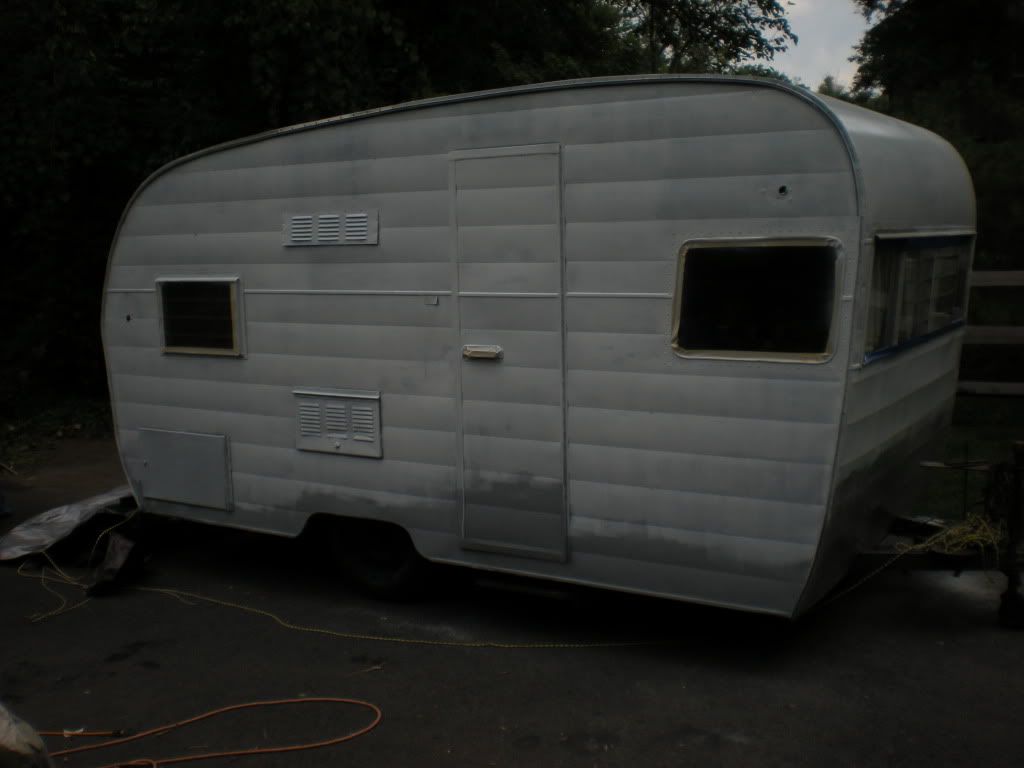
I started by stripping most of the old paint off the aluminum paneling.
Paint stripping underway. I used orange stripper and a razor scraper to get most of the paint off.
At the same time I was going through Shasta to decide what needed repair or replacement, and began looking online for missing parts and parts to replace or upgrade what came with the camper. Like nearly all old campers, this one had some water damage inside under windows where water had gotten in.
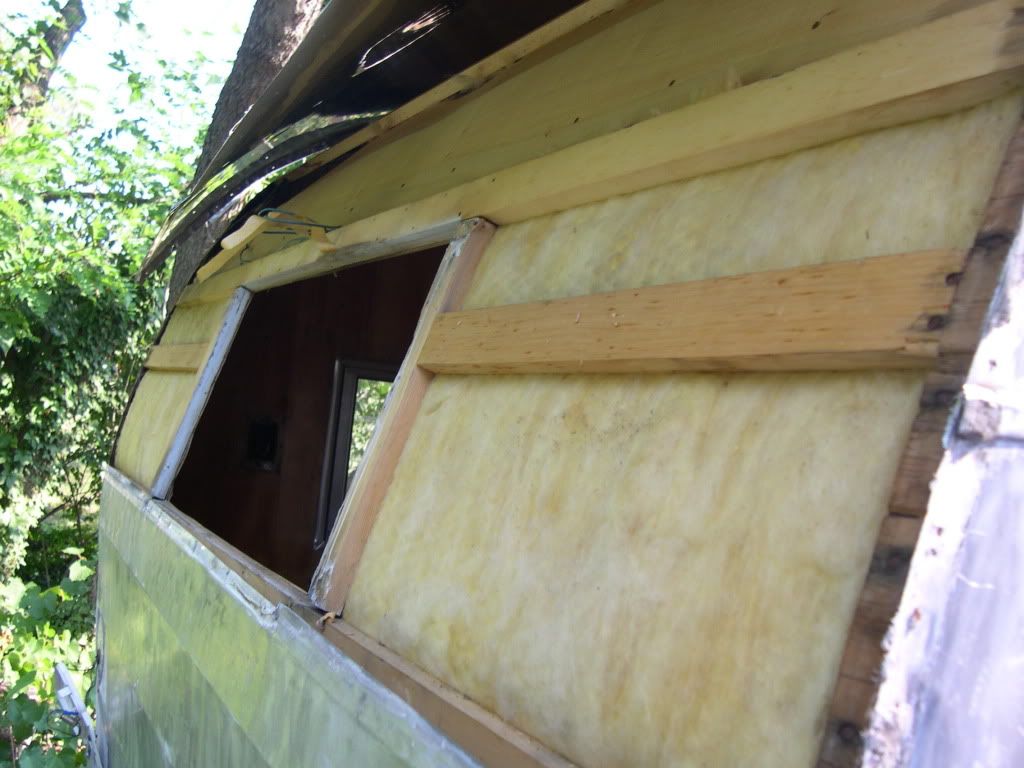
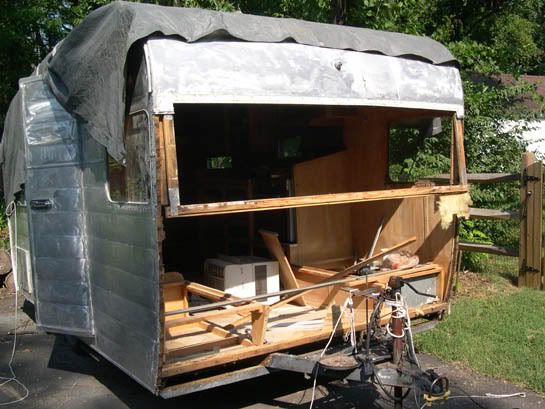
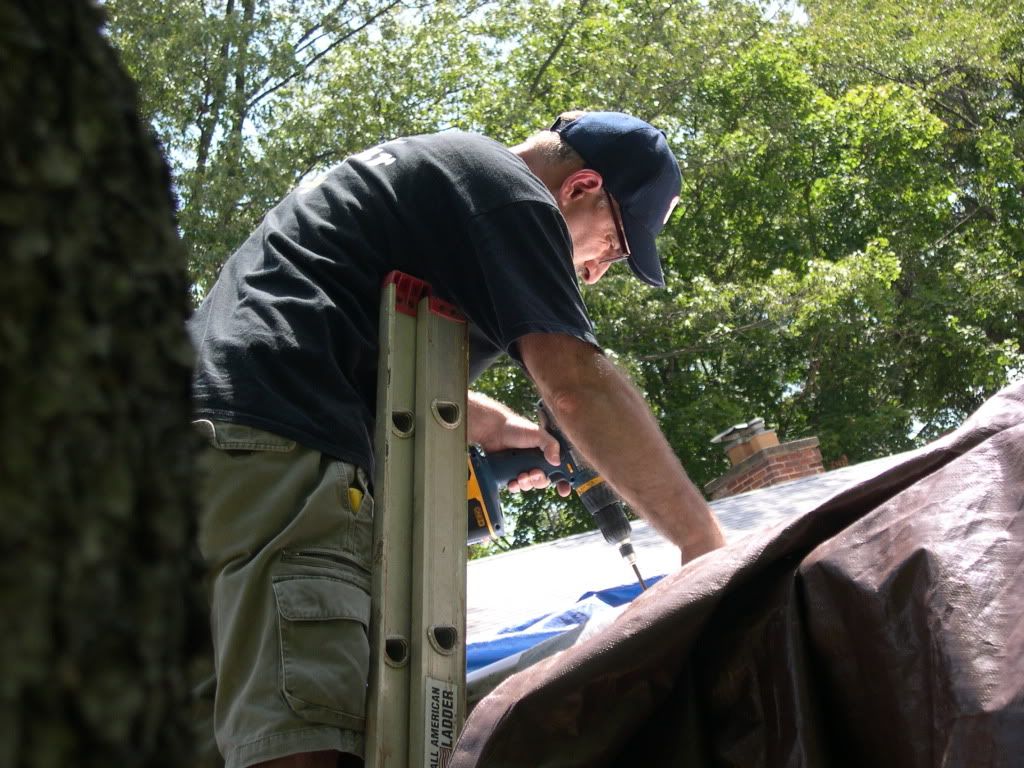
The more I learned about how the Shastas were built, the longer I took to get started. I realized I needed to take the exterior aluminum off to get to the framing because the interior paneling was attached from the outside to the frame, not from the inside. So, I figured I needed a week or two to get hundreds of screws out to remove the back end, get the bad wood paneling out, assess the frames condition, replace any rot, install new paneling and then re-attach the aluminum. And because I don't have a garage, I needed to have sunny weather, a big tarp, and lots of free time.
About a nine months after I dragged it home, I had finally located 1/8" birch paneling in 4'x8' pieces, I had the amber shellac, and I had the stainless sheet metal screws and the correct putty tape to seal around all windows and in the corners where the aluminum attaches to the frame. I got lucky when I had this area apart and did not have to replace much of the 1"x3" wood frame pieces.
Back window removed and first aluminum panel unscrewed and removed.
I can't locate any other photos of the rear end taken apart, but this shot shows the gaucho area after the paneling and new framing was in. The gaucho has two pieces of plywood underneath. To extend the frame out so the sofa cushions will fold out to make the bed, you just pull outward on the front piece of plywood.
I managed to get the rear end apart and back together in the time I allotted, and didn't have too many problems with the weather. I also rebuilt the wood framed door and got that all back together so that by the time my vacation was over, I had it all put together so it would weather any rainstorms. I held my breath the first time it rained, but luckily no leaks in the back end I had redone.

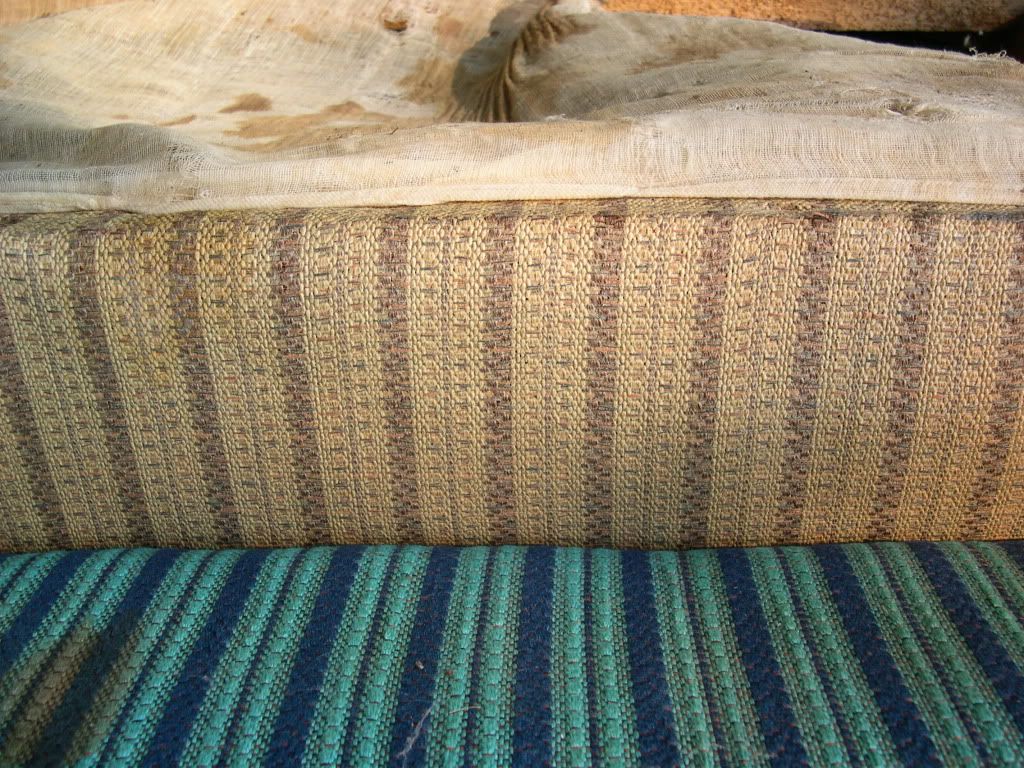
On the underside of the dinette cushions they used pieces of leftover upholstery, so these are examples of some of the original material used in the Shastas.
I also got the front dinette cushions reupholstered, but since I had to use my next vacation to redo the front of the camper, the dinette cushions spent nearly a year in the house.
The second major job was to repeat my previous work on the front of the camper. There were more windows to deal with and because someone had fitted a window air conditioner into the front dinette window, I had to not only remove that big window frame (all one piece and heavy!) but I had to take it to a glass center and get new glass installed.
Here's a shot of the front end work in progress.
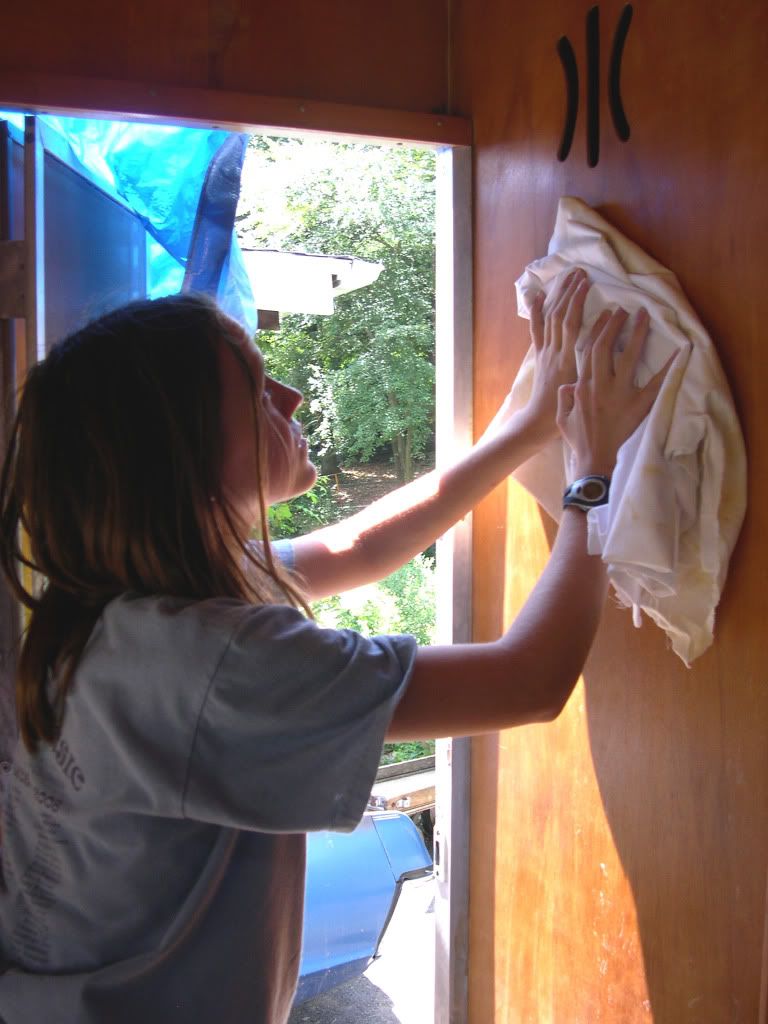
My teenage daughter was a big help for jobs that required two sets of hands.
Fortunately, I got everything apart, repaired, and back together again during another two-week window of summer.
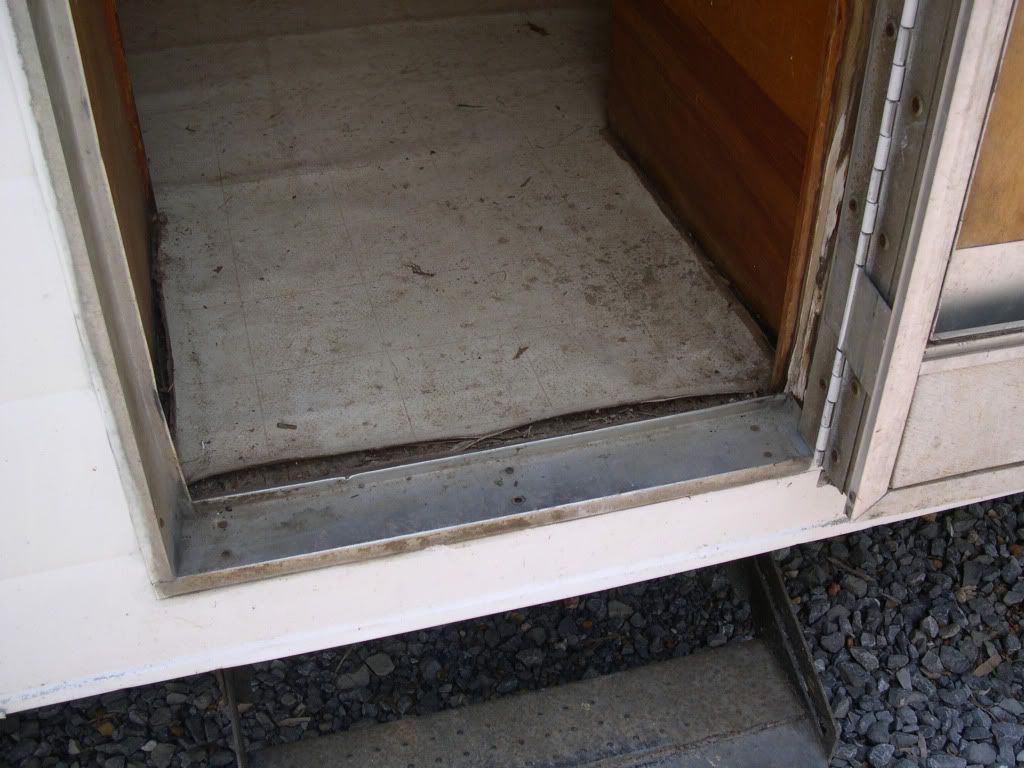
With the front of the camper back together and the windows all back in and everything re-sealed, I got all the freshly shellacked drawers and cabinet doors back in. Next I got some vinyl flooring with a wood finish and installed that over the old asbestos tiles which were too far gone to bring back to life. At that point I took another break to plan exterior finishing and persuade my dear wife to take the fabric I had found and turn it into curtains.
I also replaced the original roof vent with one that has a fan to move move air.
Last summer, I was finally ready to finish stripping off the old paint and get the Shasta ready for new paint. We wanted to go with an aqua/turquoise color down low which was close to one of the original Shasta colors, and for the top portion of the camper an off white. I had read a lot about people painting cars with Rustoleum and paint rollers. I figured I would give it a shot. First I used rattle cans to spray primer on the metal.
Here's a shot of the camper in primer. I smoothed out a few of the large dents but decided early on that I would leave the smaller dings alone and not shoot for perfection.
Once the primer had set, I started to roll paint on the upper half of the camper, using a mix of Rustoleum off white and mineral spirits to make a skim milk consistency of paint. The rolling went well but this process does take several coats since the paint goes on thin.
The green paint I used on the bottom was a tinted quart of white rustoleum (I had to practically beg the paint salesperson at the big box store to tint the paint since they are not supposed to tint rustoleum. No idea why, but after I promised that I would buy the can and not return it no matter what the result, I got my way.). The green went on just as easily as the white.
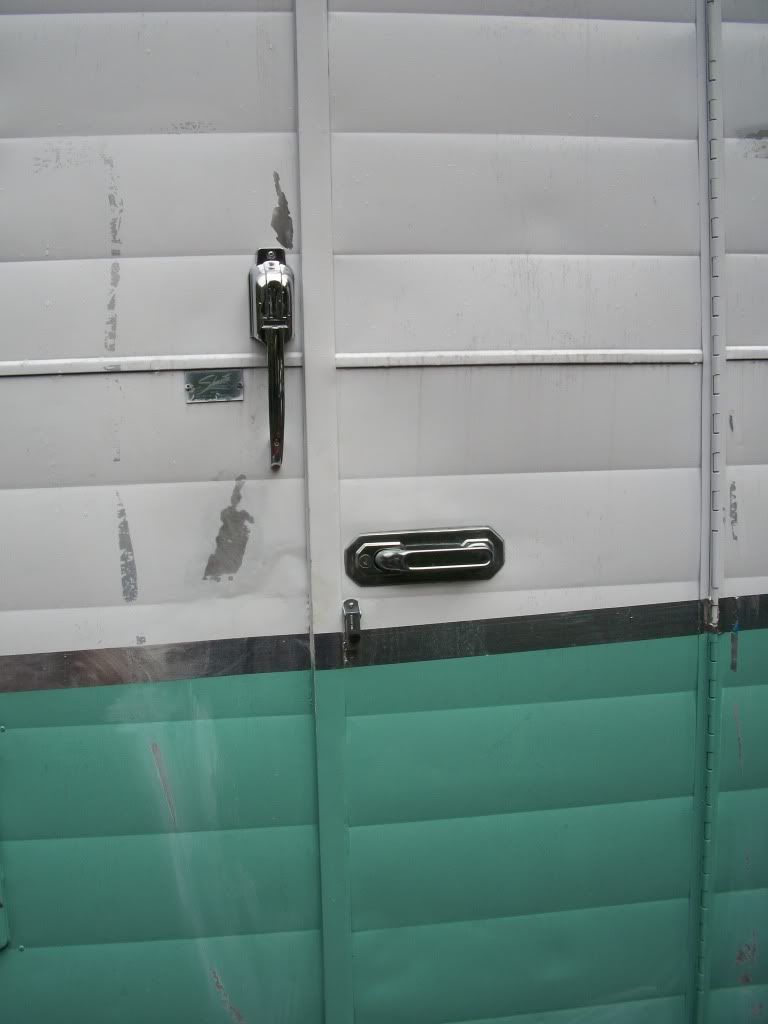
Here's where if I had it to do over again, I would have done one thing differently. Apparently the original Shasta Z-stripe was simply bare aluminum masked off when the camper was painted. I decided I would instead use aluminum tape to form the Z-stripe. Overall I think it turned out OK, but I ran into problems where the stripe crosses over the louvered vent. The tape didn't want to lay down between each louver. Still, I'm pretty happy with how the paint turned out, and it's a huge improvement over the way the camper looked before.
So now, I'm into the fourth year of work, but fortunately I only have a few things to do to be able to actually tow this Shasta to a campground site. More to come as I get time to work on the camper this spring.