We were in Danville, VA, today for a visit to Averett University. My daughter is interested in equestrian studies and its one of a couple schools on her list. Danville in some ways reminds me of Asheville, NC, which we visited last spring, except Danville doesn't have the same artsy vibe. Maybe now is the time to scoop up a historic downtown home. We passed one 100-year old house for sale and the price was a firm $44,000! Sheesh, where we live now people spend more on a new car. I'd love a house for that price.
Anyway, it was a good school visit, and by mid afternoon we decided to drive around the town and of course I needed to do a little antiquing. We located Lou's Antique Mall in what was probably a former 3-story department store downtown. It had a lot of what I consider the older antiques my parents loved, but I did see some things of interest to you all, so I shot some photos.
So what am I waiting for, here we go!
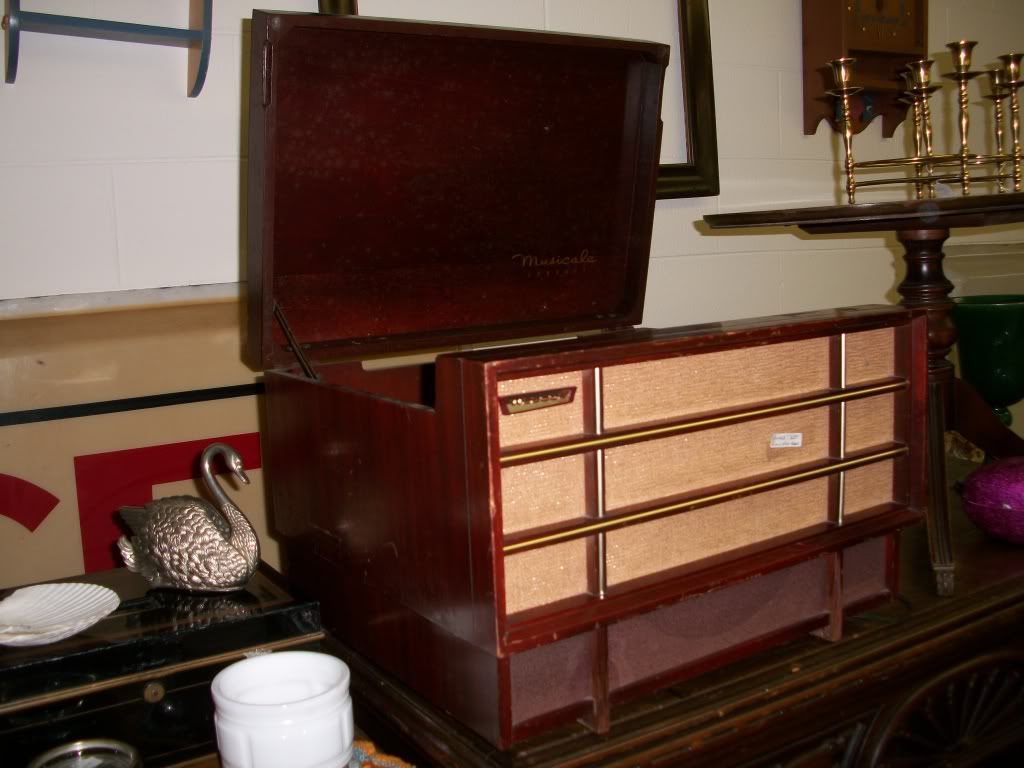
I've been looking for a vintage record player, and this Musicale tabletop model supposedly plays. It has a nice shape, and is priced at $65.
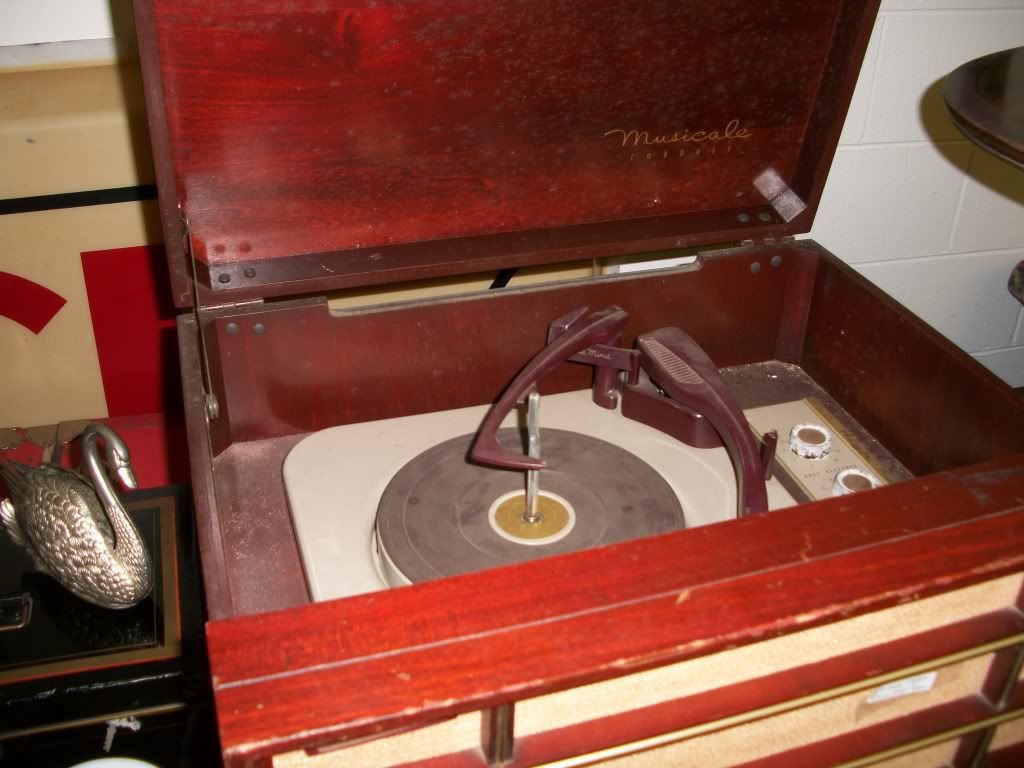
I decided to pass because I'd like one that also has a radio, I'm not familiar with this brand, and the finish and edges looked too worn. I'm becoming picky about finding the right one because, as you already know if you've been hanging around here long, I don't need any more projects!
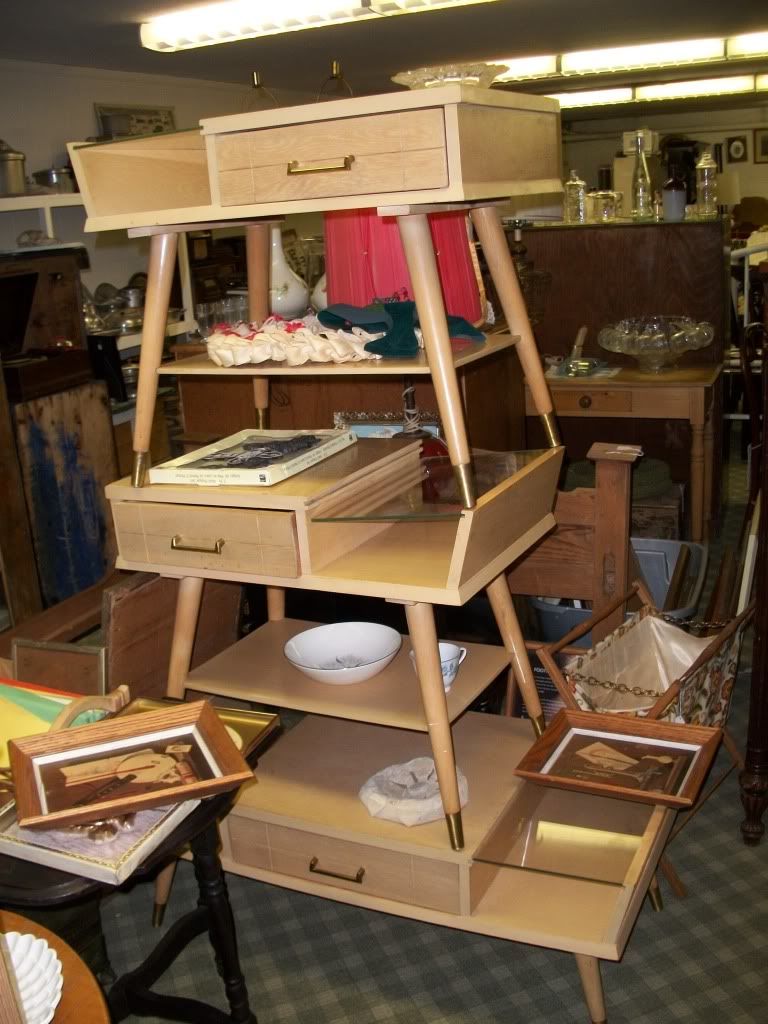
I also spotted this set of two end tables and a coffee table, very cool with glass shelf for each piece, and the drawers were double sided - you could open them from either side of the table! I've never seen that.
The angular shape is great, and I was really tempted. Priced at $90 for the set, it was tempting. I went back before we left and started seeing damage to the laminate on at least one end table, and I knew I would not be able to live with the damage, and I have not yet found a way to fix a big chip.
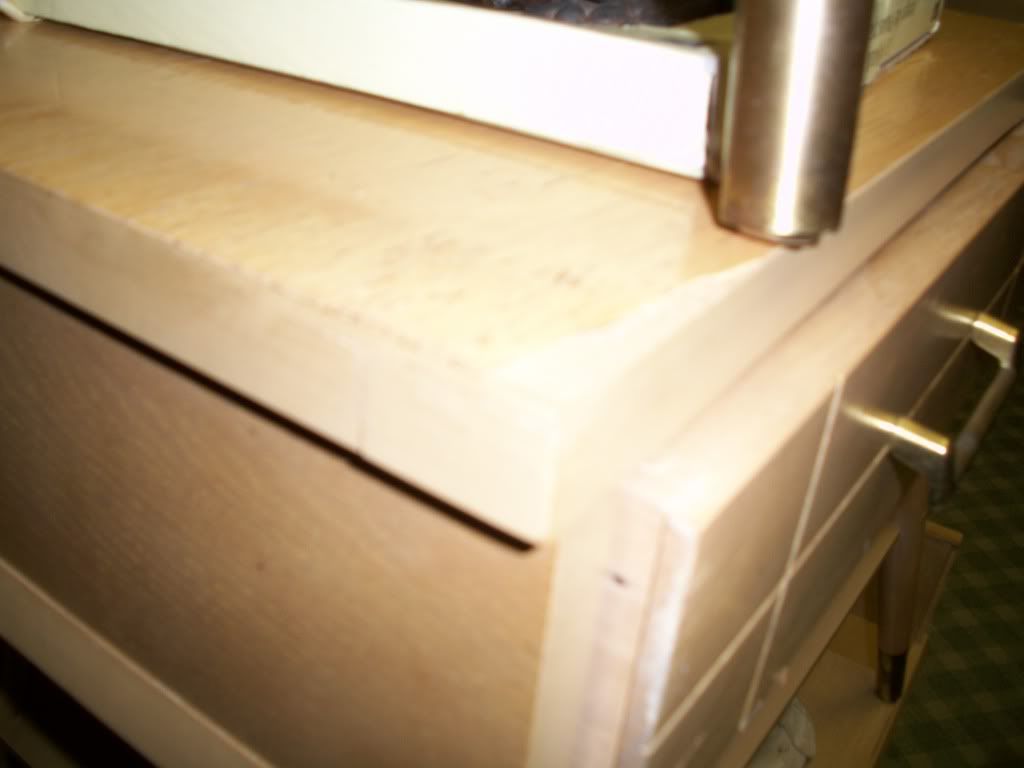
I"ll probably regret it, but I also didn't have a room to use them in.
I'm a sucker for wrought iron stuff too, and this little desk has decent bones, but the top is bowed in the middle. Priced at $65 as I recall, so not bad, but no need or room for it either.
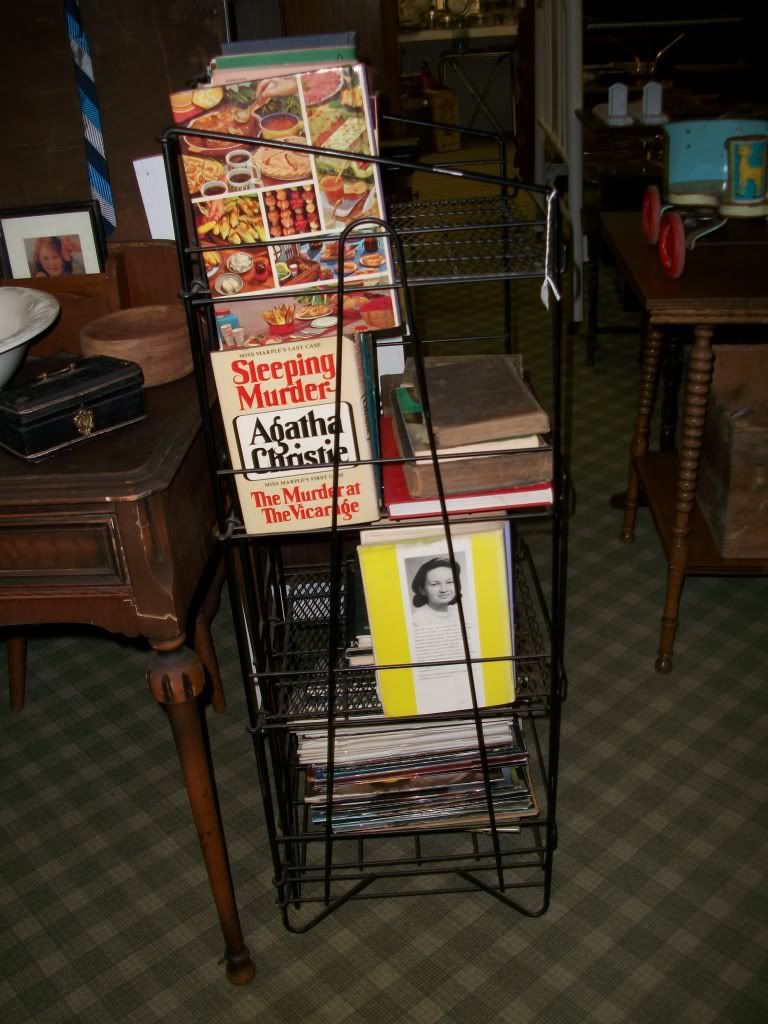
I very nearly bought this folding wrought iron bookshelf, looked very sturdy and priced at a decent $42.50.
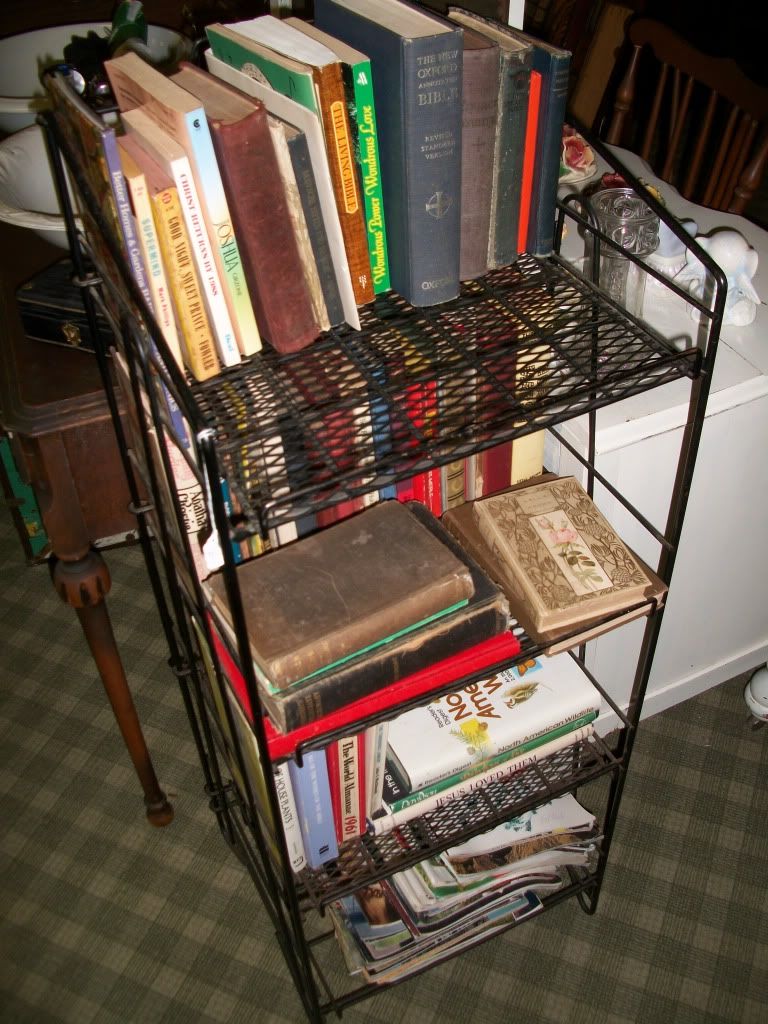
It would have fit in the car, my daughter liked it, but I didn't pull the trigger. Too lazy to offload all the books? Maybe. I also couldn't think of a good place to use it at home. I'll probably regret this one.
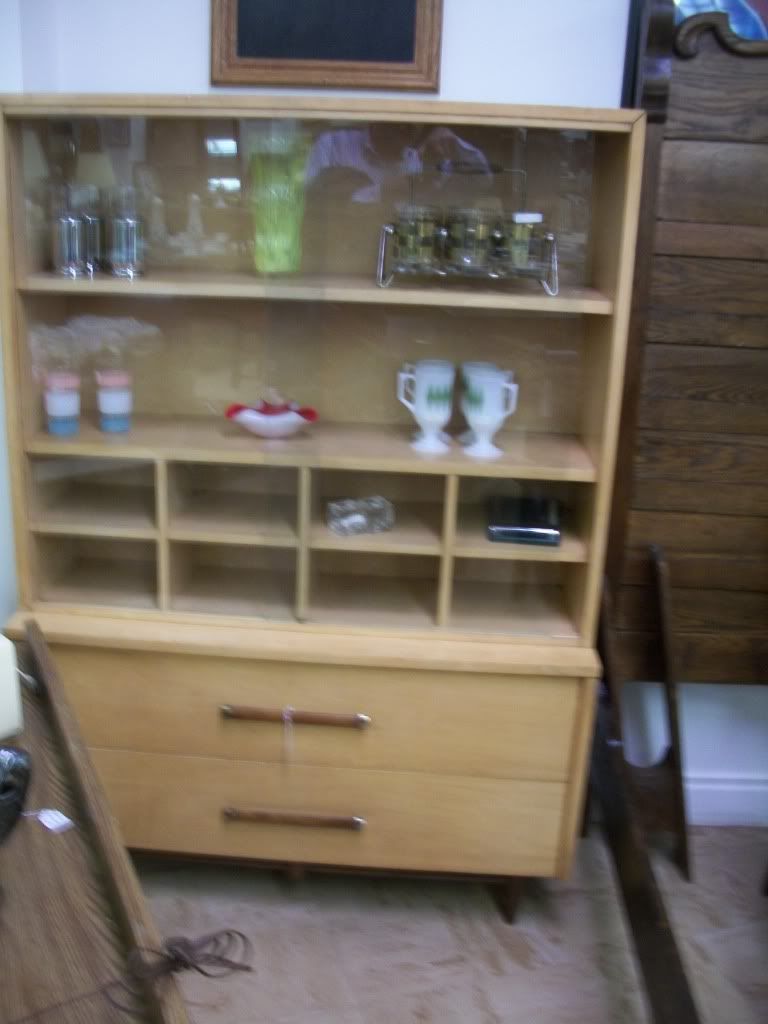
This cabinet looked pretty good and was reasonably priced - I think it was $120, but again, no room for it.
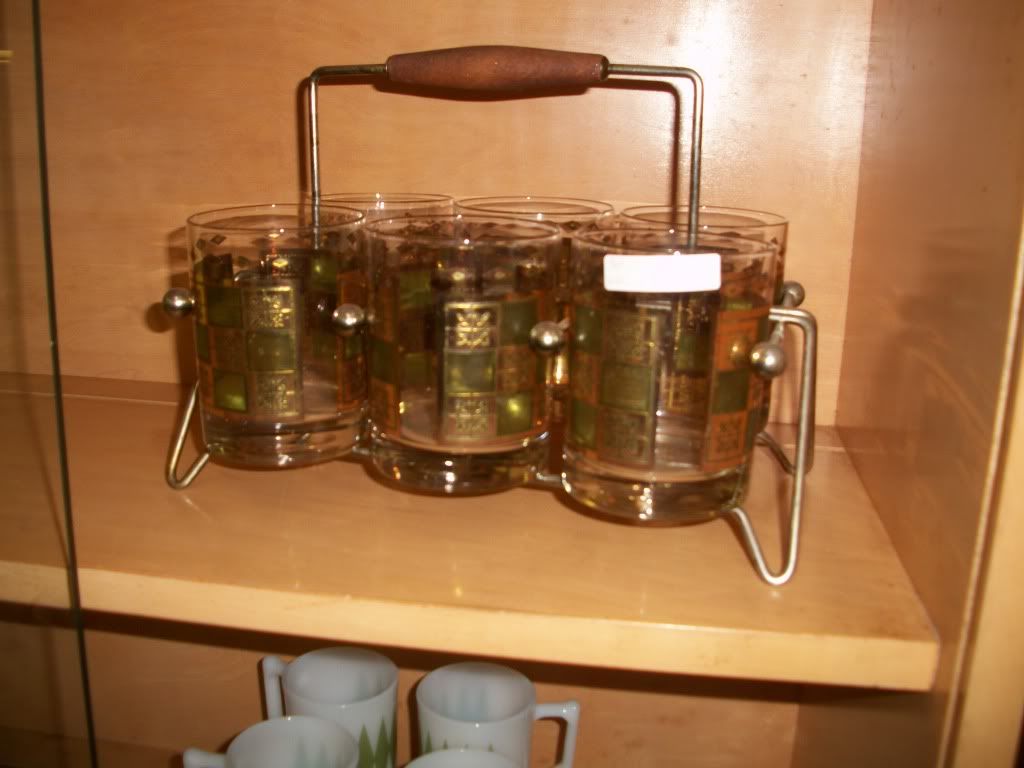
Nestled inside the cabinet was this cocktail glass set - it was overpriced.
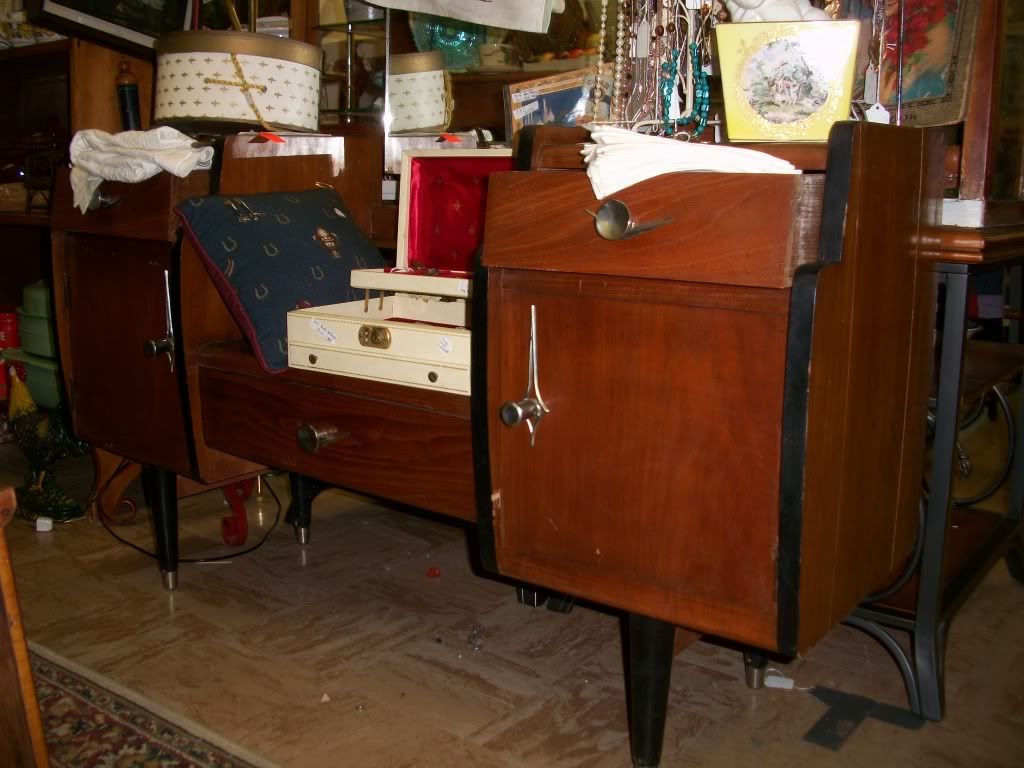
I couldn't find a price on this - not exactly a vanity, sit's pretty low to be a sideboard. Hardware is kinda danish modern. I liked it, but not enough to move all the stuff off to really look it over.
Several formica tables, this one looked pretty good with gold flecked formica, but again, I couldn't find a price and I don't need another one. Very cool though.
This yellow dinette was priced at $179, the yellow formica had a pattern I haven't seen before, not linen, more of a plaid? Chairs looked faded.
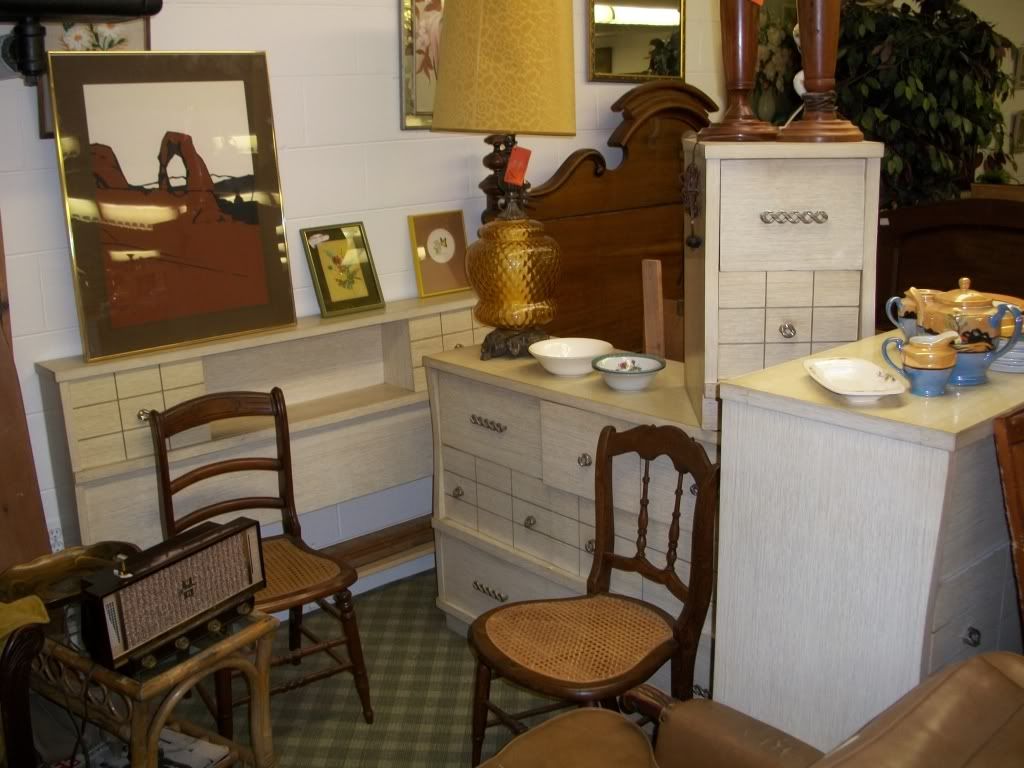
This five piece bedroom set including head- and foot-boards was $179 - I do love the picked oak and blonde furniture from this era, but the laminate can really fade irregularly when exposed to a lot of sunlight, and this set had that problem. Still, very cool.
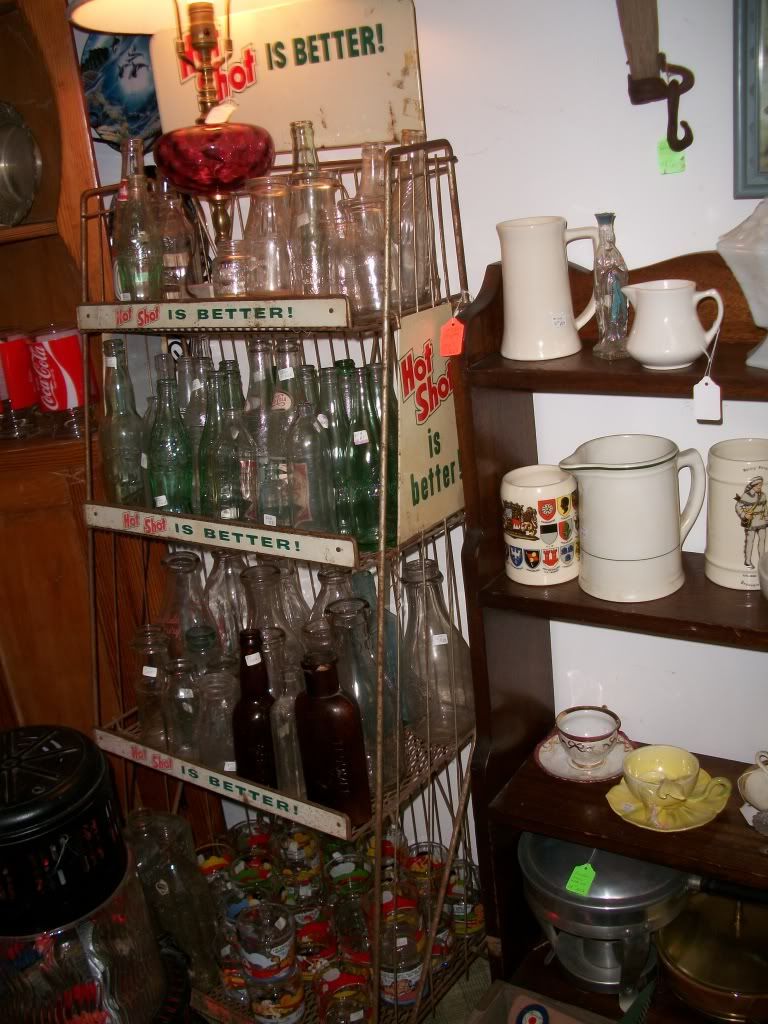
Saw several old advertising shelves like this, I think this one was $118 - I like them but I'm just not into them for our house. Now if I ever get my garage built, stuff like this will start coming home with me.
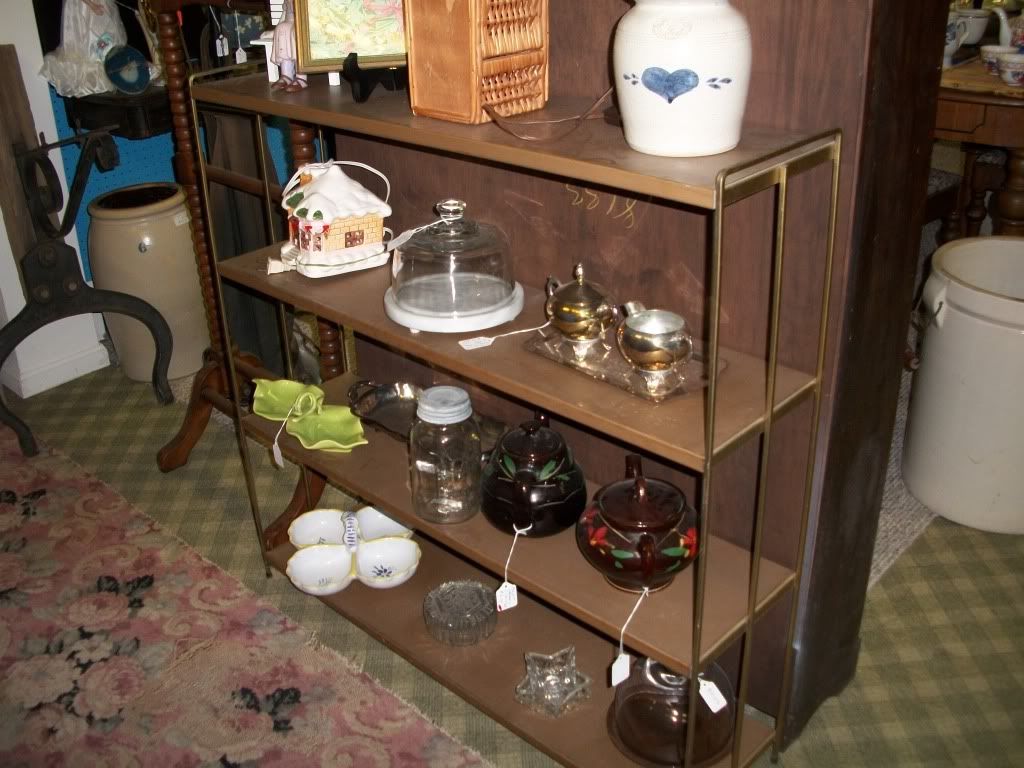
I like these little metal book shelves, no price that I could find on this one. I really hate that.
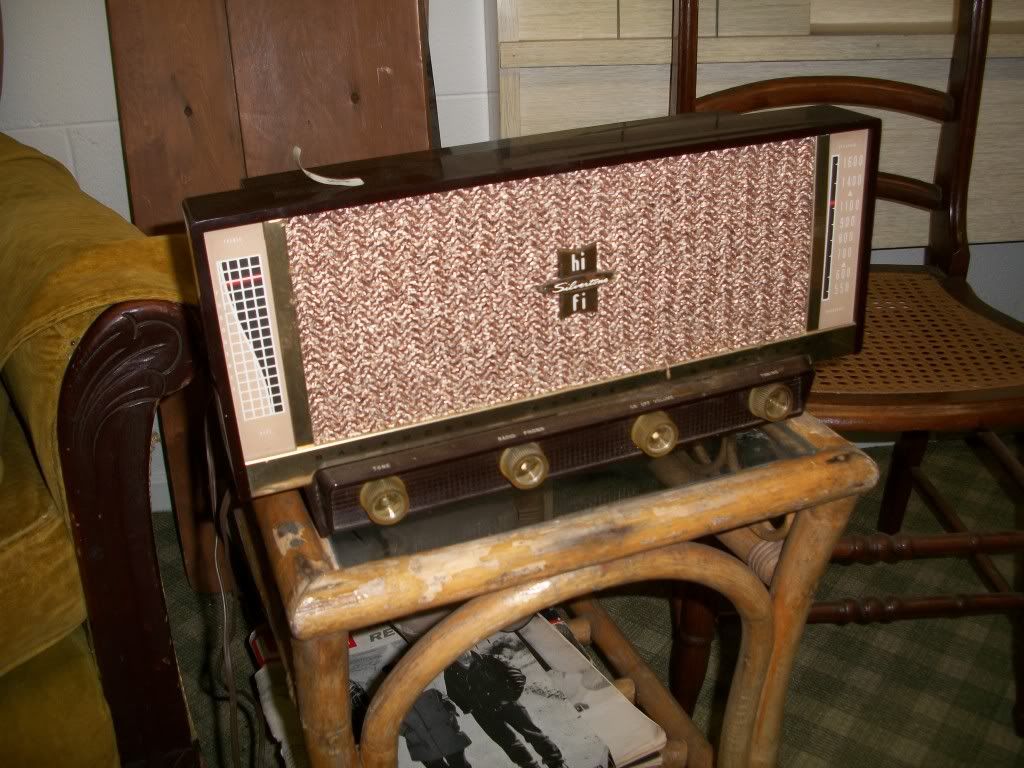
This radio looked very cool, priced at $25 which would have been OK but it only had AM, no FM.
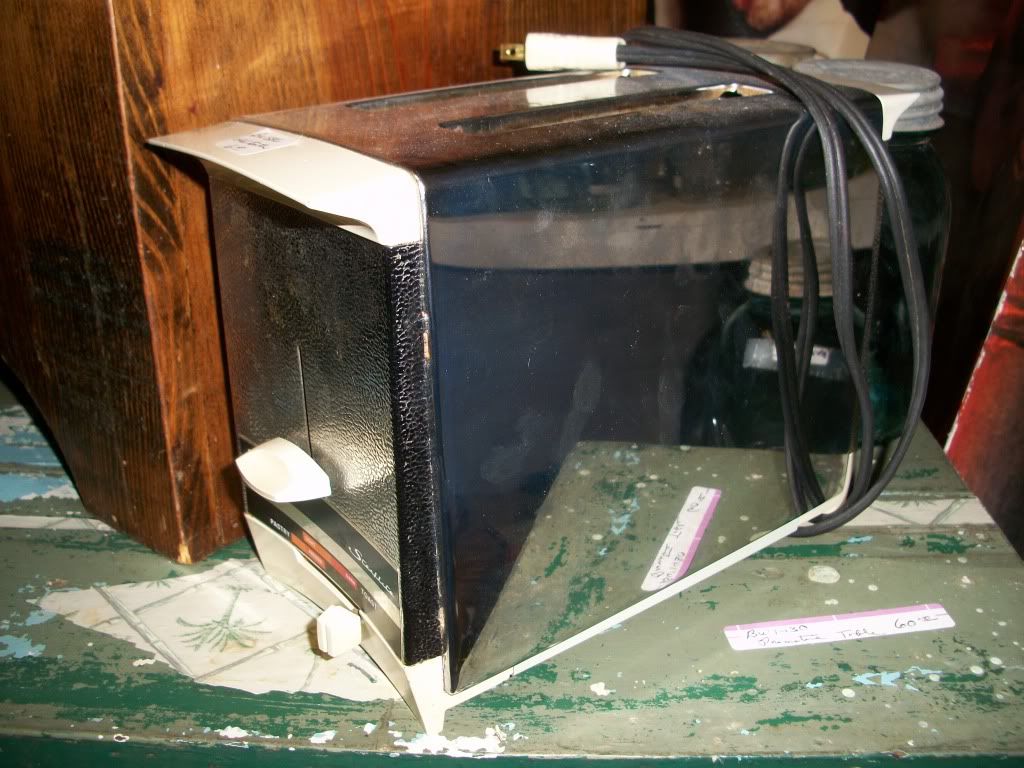
1970s era toaster looked pretty good and priced reasonably at $10.
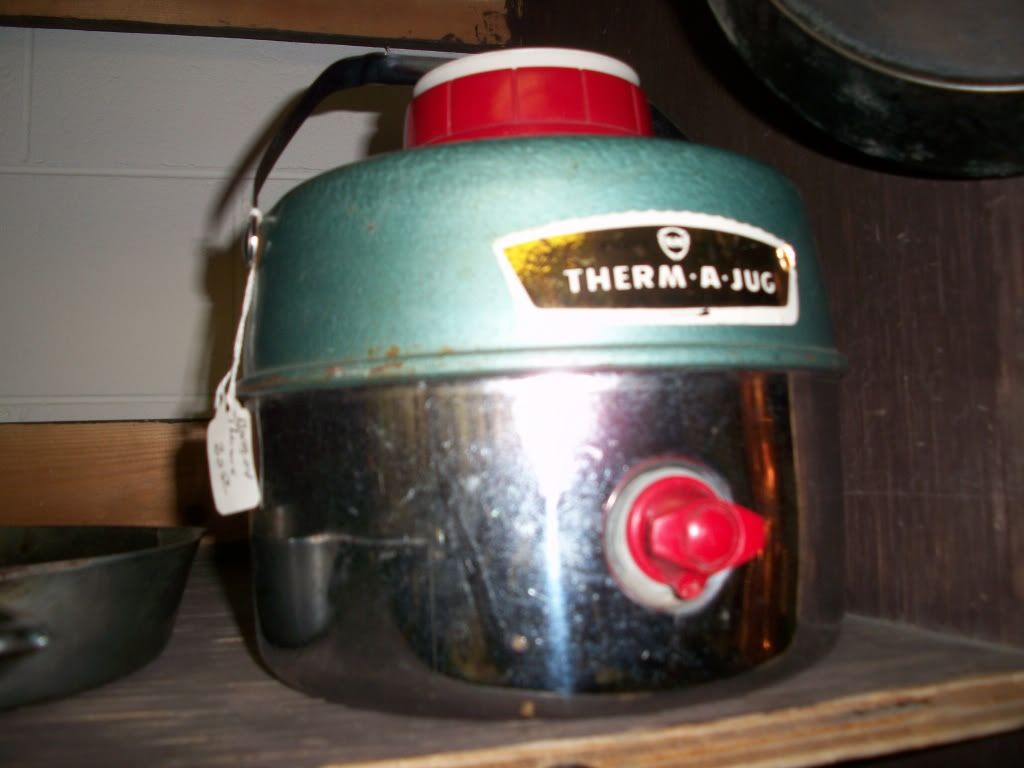
I really liked this water cooler, but too expensive.
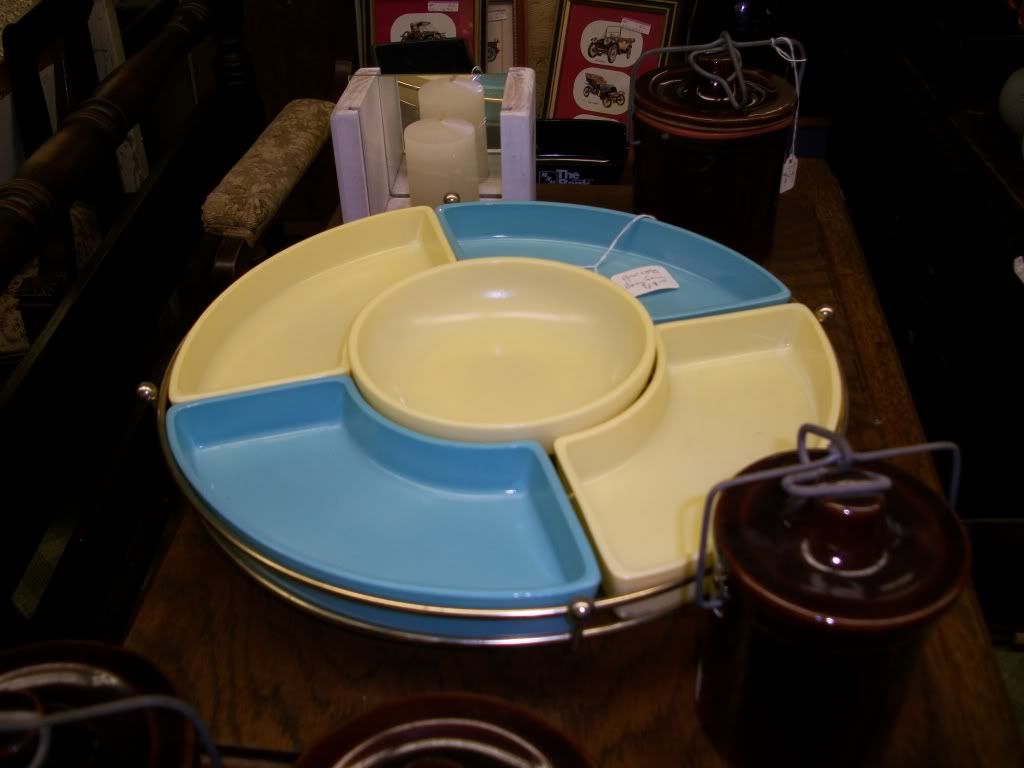
Here's a cool lazy susan, but again, priced too high at $49.
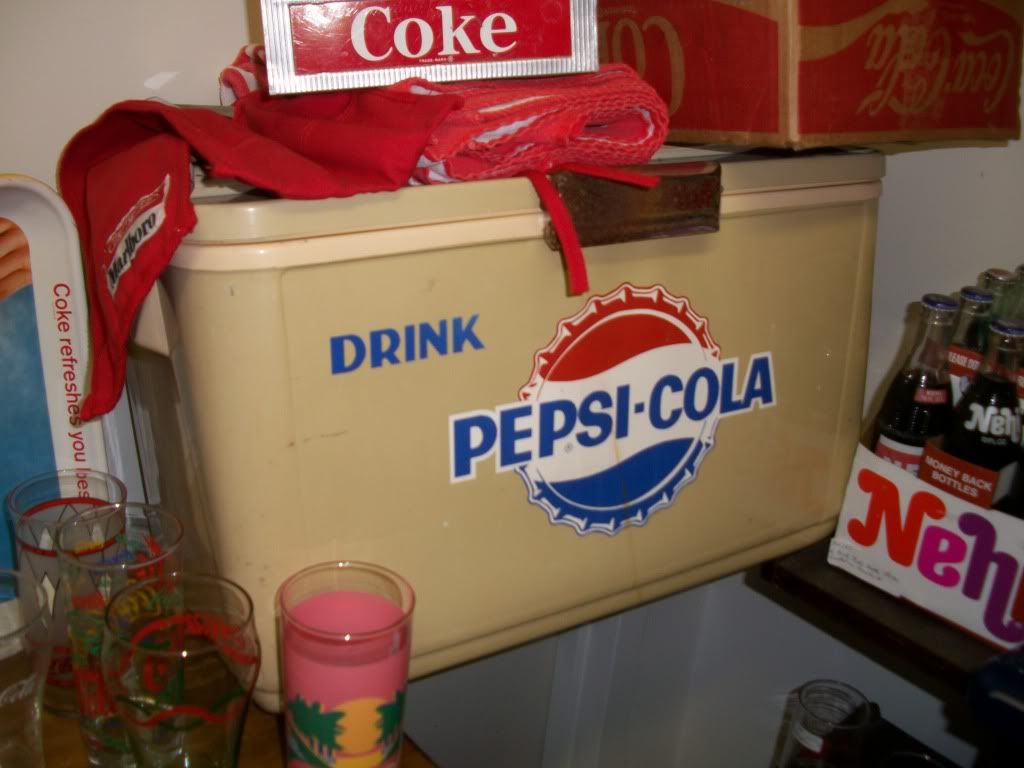
I need another vintage cooler like I need another project - I don't. But this one looks good, doesn't it? Except for the heavy rust on the front latch. No price tag visible.
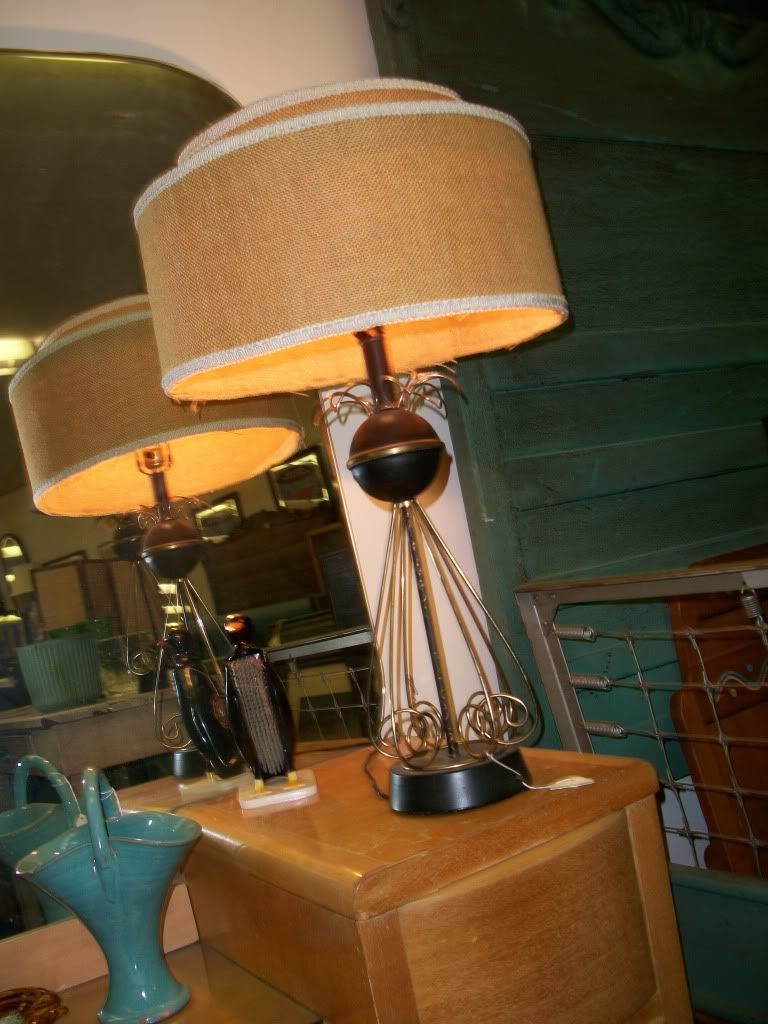
A pair of matching atomic lamps looks pretty good, but someone had glued burlap to the shades and they were ugly! Priced at $49 each. No thanks.
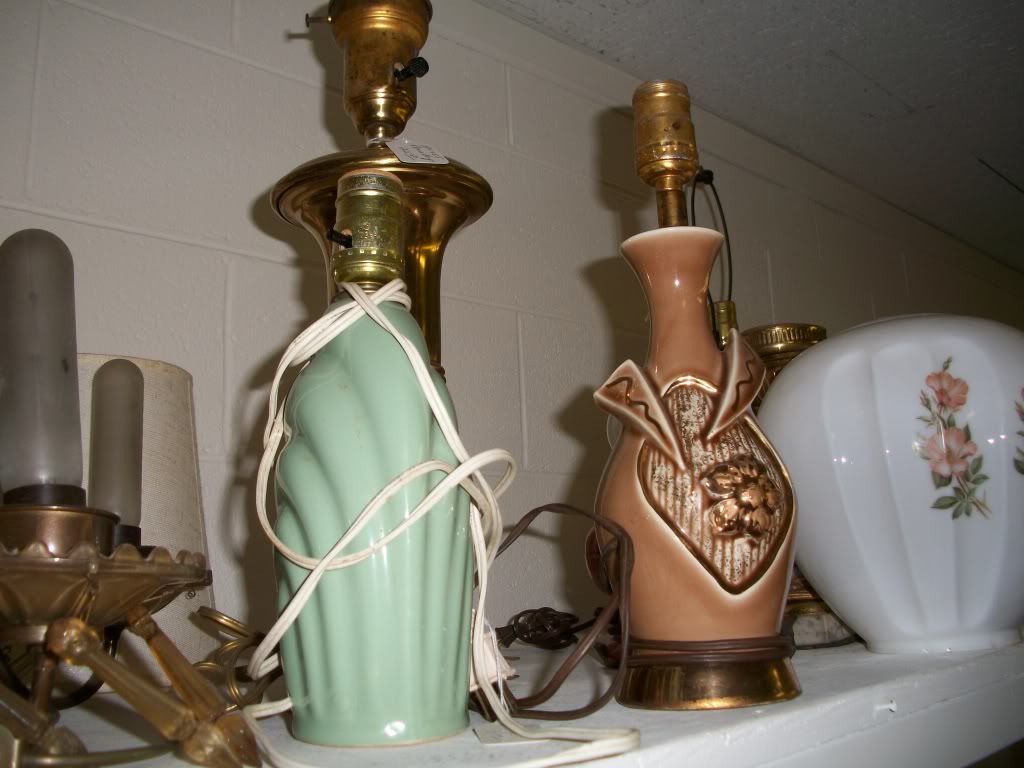
Brown lamp looks good, but no shade. Priced at $19, it was a little tempting, but I have too many lamps already.
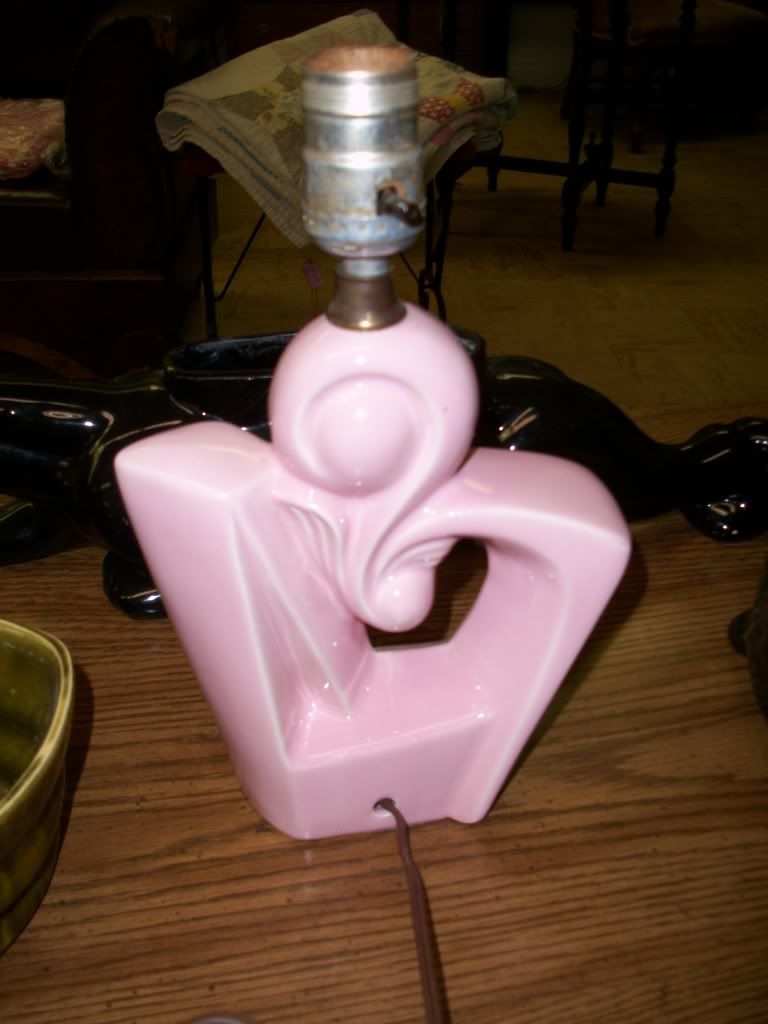
No price on this pink lamp, and again, no shade.
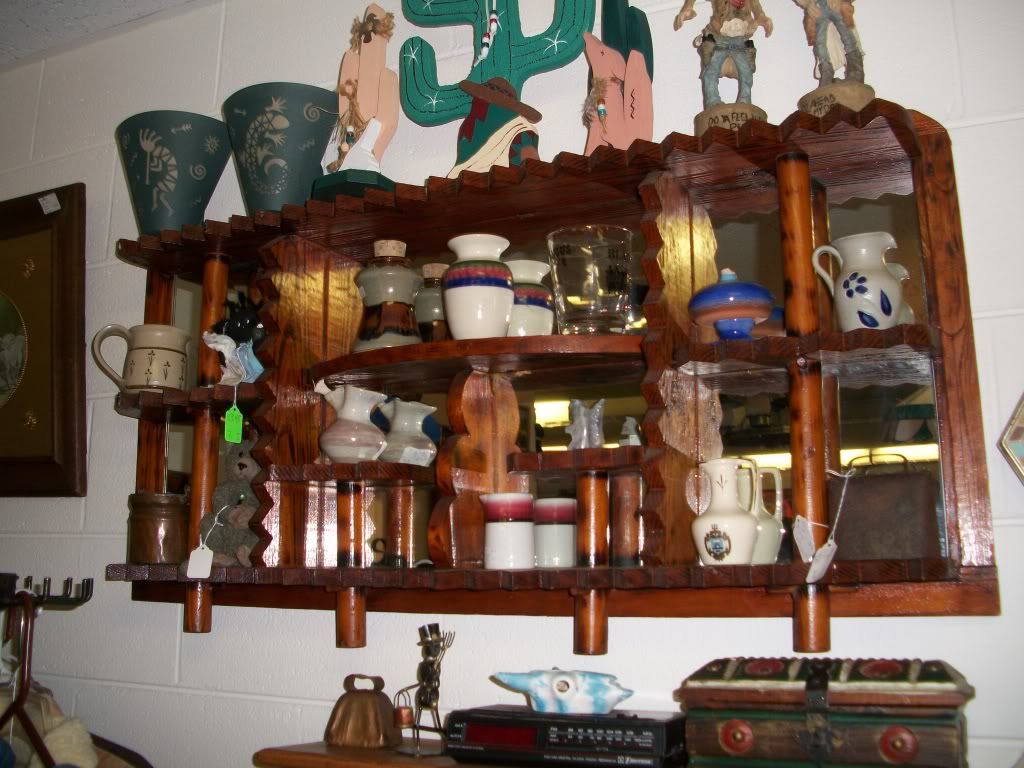
This mirrored wall shelf has that tacky souvenir shop pine vibe to it, I couldn't see a price, but it sure is different!
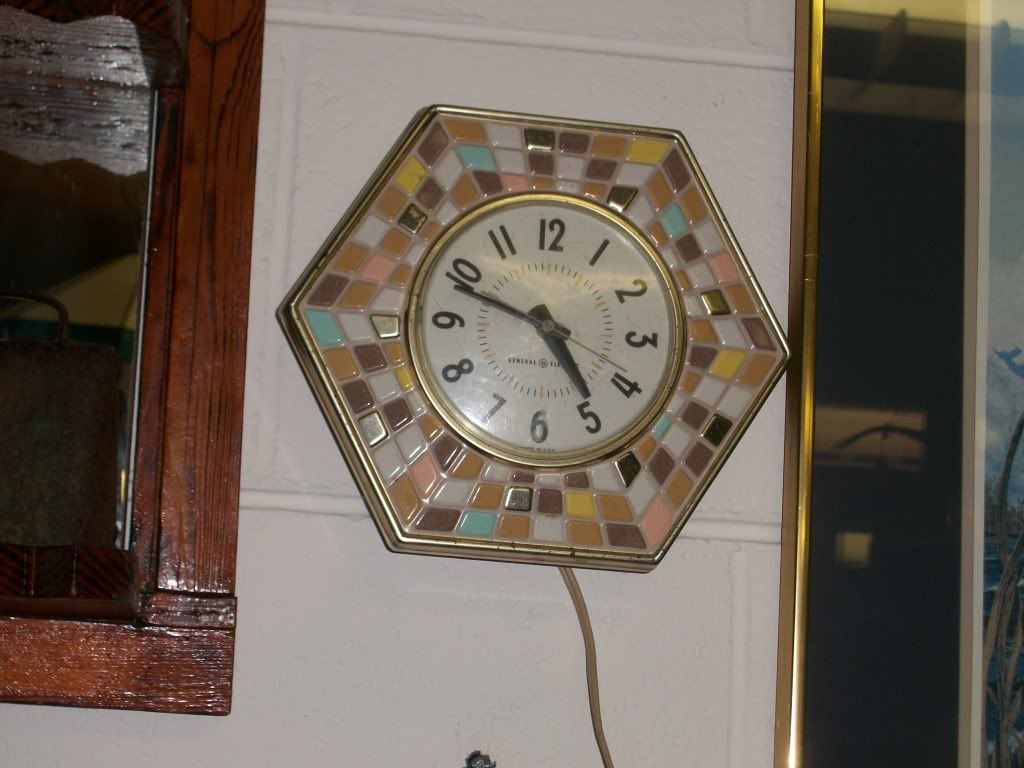
Beside the shelf was this plastic 1970s era clock - not for me, but I appreciate the look. I was surprised that the back was plastic, I expected metal.
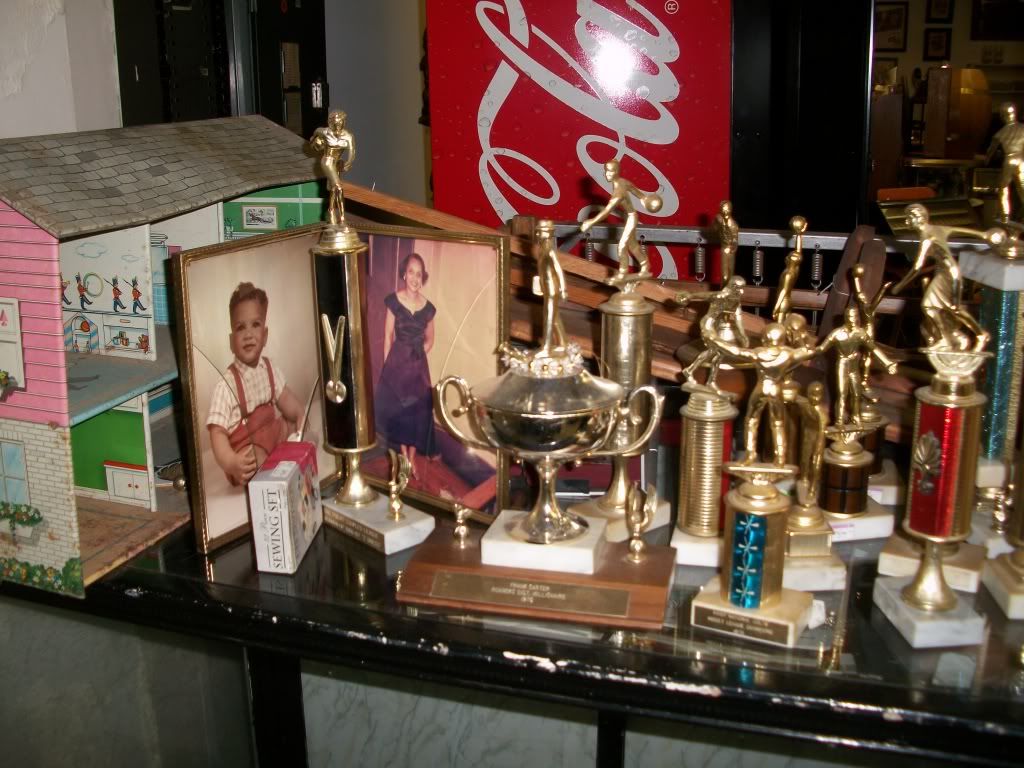
Quite a collection of 1970s or 80s era bowling trophies. I liked the hinged double picture frame, but the glass was broken in both frames. No thanks - project.
Vintage barbecue tool set in the box, $10.50.
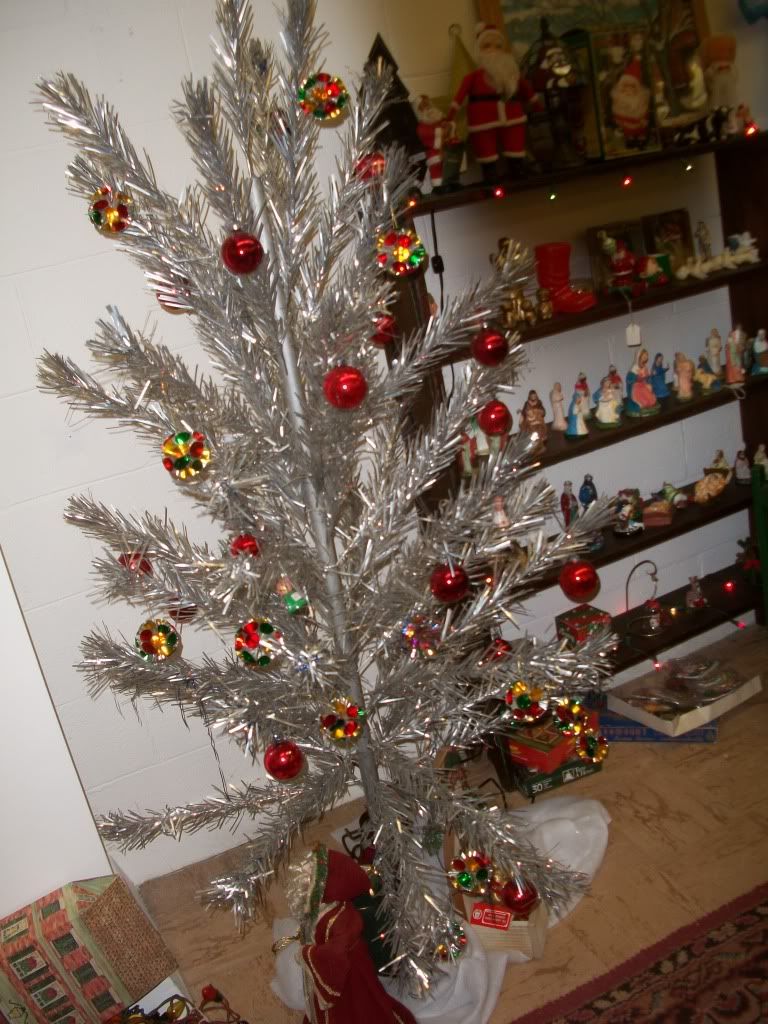
No price on this aluminum Christmas tree, and I like the one we have better.
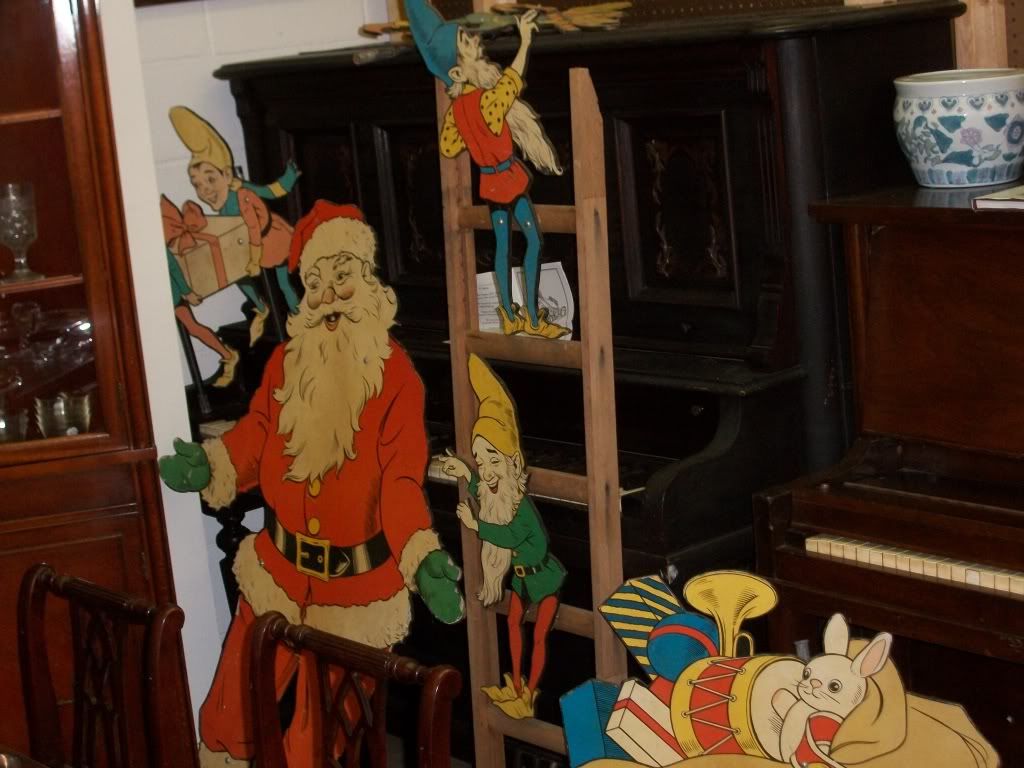
Not far from the tree I spotted a stand up Santa and a set of Elves.
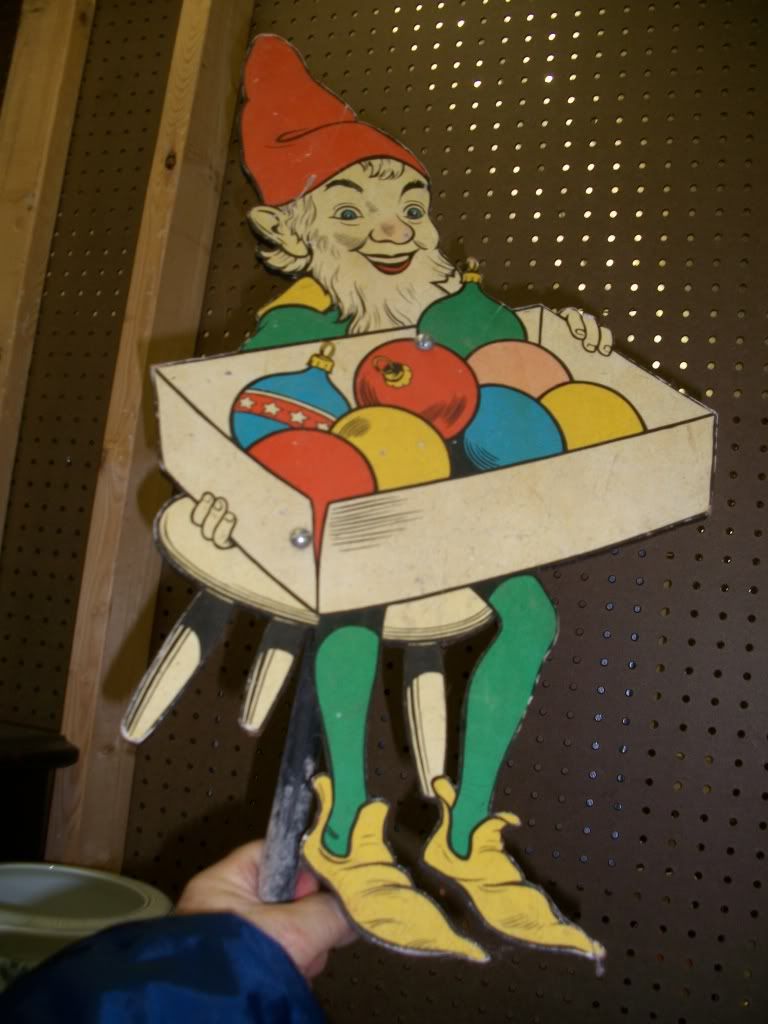
I haven't seen these anywhere and they look to be 1950s era. No price I could find, there were like five elves, Santa, and one or two other pieces. I asked about them when I was checking out, and the guy there said there was a price on them. I said I looked everywhere and saw none, he said $350 and I said no thanks.
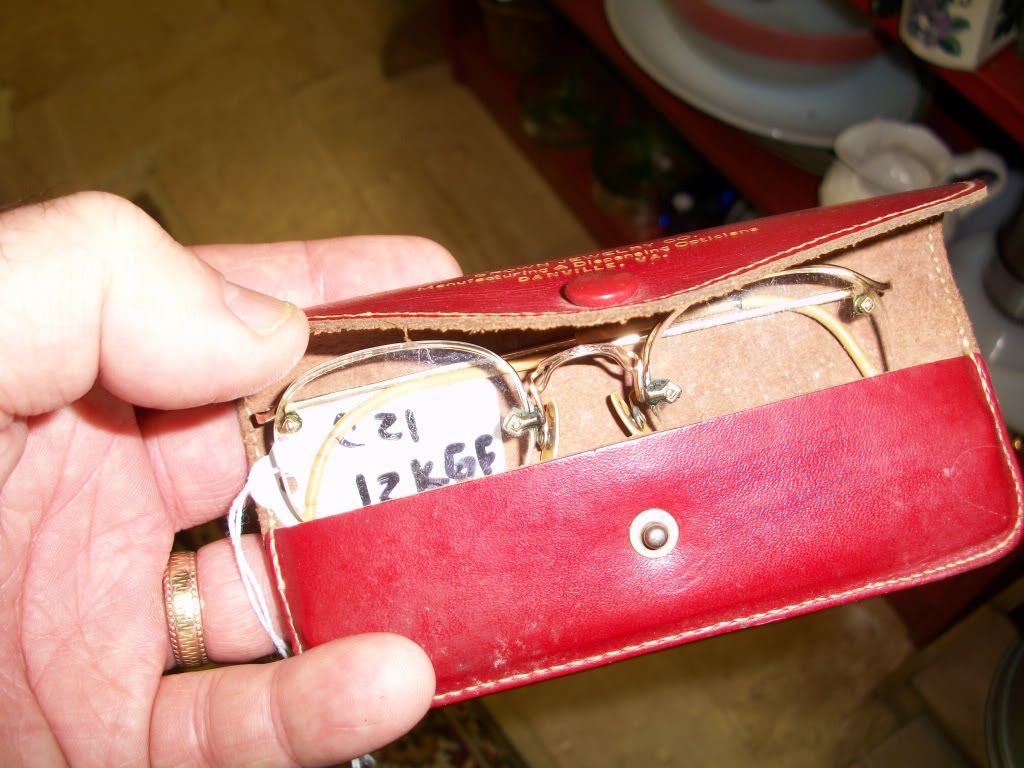
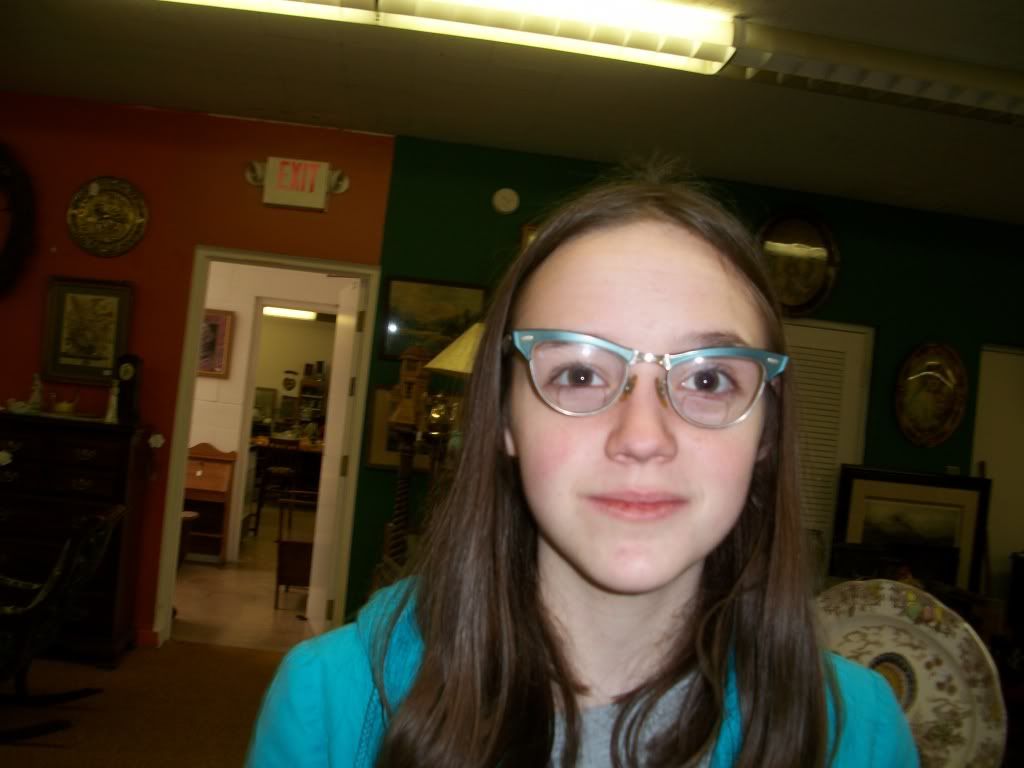
Near the end of our wandering my daughter and I found this bunch of old eyeglasses. They were priced at between $8 and $10 each. She couldn't settle on any pair that was both in good condition and what she liked, but I did shoot some pix for you all.
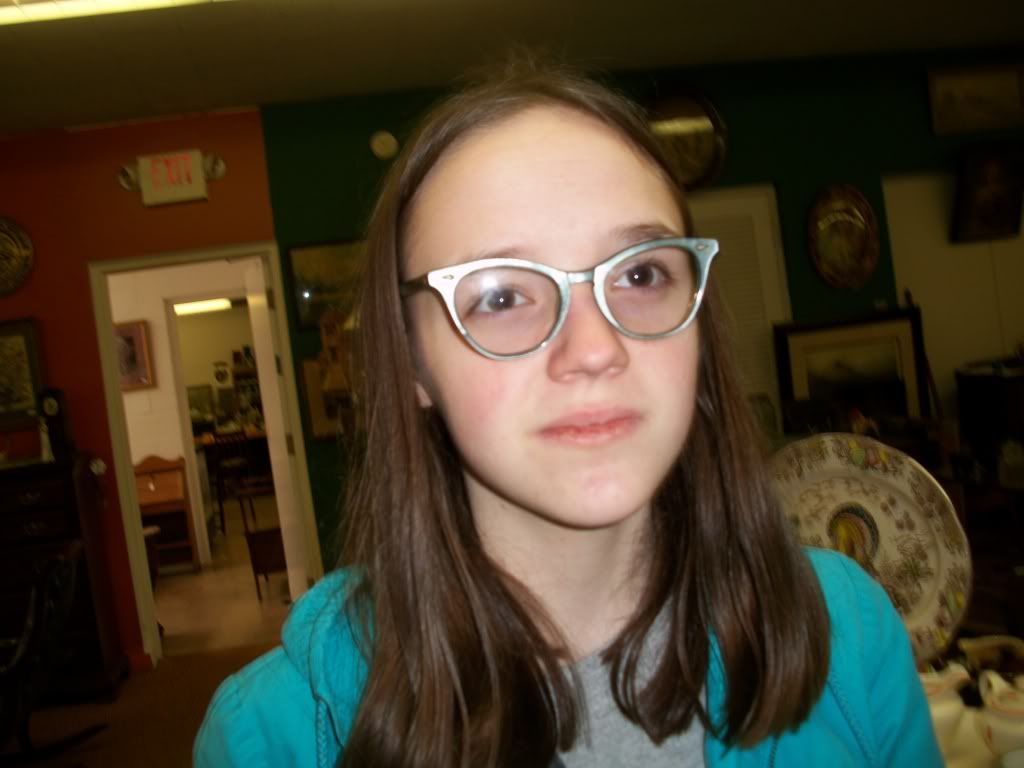
She was getting dizzy looking through the prescription lenses. I will keep trying to get her into some vintage frames, if we can find the right ones for a pair of sunglass lenses.
Overall, the store had a lot, but a lot of the stuff I was interested in was either overpriced or so covered with other stuff that I didn't bother taking a closer look. I only bought one small thing, a sort of danish style trivet/pot holder and I didn't get a photo. We'll probably do a little more shopping on the way home, so I'll try to shoot some more and give another update once we get home.
Showing posts with label Lamps. Show all posts
Saturday, April 16, 2011
Thursday, July 22, 2010
Lamp reassembled
I let the paint dry on the lamp parts from my last post, here's the result.
If you compare it to the first pic in the how-to post, it's hard to tell the difference :-P Mostly because the lamp was in good usable condition when I got it, but it was the only one I had around to use for a how to. I still need to put a new cork bottom on it, and find a good shade, so this will sit unused for a little while.
Monday, July 19, 2010
Shedding Some Light on Vintage Lamps
I had another week of work-related travel, in case you're wondering why the Uncle has not posted much lately. Hopefully this post will make up for the dearth of recent blog posts.
If youlike love vintage lamps the way I do, sooner or later you're going to find a cool lamp that needs rewiring. Old lamps usually don't have a grounded plug, and sometimes the cords are hard or brittle. If the cord develops a crack and exposes the wire underneath, it could eventually catch on fire. If you're intimidated by trying to rewire a lamp you might want to make friends with a local handyman or electrician. But if you want to try to rewire a simple lamp, follow along as we walk through the process.
(Disclaimer: I'm not an electrician, but I have rewired a couple fans and some lamps and haven't burnt the house down yet. Always consult a professional before trying something like this. Any rewiring you do at your own risk, OK? I'm just showing how I did things. Your mileage may vary, yada yada yada.)
Tools needed - camera, flat head screwdriver, adjustable wrench, pliers or wirecutters, razor blade, resealable plastic bag, replacement electrical cord or an extra extension cord you're not using, and possibly some brass cleaner or very fine steel wool.
First, unplug the lamp from the wall! Remove the shade, harp, and lightbulb. Next, look at the base of the lamp. A lot of these old lamps have either heavy felt or cork or cardboard glued to the edges of the base.
(I used adhesive-backed cork shelf liner for the base of this lamp.)
Take note of what is used on your lamp. Carefully get a razor blade or something sharp under the edge and peel back the base material, exposing the bottom of the lamp base. Start shooting photos as you go to document how things go back together.
There should be a brass nut holding the base and the threaded brass rod together.
(If the lamp wobbles sometimes it's because this nut isn't tight as it should be.) The cord typically runs up through the base and through a threaded brass rod up to the socket the bulb screws into. Use your adjustable wrench or pliers to loosen the nut on the base and unscrew it.
There may be a washer with the nut, and there's usually a heavy weight there to keep the lamp from being top heavy. Take photos as you disassemble so you can figure out in what order these pieces go back together. Put these small parts that come off the lamp into a ziplock bag so you don't lose these pieces.
Now try to pull up on the brass tube and the cord. If the lamp body is put together from several pieces be sure you may have to unscrew things at the top end of the brass tube too.
Be sure to take photos of what order the pieces are stacked. When I take a lamp apart, I keep the parts in order they were removed and take a photo of that.
(By the way, if some of the pieces are tarnished or rusted, you might want to plan to shine them up or even paint them to give the lamp a fresh look when you put it all back together.)
You should be able to pull up on the lightbulb socket now. Look under the socket and see if it is attached to the brass rod with another threaded nut. If there's a nut there somewhere, try to unscrew it by hand or use the needlenose pliers or adjustable wrench to loosen the nut. Sometimes the bulb socket is just held in place without a nut.
The wiring feeds up through the base of the socket. Look closely at the socket and you'll probably see that it's really two or three pieces. This socket has an outer brass sleeve, an inner cardboard sleeve, and then the piece the wires attach to.
You should be able to grip the ends of the socket and turn your wrists counter clockwise about a quarter turn to separate the pieces of the socket. Now you should be able to see that the wiring is curled around a screw, which holds the wire in place. Usually these screws are flat head screws. You don't have to remove the screw completely, just unscrew both screws enough to allow the wires to come loose.
Now you should be able to slide the wiring down through the brass rod and remove it. Again, take photos of every step you make, and bag up the parts. ( If you are worried that you won't be able to tell which part goes where, use a separate ziplock bag for each part and number the bags in the order you have removed the part. Taking photos, making notes, and bagging parts is especially important if you will be shining up parts or painting parts before reassembly, because the longer you wait before putting things back together, the likelier you are to forget how you're supposed to put it back together.)
If you do lose a nut, or if the bulb socket is messed up, you can buy replacement parts like this at a hardware store. Take the old one with you and match it up with a new one. Take the old wire with you too and try to match it up with a replacement cord of the same length and color. (I have used an extension cord as a replacement, just cut off the end you don't need and use your wire cutters or a razor blade to split the wire into two parts about an inch or an inch and a half long. Carefully expose about a half inch of wire by peeling back the outer coating. Now the ends of the wire should be ready to screw back onto the socket.)
At this point, if you need to do some cleaning, polishing or painting, take care of that. (Use fine steel wool and some brass cleaner to shine up tarnished or rusted metal pieces.) I hit the brass pieces with some brass cleaner and they shined up reasonably well.
The most tarnished pieces were the hoop and its base, and they'll be covered up by a lampshade anyway, so I focus my polishing efforts the most on parts that will be exposed. Sometimes you'll find that brass or other metal is just too tarnished to shine. If that's the problem, try scuffing the parts with fine steel wool then prime them with spray primer, and after that's dried, pick a paint color or metallic color that you want to use to cover up the tarnished pieces.
The black pieces on this lamp were pretty good, but there were some white paint splatters on the atom-shaped part, so I used some fine steel wool to remove the white, and that led to the paint looking dull. So I decided to go ahead and prime then paint the base, atom, and brass tube so they'd all look fresh. I've found that satin finish is better than gloss for these projects, but use your judgment. And spray lightly with several coats. And wear a protective mask so you don't breath the fumes!
When you have all of the parts ready to go back together, walk through the reassembly steps. Lay the pieces out in the order they fit onto the lamp, and refer back to your photos to be sure you have the parts laid out correctly. Don't get too frustrated if you get the lamp mostly together then realize you left out a part or two, this has happened to me many times. Just back up, and start again. I find that once you have the new cord fed through the pieces that screw together, leave enough slack to screw the wires onto the socket, tighten the screws, and then reverse the steps you took to take the lamp apart. For more detail on rewiring, check out some rewiring how-to sites such as this one.
Before you get too far with your reassembly, after you've attached the new cord, put a bulb in the socket and plug in the new cord to be sure the bulb lights up. If it does, finish putting things together. If it doesn't light up, it's either a bad bulb, or you may not have the wires screwed down tightly.
Once you have the lamp nearly all together, make sure you don't have any leftover parts. The last thing to do is pull gently on the cord to make sure it has a little tension on the socket, so that nothing is wobbly. Tighten the brass nut on the base. Check the lamp again to make sure it works. Then you can either re-glue the old base felt or cork, or replace it with some new material of your choice. It's a good idea to do this so the base will be soft and won't scratch the surface the lamp will sit on. I've used felt and hot glue, but the adhesive-backed cork shelf liner is really easy to use. Cut out a piece larger than your base, stick it on, and cut around the perimeter to trim the excess.
After you fix a lamp yourself, you'll be more confident to try saving other old lamps, then your biggest problem will be finding a place for each of your lamps.
I'm waiting for the paint to dry before reassembly, that will be a future blog post if I can remember how this thing goes back together ;-)
If you
(Disclaimer: I'm not an electrician, but I have rewired a couple fans and some lamps and haven't burnt the house down yet. Always consult a professional before trying something like this. Any rewiring you do at your own risk, OK? I'm just showing how I did things. Your mileage may vary, yada yada yada.)
Tools needed - camera, flat head screwdriver, adjustable wrench, pliers or wirecutters, razor blade, resealable plastic bag, replacement electrical cord or an extra extension cord you're not using, and possibly some brass cleaner or very fine steel wool.
First, unplug the lamp from the wall! Remove the shade, harp, and lightbulb. Next, look at the base of the lamp. A lot of these old lamps have either heavy felt or cork or cardboard glued to the edges of the base.
(I used adhesive-backed cork shelf liner for the base of this lamp.)
Take note of what is used on your lamp. Carefully get a razor blade or something sharp under the edge and peel back the base material, exposing the bottom of the lamp base. Start shooting photos as you go to document how things go back together.
There should be a brass nut holding the base and the threaded brass rod together.
(If the lamp wobbles sometimes it's because this nut isn't tight as it should be.) The cord typically runs up through the base and through a threaded brass rod up to the socket the bulb screws into. Use your adjustable wrench or pliers to loosen the nut on the base and unscrew it.
There may be a washer with the nut, and there's usually a heavy weight there to keep the lamp from being top heavy. Take photos as you disassemble so you can figure out in what order these pieces go back together. Put these small parts that come off the lamp into a ziplock bag so you don't lose these pieces.
Now try to pull up on the brass tube and the cord. If the lamp body is put together from several pieces be sure you may have to unscrew things at the top end of the brass tube too.
This lamp had a threaded piece at the base of the socket which screwed on to the top of the brass (black painted) tube.
Be sure to take photos of what order the pieces are stacked. When I take a lamp apart, I keep the parts in order they were removed and take a photo of that.
(By the way, if some of the pieces are tarnished or rusted, you might want to plan to shine them up or even paint them to give the lamp a fresh look when you put it all back together.)
You should be able to pull up on the lightbulb socket now. Look under the socket and see if it is attached to the brass rod with another threaded nut. If there's a nut there somewhere, try to unscrew it by hand or use the needlenose pliers or adjustable wrench to loosen the nut. Sometimes the bulb socket is just held in place without a nut.
The wiring feeds up through the base of the socket. Look closely at the socket and you'll probably see that it's really two or three pieces. This socket has an outer brass sleeve, an inner cardboard sleeve, and then the piece the wires attach to.
You should be able to grip the ends of the socket and turn your wrists counter clockwise about a quarter turn to separate the pieces of the socket. Now you should be able to see that the wiring is curled around a screw, which holds the wire in place. Usually these screws are flat head screws. You don't have to remove the screw completely, just unscrew both screws enough to allow the wires to come loose.
Now you should be able to slide the wiring down through the brass rod and remove it. Again, take photos of every step you make, and bag up the parts. ( If you are worried that you won't be able to tell which part goes where, use a separate ziplock bag for each part and number the bags in the order you have removed the part. Taking photos, making notes, and bagging parts is especially important if you will be shining up parts or painting parts before reassembly, because the longer you wait before putting things back together, the likelier you are to forget how you're supposed to put it back together.)
If you do lose a nut, or if the bulb socket is messed up, you can buy replacement parts like this at a hardware store. Take the old one with you and match it up with a new one. Take the old wire with you too and try to match it up with a replacement cord of the same length and color. (I have used an extension cord as a replacement, just cut off the end you don't need and use your wire cutters or a razor blade to split the wire into two parts about an inch or an inch and a half long. Carefully expose about a half inch of wire by peeling back the outer coating. Now the ends of the wire should be ready to screw back onto the socket.)
At this point, if you need to do some cleaning, polishing or painting, take care of that. (Use fine steel wool and some brass cleaner to shine up tarnished or rusted metal pieces.) I hit the brass pieces with some brass cleaner and they shined up reasonably well.
The most tarnished pieces were the hoop and its base, and they'll be covered up by a lampshade anyway, so I focus my polishing efforts the most on parts that will be exposed. Sometimes you'll find that brass or other metal is just too tarnished to shine. If that's the problem, try scuffing the parts with fine steel wool then prime them with spray primer, and after that's dried, pick a paint color or metallic color that you want to use to cover up the tarnished pieces.
The black pieces on this lamp were pretty good, but there were some white paint splatters on the atom-shaped part, so I used some fine steel wool to remove the white, and that led to the paint looking dull. So I decided to go ahead and prime then paint the base, atom, and brass tube so they'd all look fresh. I've found that satin finish is better than gloss for these projects, but use your judgment. And spray lightly with several coats. And wear a protective mask so you don't breath the fumes!
When you have all of the parts ready to go back together, walk through the reassembly steps. Lay the pieces out in the order they fit onto the lamp, and refer back to your photos to be sure you have the parts laid out correctly. Don't get too frustrated if you get the lamp mostly together then realize you left out a part or two, this has happened to me many times. Just back up, and start again. I find that once you have the new cord fed through the pieces that screw together, leave enough slack to screw the wires onto the socket, tighten the screws, and then reverse the steps you took to take the lamp apart. For more detail on rewiring, check out some rewiring how-to sites such as this one.
Before you get too far with your reassembly, after you've attached the new cord, put a bulb in the socket and plug in the new cord to be sure the bulb lights up. If it does, finish putting things together. If it doesn't light up, it's either a bad bulb, or you may not have the wires screwed down tightly.
Once you have the lamp nearly all together, make sure you don't have any leftover parts. The last thing to do is pull gently on the cord to make sure it has a little tension on the socket, so that nothing is wobbly. Tighten the brass nut on the base. Check the lamp again to make sure it works. Then you can either re-glue the old base felt or cork, or replace it with some new material of your choice. It's a good idea to do this so the base will be soft and won't scratch the surface the lamp will sit on. I've used felt and hot glue, but the adhesive-backed cork shelf liner is really easy to use. Cut out a piece larger than your base, stick it on, and cut around the perimeter to trim the excess.
After you fix a lamp yourself, you'll be more confident to try saving other old lamps, then your biggest problem will be finding a place for each of your lamps.
I'm waiting for the paint to dry before reassembly, that will be a future blog post if I can remember how this thing goes back together ;-)
Saturday, May 22, 2010
OK, OK, the brassy plastic disco lights stay
The grand tally is 3 votes for the brassy plastic disco lights on the tiki porch, so they stay. Anyway, I've been too busy to even try the other wall lamps. Thanks everybody for the input!
Friday, May 14, 2010
Room Profile: more on the Tiki-themed screened porch
OK, before I wire up one of the 3-tiered wall lamps, here are some more pics of our screened porch.
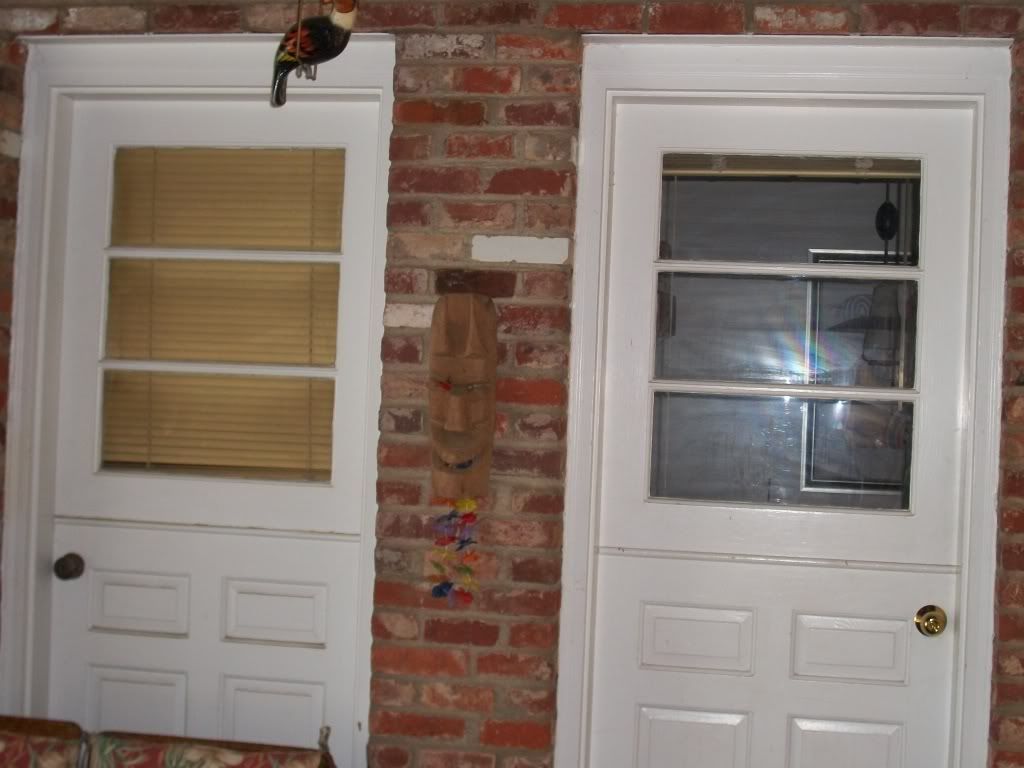
Tbe room has some design challenges. First, it has four, yes four, doors. Two screen doors, and two dutch doors.
I have no idea why anyone installed these dutch doors side by side. The one on the right leads into the kitchen, and the one on the left leads into the dining room off the kitchen. A wall divides the kitchen and dining room, but there's a doorway between them. Makes no sense to have both dutch doors, but we do like them.
Second, we have a couple of blue plastic recycling bins we keep on the porch. It's very convenient to have right off the kitchen, but I really need to make some kind of screen to hide them from sight.
The red formica bar top is attached to the ledge along one wall of the porch. The bar top was a countertop out of a neighbor's kitchen. I saved it from the trash and used my table saw to cut about 4 inches off the back of the counter to narrow it enough to try as a bar top. Works pretty good for free.
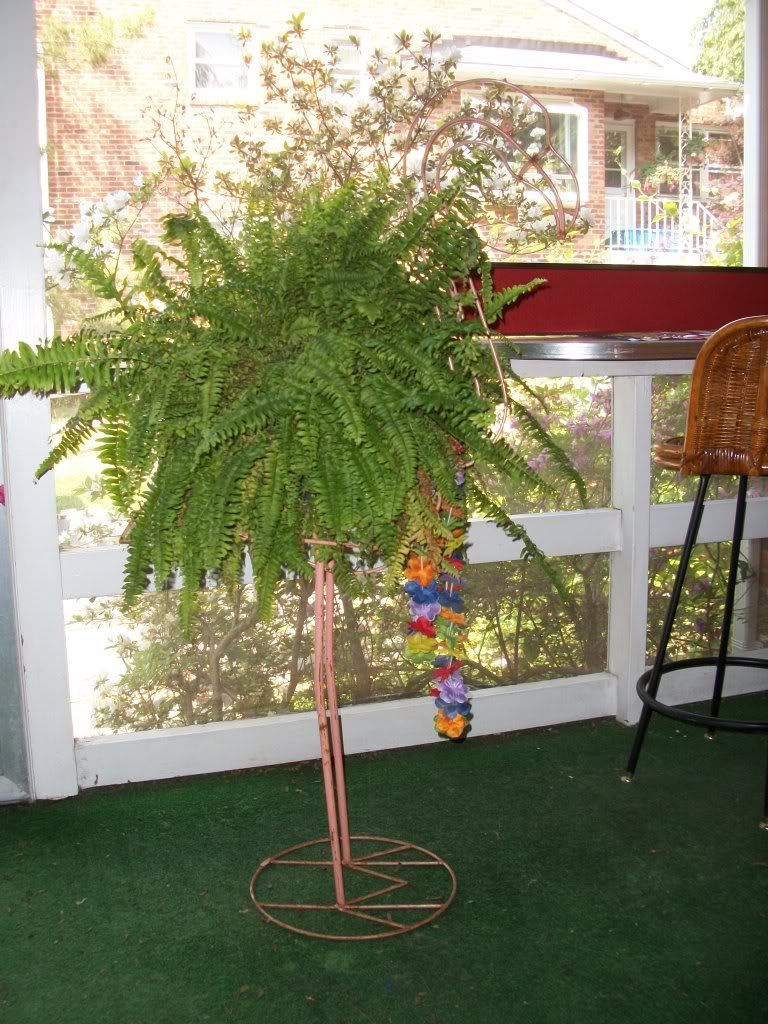
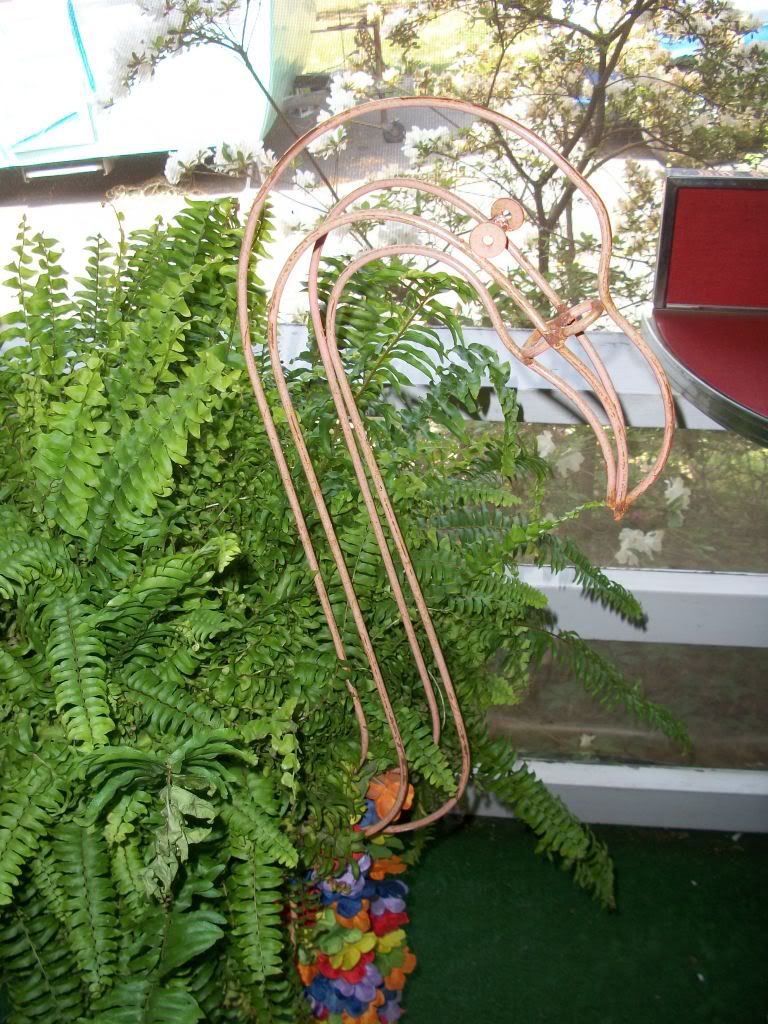
This pink wrought iron flamingo planter is hard to photograph well. Not vintage, but fun, and it fits the room.
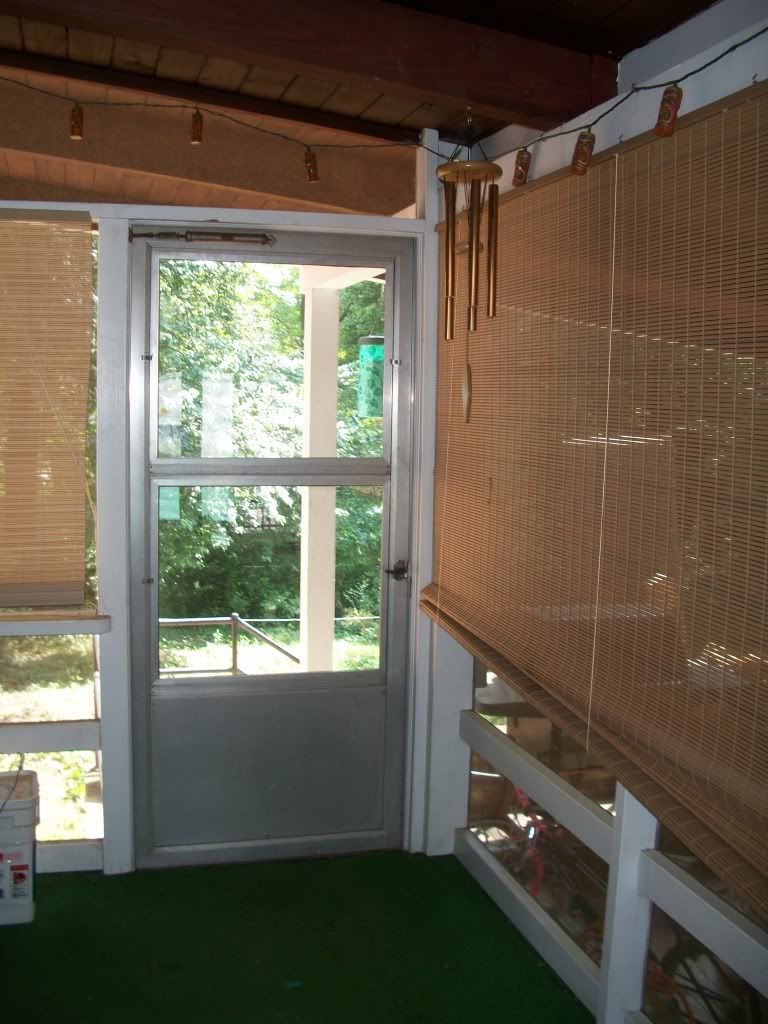
The porch had two wooden screen doors, which I replaced with these salvaged mill-finish aluminum screen doors. Here's screen door number one. Still period correct, and they automatically latch so they're better for keeping our frisky corgi Lucy from escaping.
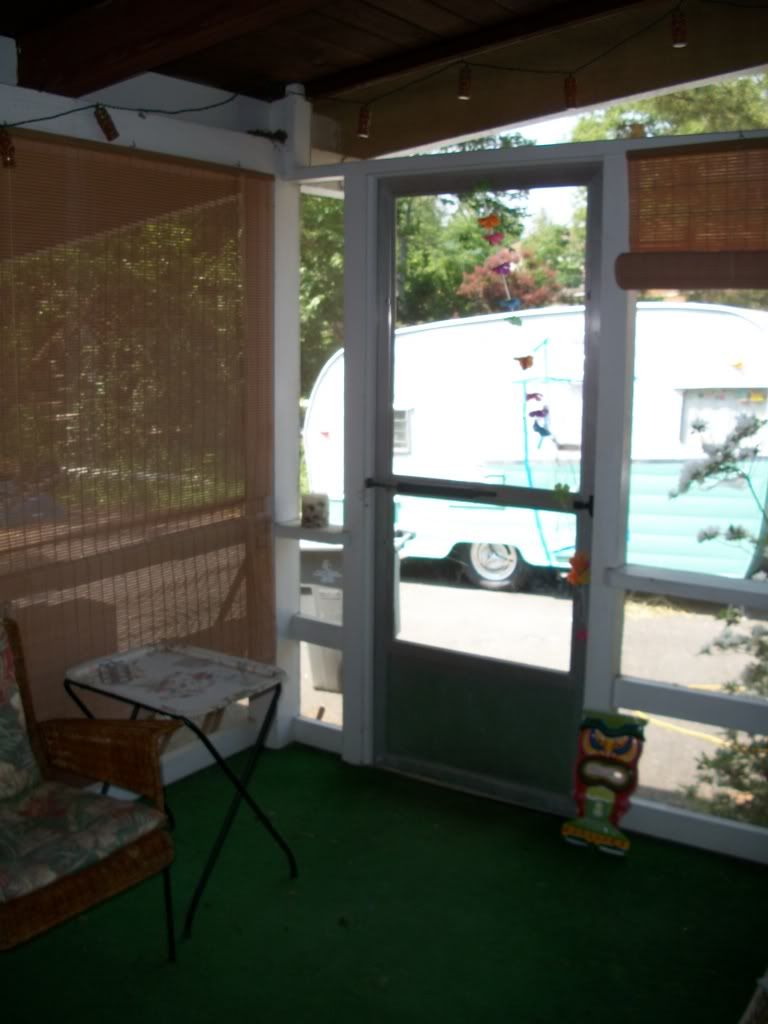
Screen door number two, directly across from screen door number one. Number two leads down a couple steps to the back of the carport and to a stairwell down to the back yard.
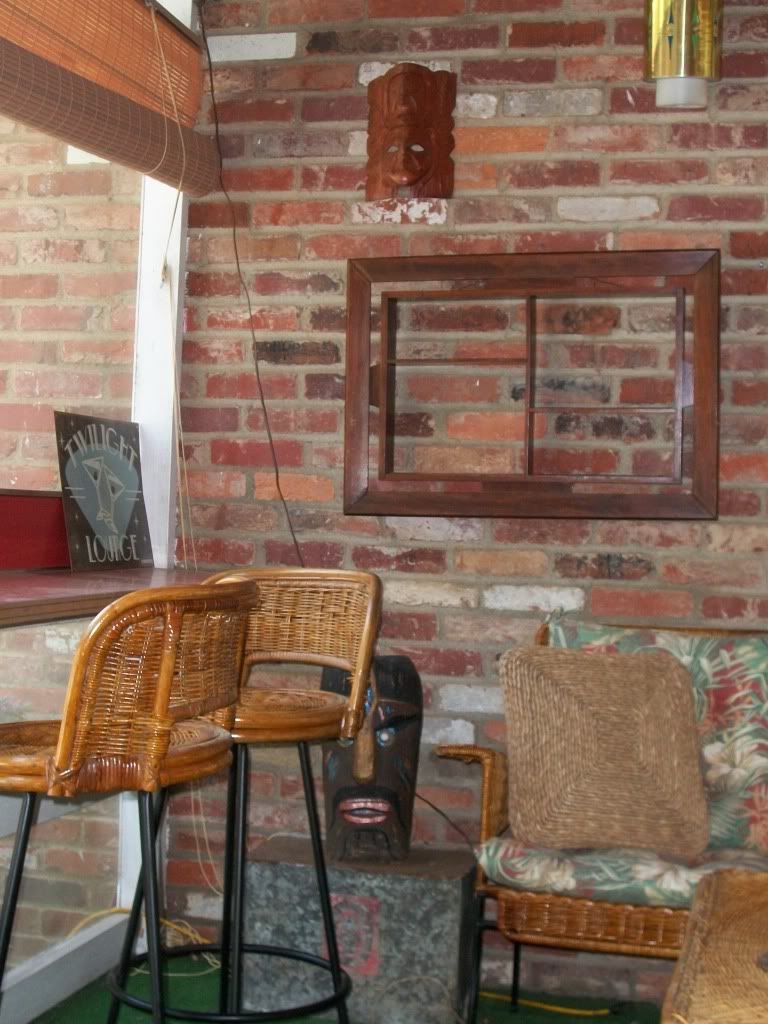
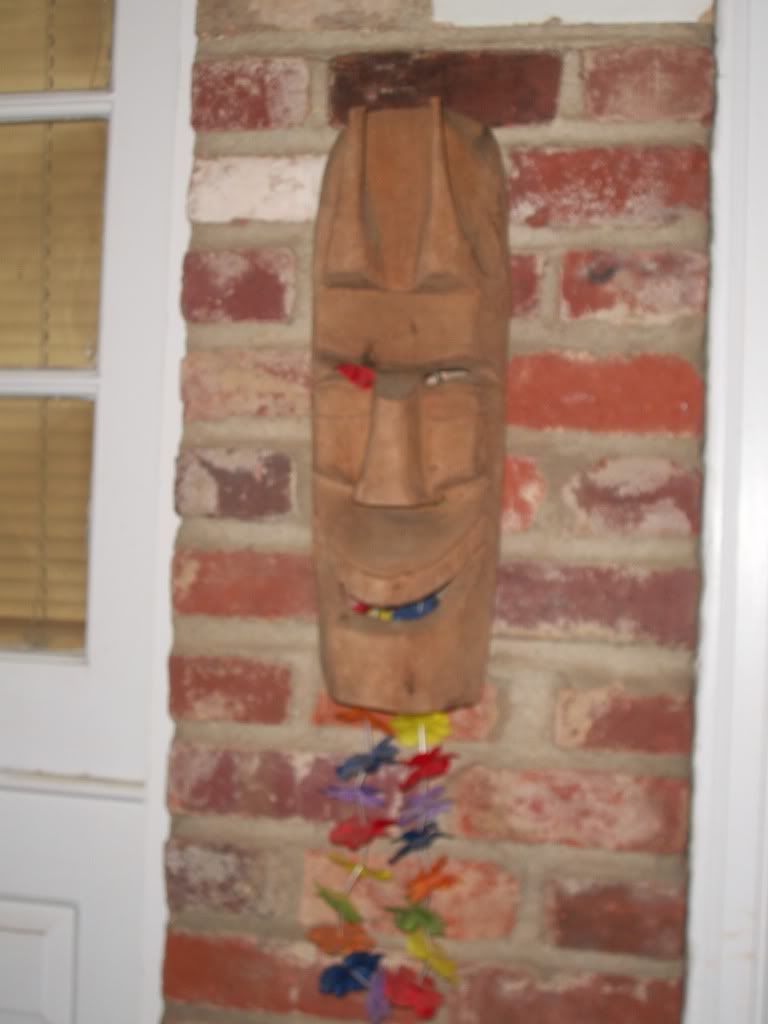
One of a couple of primitive masks I picked up pretty cheap at a yard/estate sale near my favorite flea market.
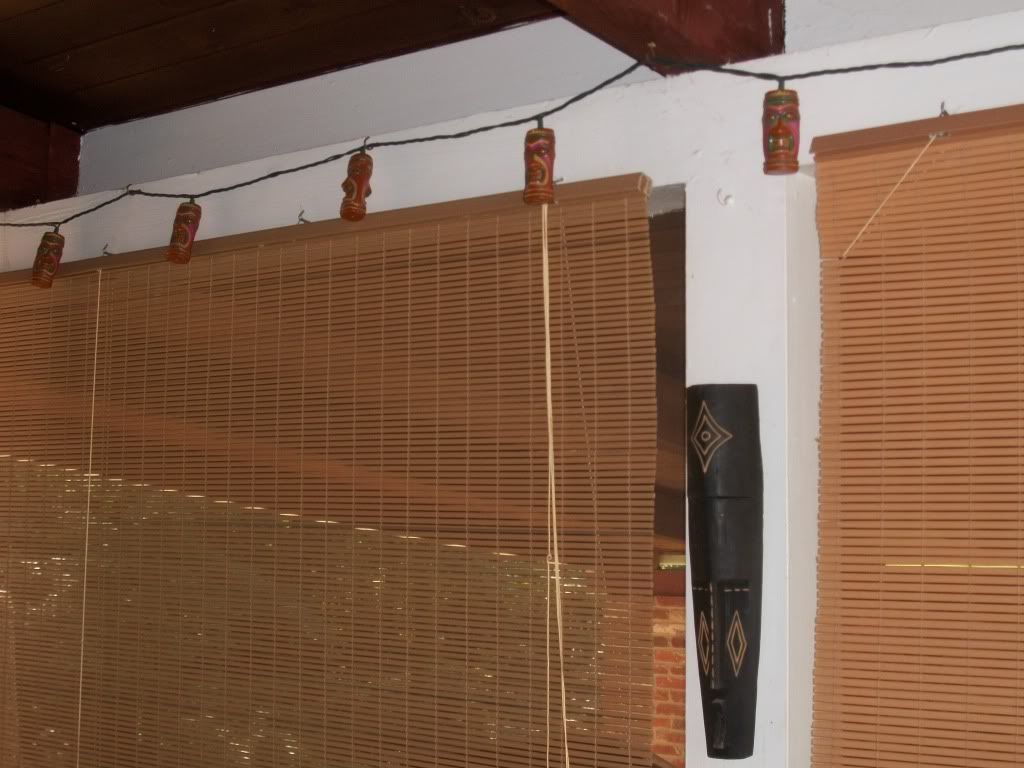
Small primitive mask and the string of tiki lights we have running around three walls of the screened porch. The blinds are cheap Home Depot plastic, but they give us a little privacy and look OK.
I should add that the screen mesh around the whole porch is original, along with the white wood trim that is nailed over the screen edges. It's all going to get replaced because the wood is rotting in spots, it's been painted too many times to look good with another repaint, and the screen mesh has some holes in it. So, one of my summer goals is to tear off the old and replace the screen mesh with a darker tinted mesh and install all new wood trim around the outside edges.
I still may close this space in some day with windows to make it a three-seasons room. I'd love to keep it looking original, and to do that I hope to run across a bunch of old jalousie-style windows. (They're the kind that have a crank and typically a lot of 3-inch wide horizontal glass panes that open when you turn the crank).
So, there you have it, the tiki-themed screened porch. It's still a work in progress. Believe it or not, we used to have a hammock frame and hammock on the porch, but it just didn't quite fit. Sure was comfortable though. Now instead we have my daughter's bamboo papasan chair. No pics of that at the moment.
I plan to install one of the 3-tirerd wall lamps this weekend and do a post comparing it to my brassy plastic disco wall lamps from the previous post. Stay tuned.
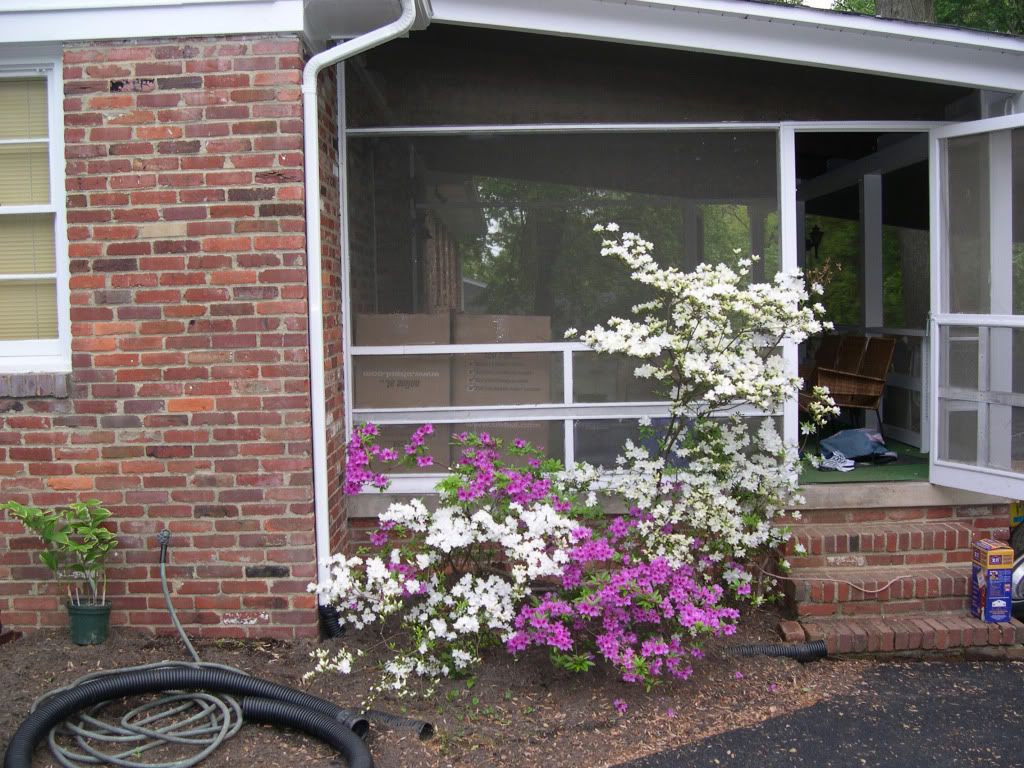
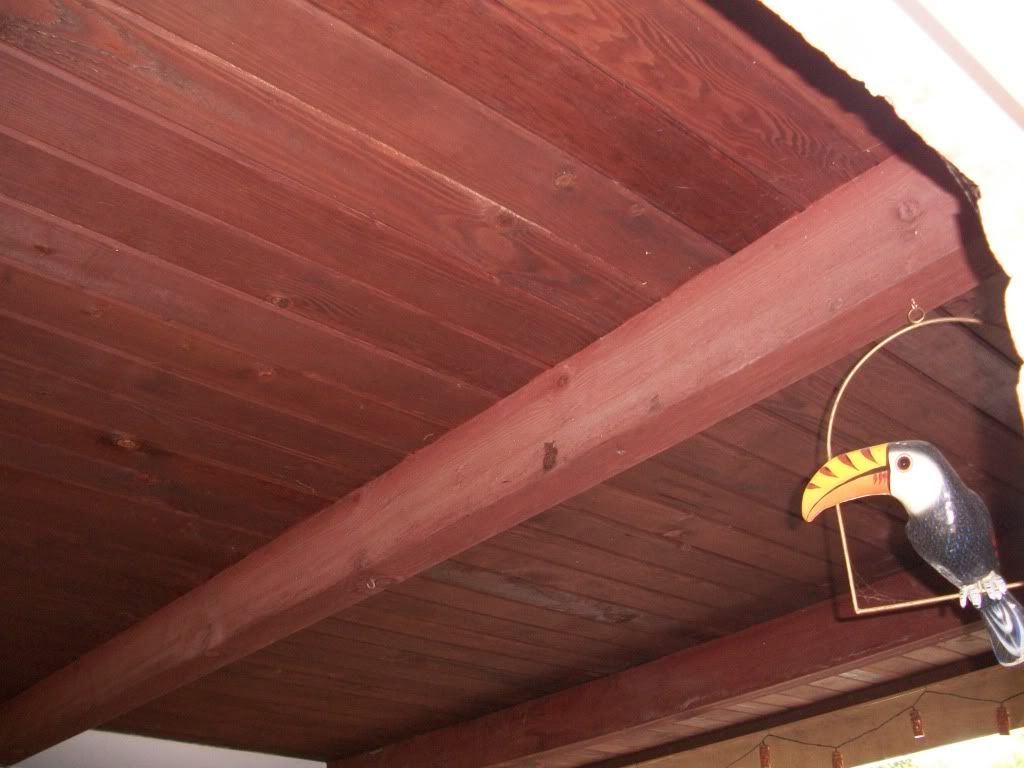
This shows the porch from the outside. Duh. The roof is made of sloped tongue-and groove redwood, and the roof extends past the screened porch to form the roof for the carport.
Tbe room has some design challenges. First, it has four, yes four, doors. Two screen doors, and two dutch doors.
I have no idea why anyone installed these dutch doors side by side. The one on the right leads into the kitchen, and the one on the left leads into the dining room off the kitchen. A wall divides the kitchen and dining room, but there's a doorway between them. Makes no sense to have both dutch doors, but we do like them.
Second, we have a couple of blue plastic recycling bins we keep on the porch. It's very convenient to have right off the kitchen, but I really need to make some kind of screen to hide them from sight.
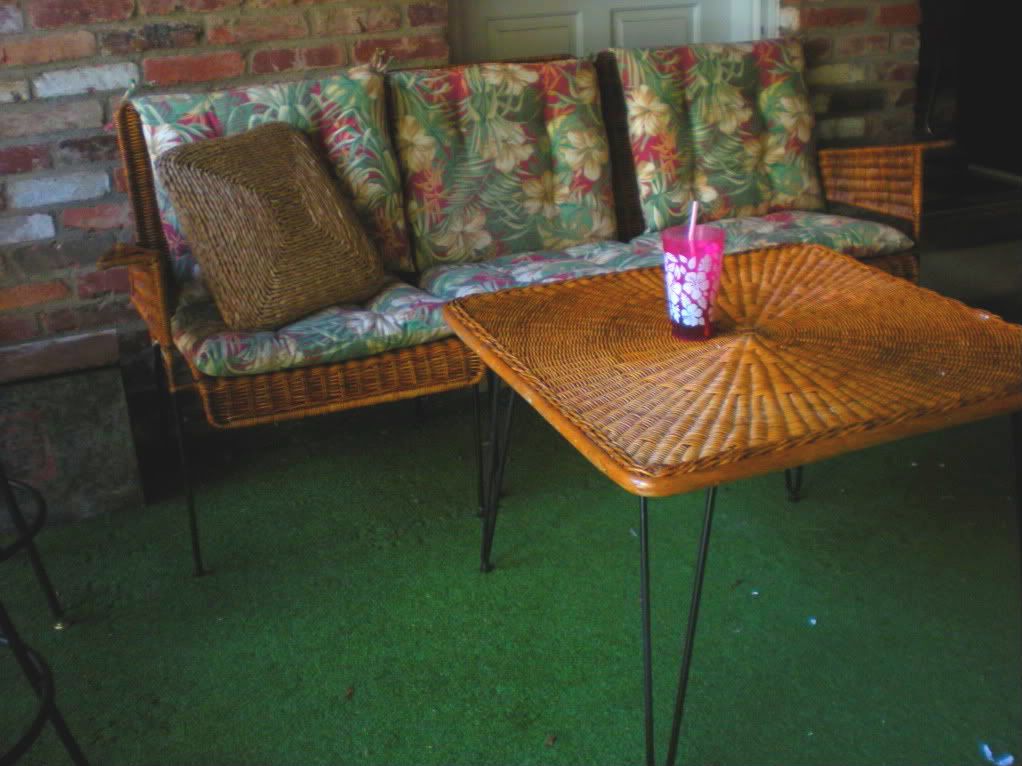
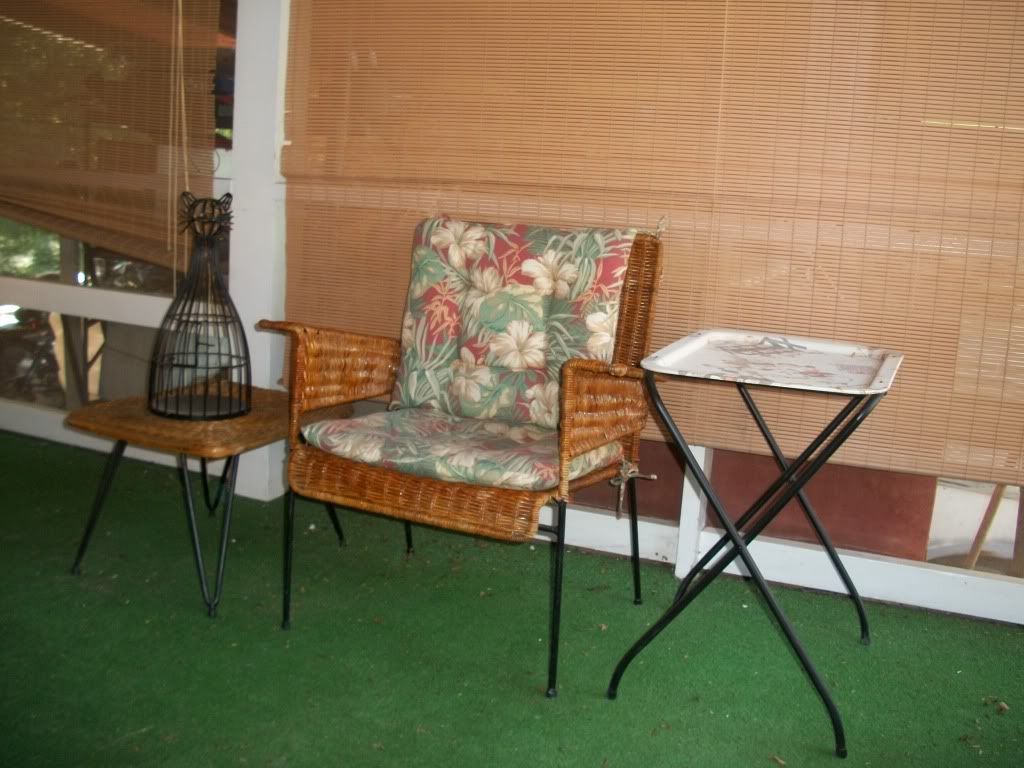
We have some vintage wrought iron and caned chairs and tables that we picked up years ago in an antique mall about 240 miles from home. We loved them and decided we could squeeze them into our small station wagon. It was a cramped trip, but worth it. Three of the chairs can be moved together to form a sofa, or used separately.
It wasn't hard to clean and paint the wrought iron legs on these pieces. I added a little shellac and they look almost new. One chair had some caning coming loose on an arm, but a local antique store I found does re-caning, so for a reasonable price I got the chair fixed.
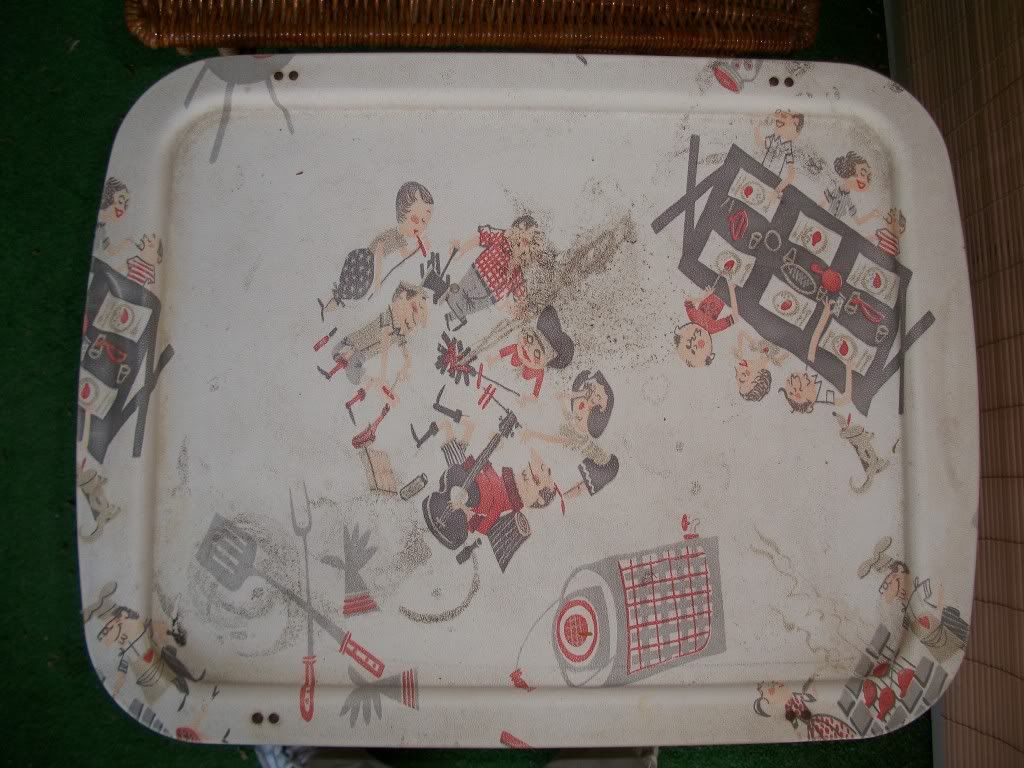
Yes, that's a cat-shaped bird cage. And a vintage TV tray.
I need to clean these up some.
Right now, my light-up fu man chu tiki guy lurks on top of a rusty old milk box.
Last summer we added a couple of caned bar stools I saved from the trash one morning on my way to work. The stools only need a little clean up and paint on the legs. And since I had shellac left over from doing the interior walls of the Shasta camper, I just brushed a fresh coat of shellac onto the stools.
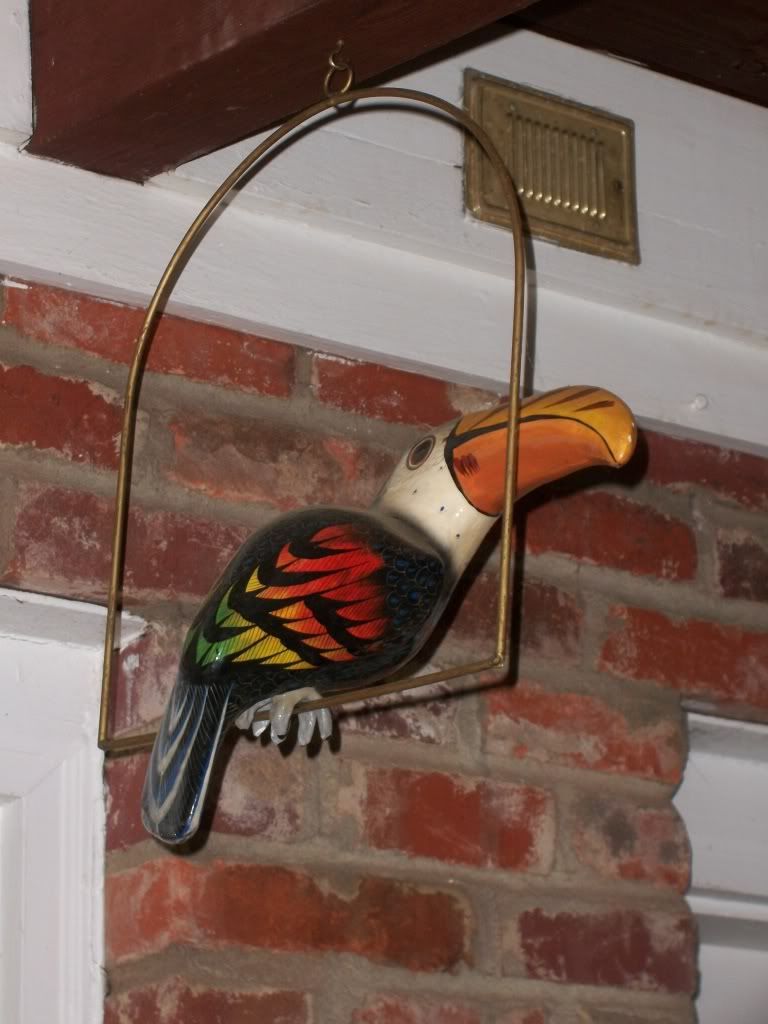
Vintage paper mache toucan from my favorite flea market.
The porch had two wooden screen doors, which I replaced with these salvaged mill-finish aluminum screen doors. Here's screen door number one. Still period correct, and they automatically latch so they're better for keeping our frisky corgi Lucy from escaping.
Screen door number two, directly across from screen door number one. Number two leads down a couple steps to the back of the carport and to a stairwell down to the back yard.
One of a couple of primitive masks I picked up pretty cheap at a yard/estate sale near my favorite flea market.
Small primitive mask and the string of tiki lights we have running around three walls of the screened porch. The blinds are cheap Home Depot plastic, but they give us a little privacy and look OK.
I should add that the screen mesh around the whole porch is original, along with the white wood trim that is nailed over the screen edges. It's all going to get replaced because the wood is rotting in spots, it's been painted too many times to look good with another repaint, and the screen mesh has some holes in it. So, one of my summer goals is to tear off the old and replace the screen mesh with a darker tinted mesh and install all new wood trim around the outside edges.
I still may close this space in some day with windows to make it a three-seasons room. I'd love to keep it looking original, and to do that I hope to run across a bunch of old jalousie-style windows. (They're the kind that have a crank and typically a lot of 3-inch wide horizontal glass panes that open when you turn the crank).
So, there you have it, the tiki-themed screened porch. It's still a work in progress. Believe it or not, we used to have a hammock frame and hammock on the porch, but it just didn't quite fit. Sure was comfortable though. Now instead we have my daughter's bamboo papasan chair. No pics of that at the moment.
I plan to install one of the 3-tirerd wall lamps this weekend and do a post comparing it to my brassy plastic disco wall lamps from the previous post. Stay tuned.
Subscribe to:
Posts (Atom)