Showing posts with label santa. Show all posts
Showing posts with label santa. Show all posts
Sunday, December 25, 2011
Saturday, April 16, 2011
Road Trip to Danville, Virginia
We were in Danville, VA, today for a visit to Averett University. My daughter is interested in equestrian studies and its one of a couple schools on her list. Danville in some ways reminds me of Asheville, NC, which we visited last spring, except Danville doesn't have the same artsy vibe. Maybe now is the time to scoop up a historic downtown home. We passed one 100-year old house for sale and the price was a firm $44,000! Sheesh, where we live now people spend more on a new car. I'd love a house for that price.
Anyway, it was a good school visit, and by mid afternoon we decided to drive around the town and of course I needed to do a little antiquing. We located Lou's Antique Mall in what was probably a former 3-story department store downtown. It had a lot of what I consider the older antiques my parents loved, but I did see some things of interest to you all, so I shot some photos.
So what am I waiting for, here we go!
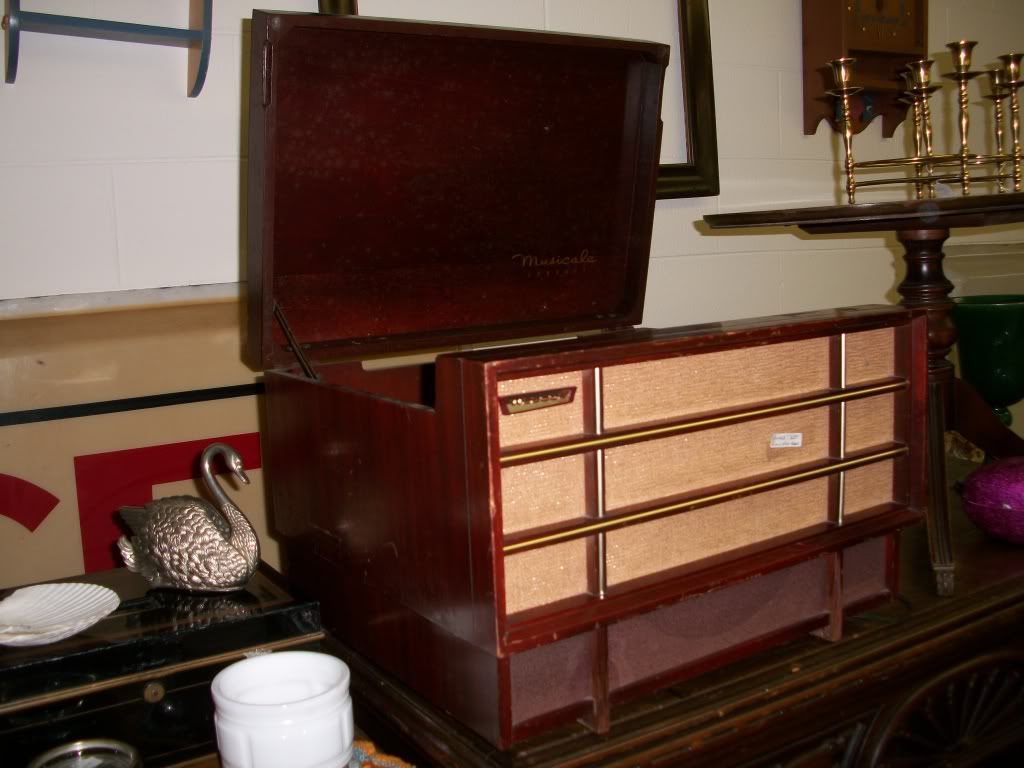
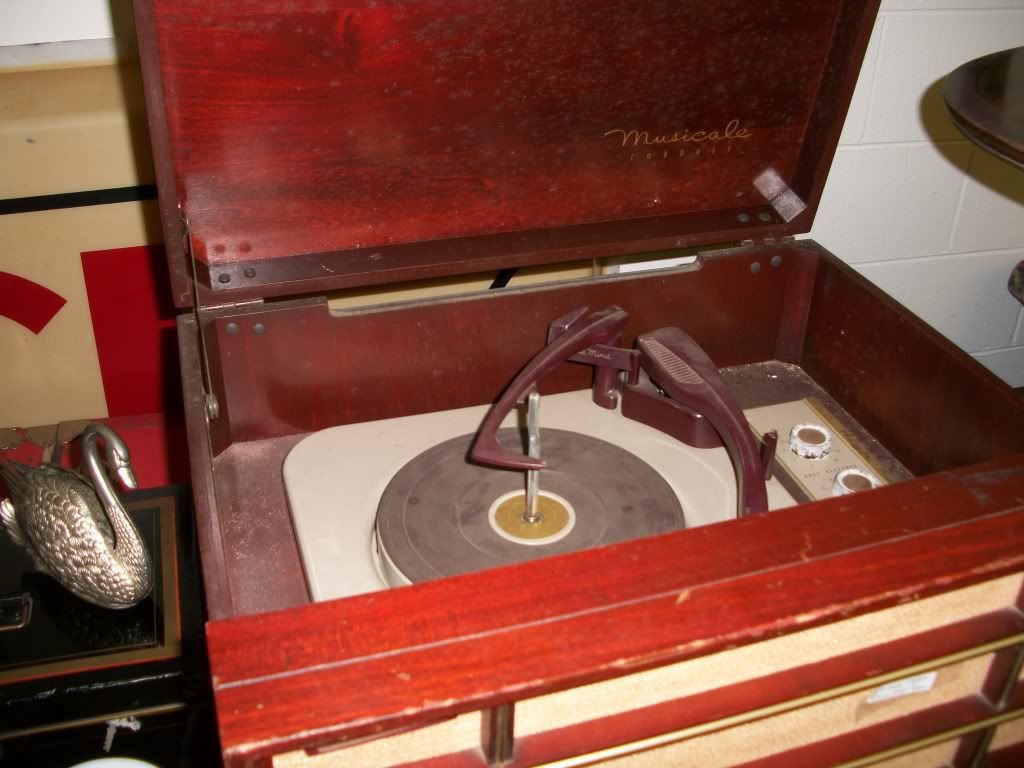
I've been looking for a vintage record player, and this Musicale tabletop model supposedly plays. It has a nice shape, and is priced at $65.
I decided to pass because I'd like one that also has a radio, I'm not familiar with this brand, and the finish and edges looked too worn. I'm becoming picky about finding the right one because, as you already know if you've been hanging around here long, I don't need any more projects!
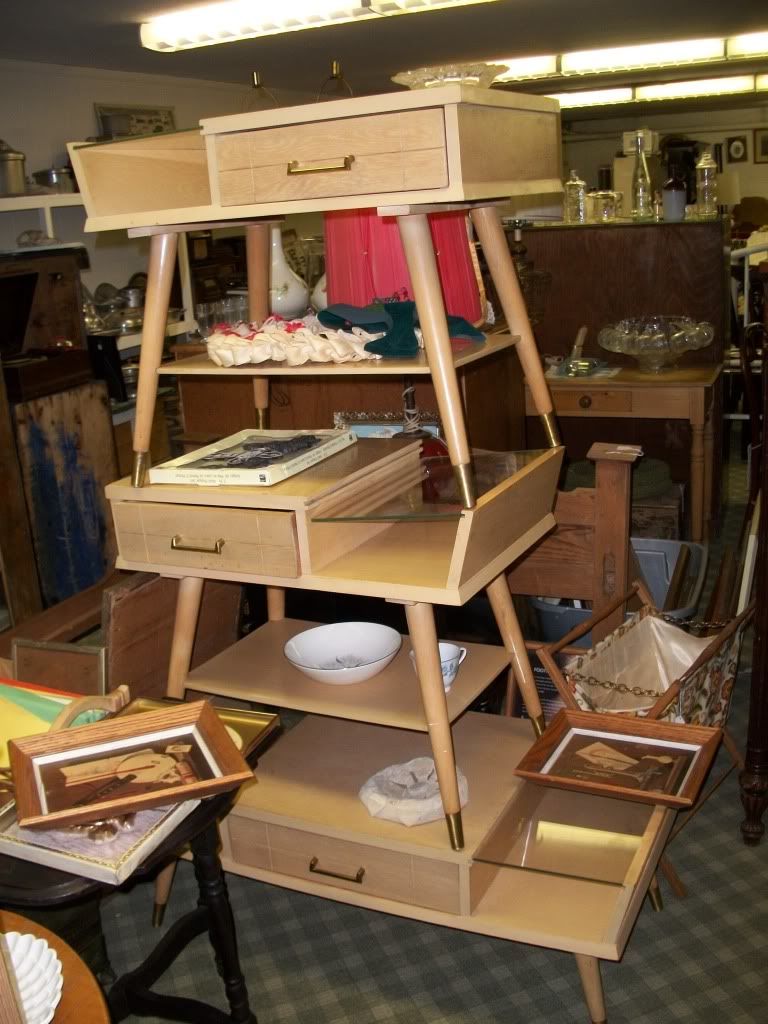
I also spotted this set of two end tables and a coffee table, very cool with glass shelf for each piece, and the drawers were double sided - you could open them from either side of the table! I've never seen that.
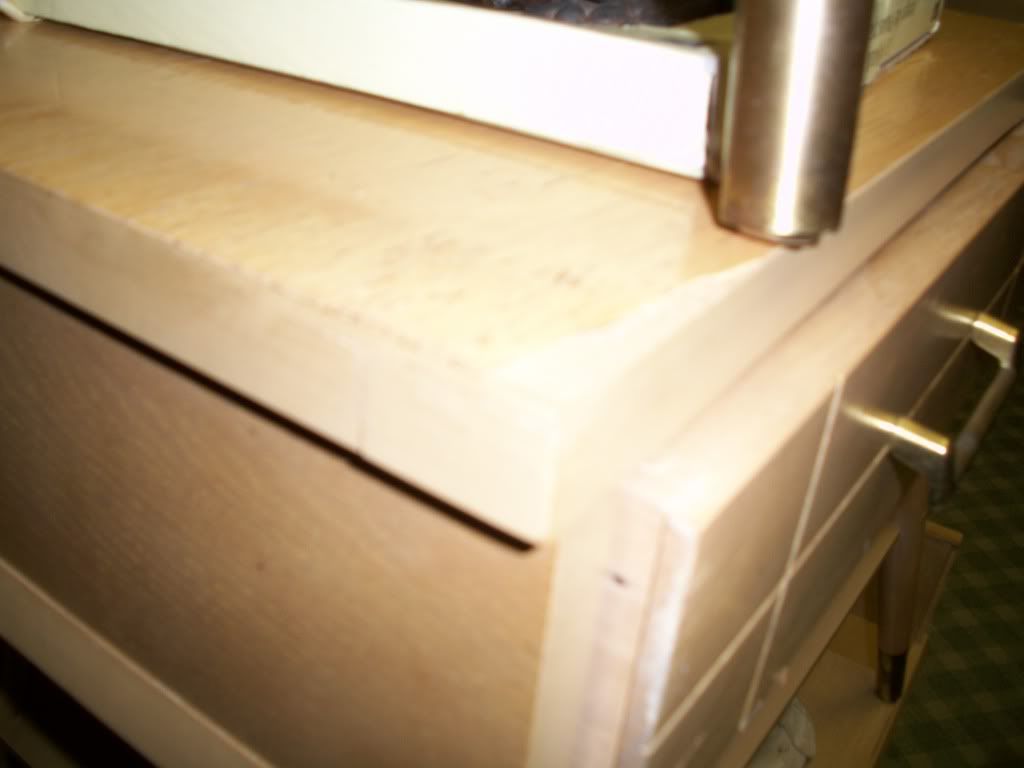
The angular shape is great, and I was really tempted. Priced at $90 for the set, it was tempting. I went back before we left and started seeing damage to the laminate on at least one end table, and I knew I would not be able to live with the damage, and I have not yet found a way to fix a big chip.
I"ll probably regret it, but I also didn't have a room to use them in.
I'm a sucker for wrought iron stuff too, and this little desk has decent bones, but the top is bowed in the middle. Priced at $65 as I recall, so not bad, but no need or room for it either.
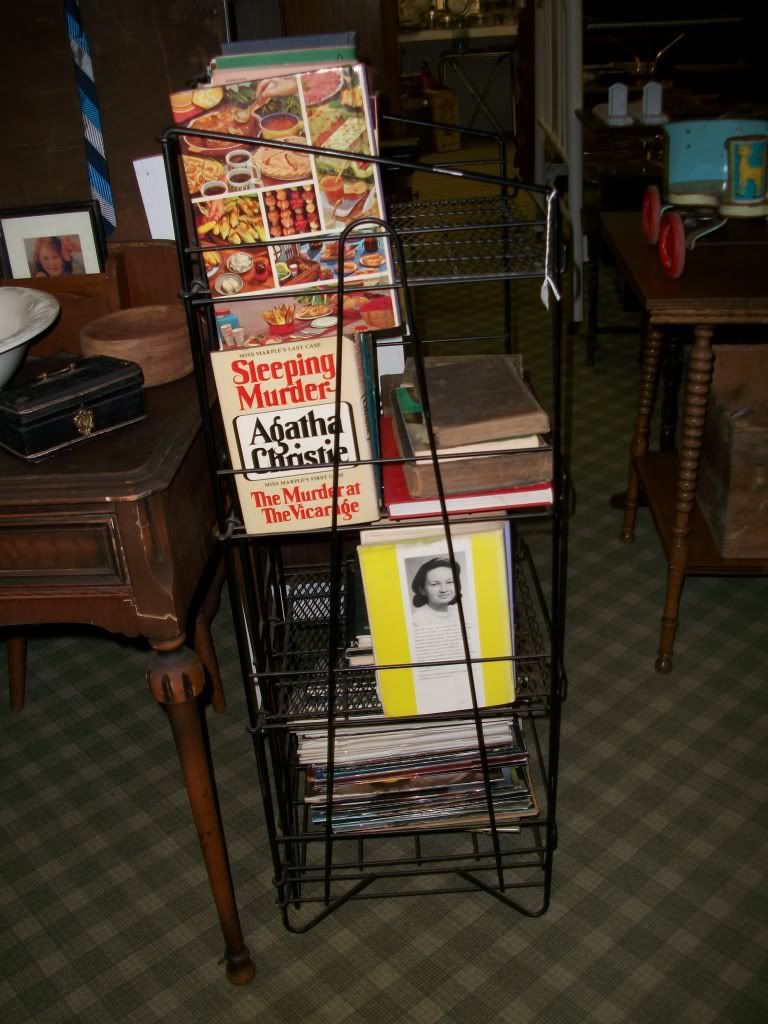
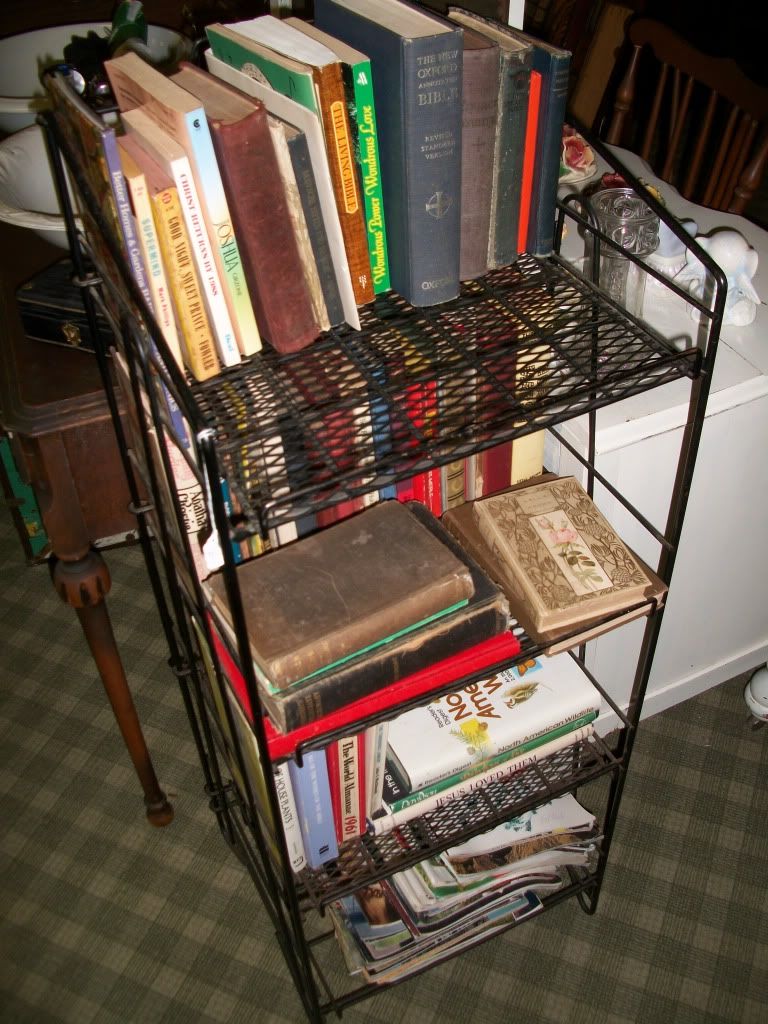
I very nearly bought this folding wrought iron bookshelf, looked very sturdy and priced at a decent $42.50.
It would have fit in the car, my daughter liked it, but I didn't pull the trigger. Too lazy to offload all the books? Maybe. I also couldn't think of a good place to use it at home. I'll probably regret this one.
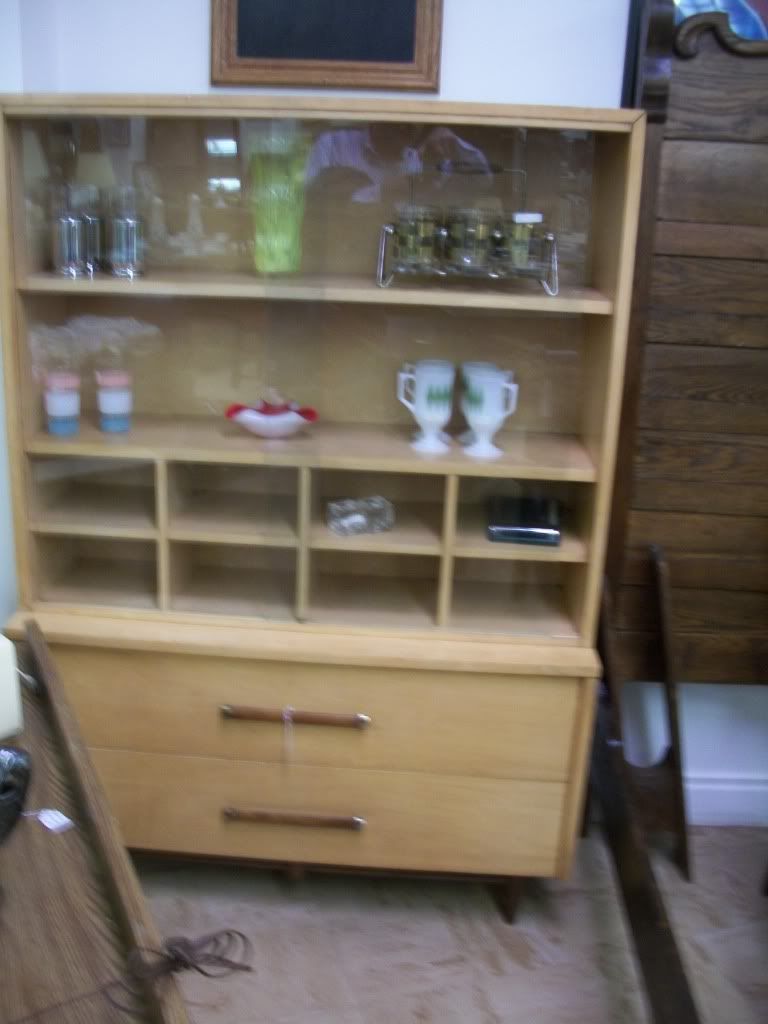
This cabinet looked pretty good and was reasonably priced - I think it was $120, but again, no room for it.
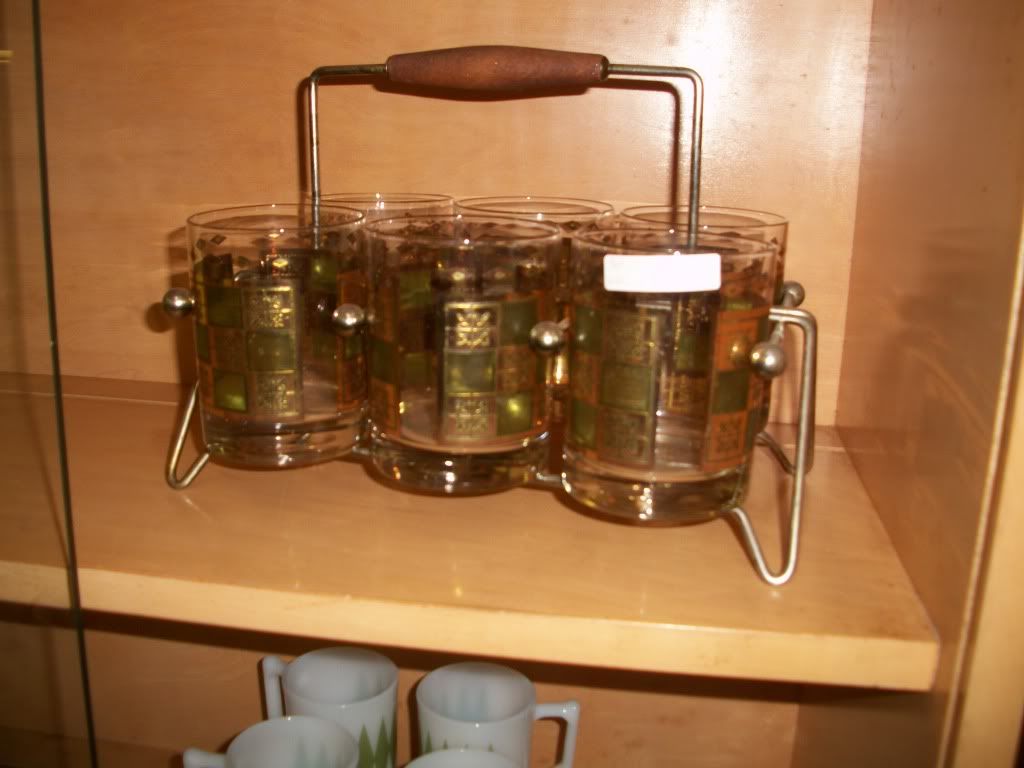
Nestled inside the cabinet was this cocktail glass set - it was overpriced.
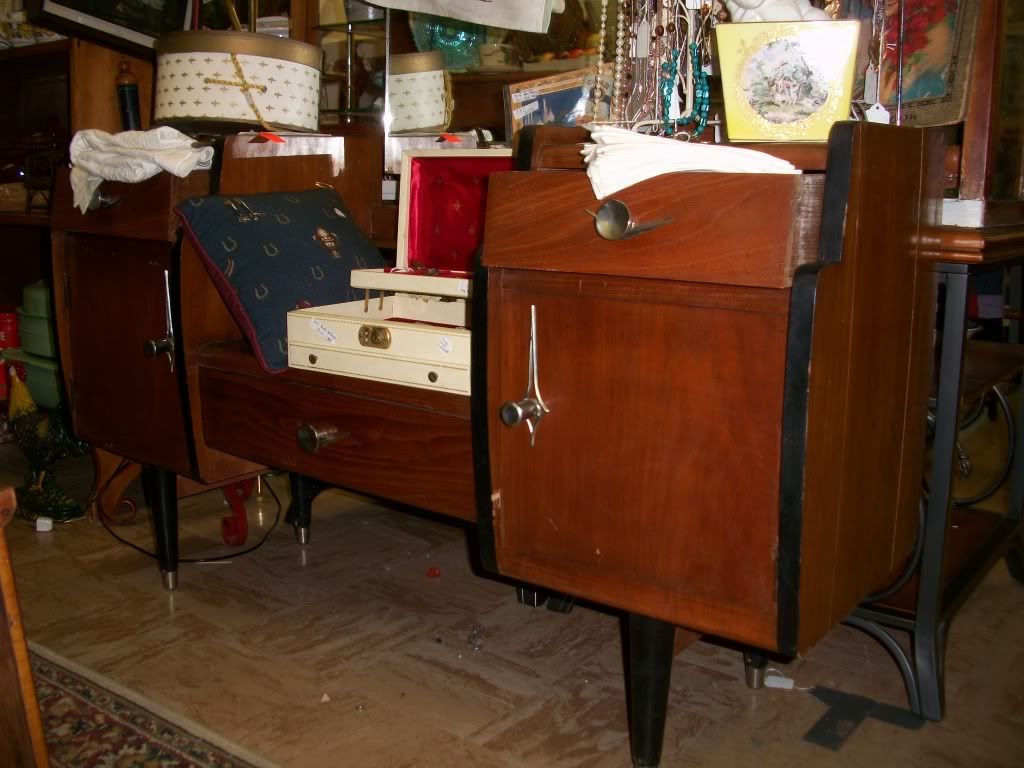
I couldn't find a price on this - not exactly a vanity, sit's pretty low to be a sideboard. Hardware is kinda danish modern. I liked it, but not enough to move all the stuff off to really look it over.
Several formica tables, this one looked pretty good with gold flecked formica, but again, I couldn't find a price and I don't need another one. Very cool though.
This yellow dinette was priced at $179, the yellow formica had a pattern I haven't seen before, not linen, more of a plaid? Chairs looked faded.
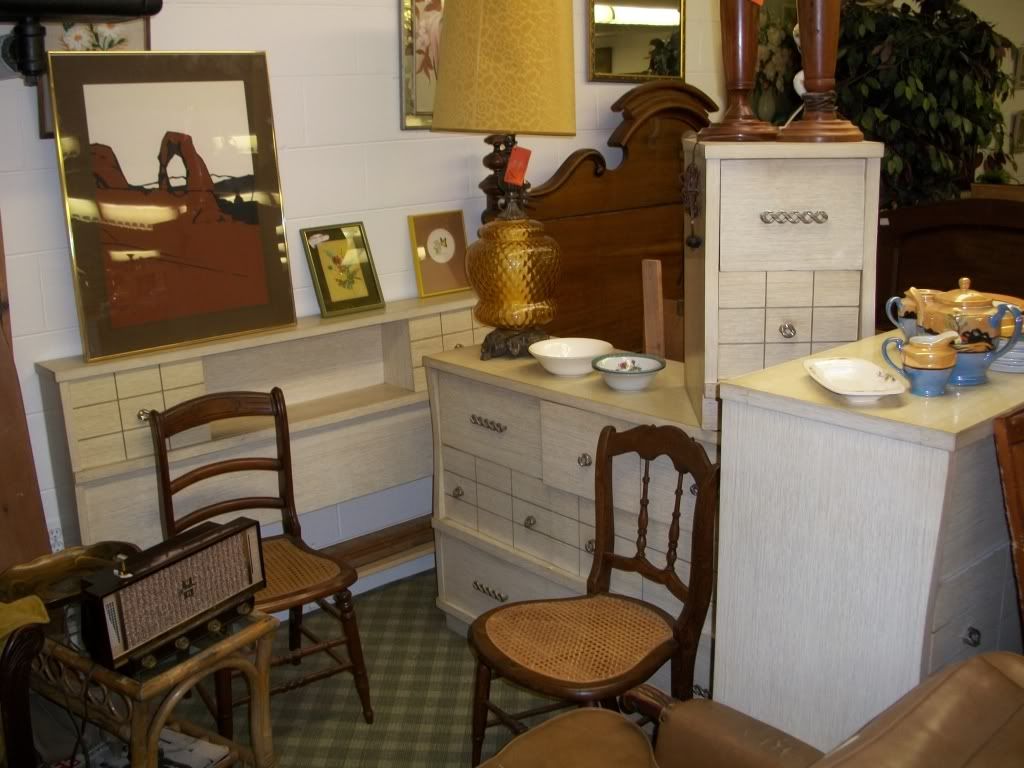
This five piece bedroom set including head- and foot-boards was $179 - I do love the picked oak and blonde furniture from this era, but the laminate can really fade irregularly when exposed to a lot of sunlight, and this set had that problem. Still, very cool.
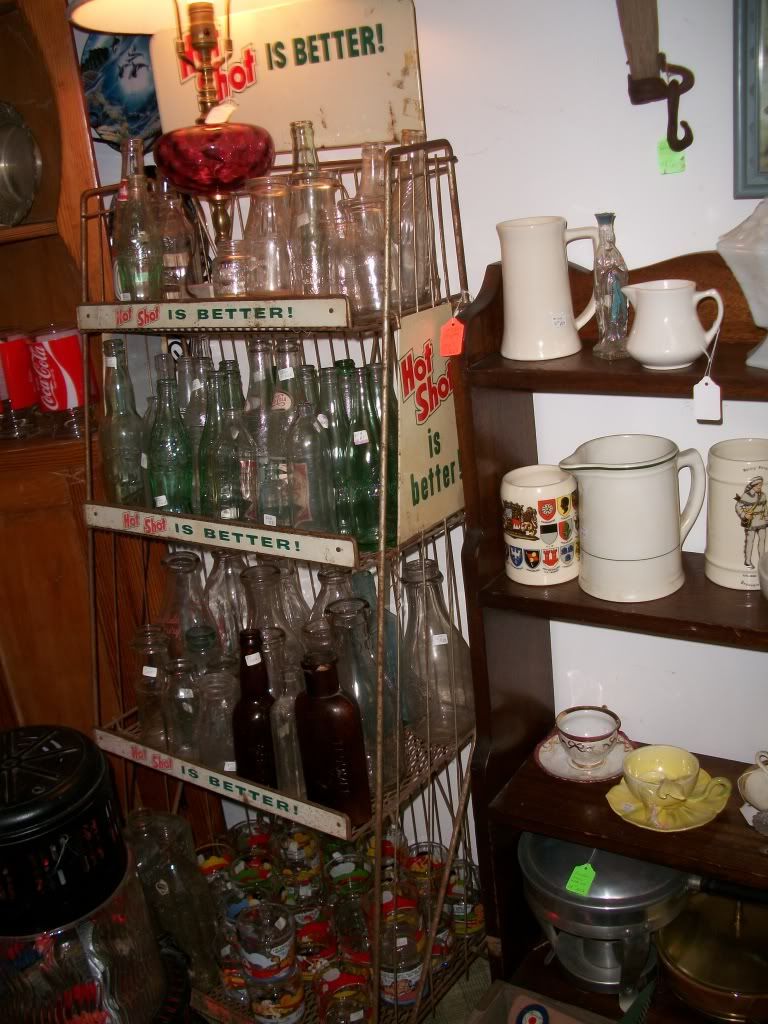
Saw several old advertising shelves like this, I think this one was $118 - I like them but I'm just not into them for our house. Now if I ever get my garage built, stuff like this will start coming home with me.
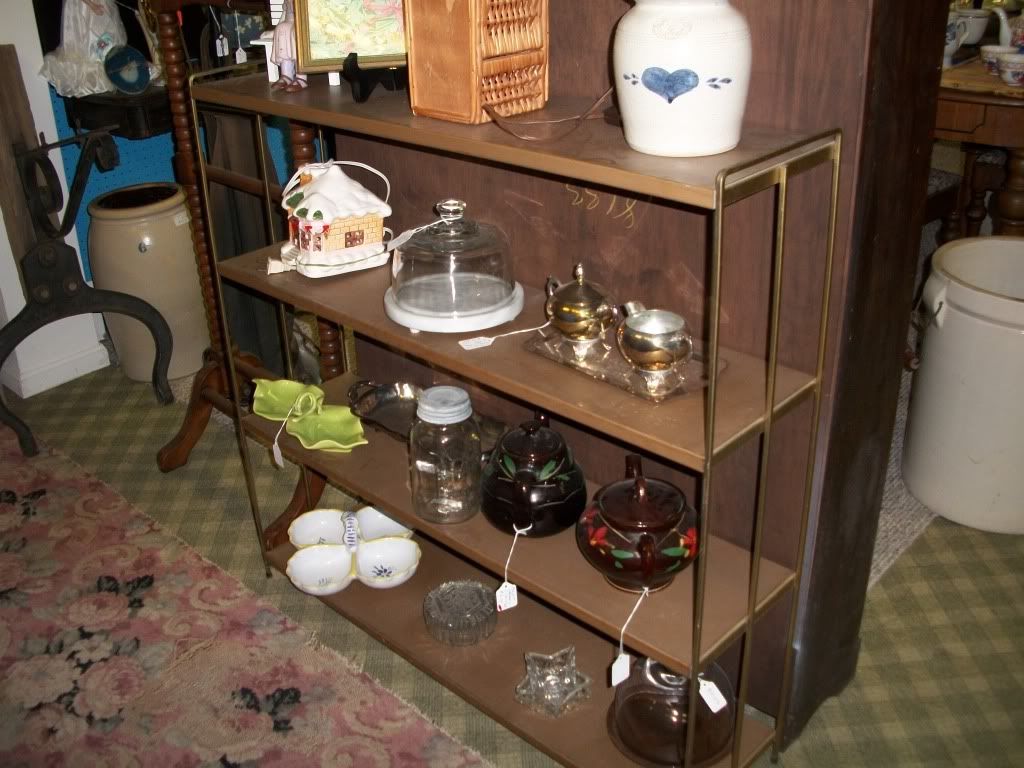
I like these little metal book shelves, no price that I could find on this one. I really hate that.
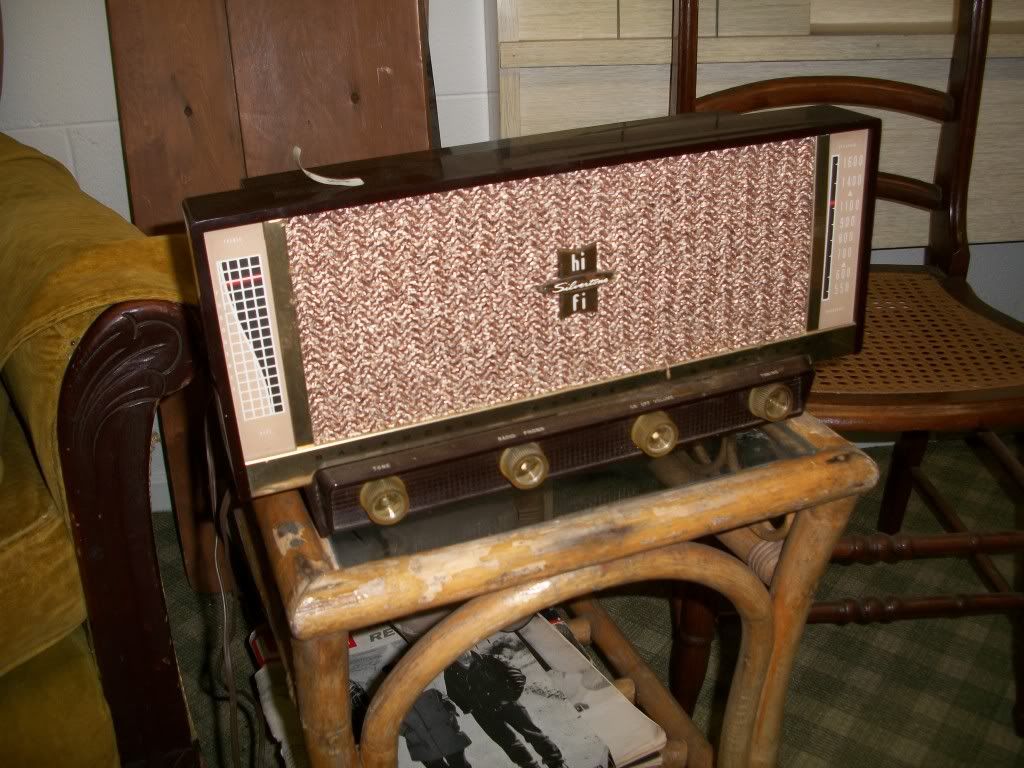
This radio looked very cool, priced at $25 which would have been OK but it only had AM, no FM.
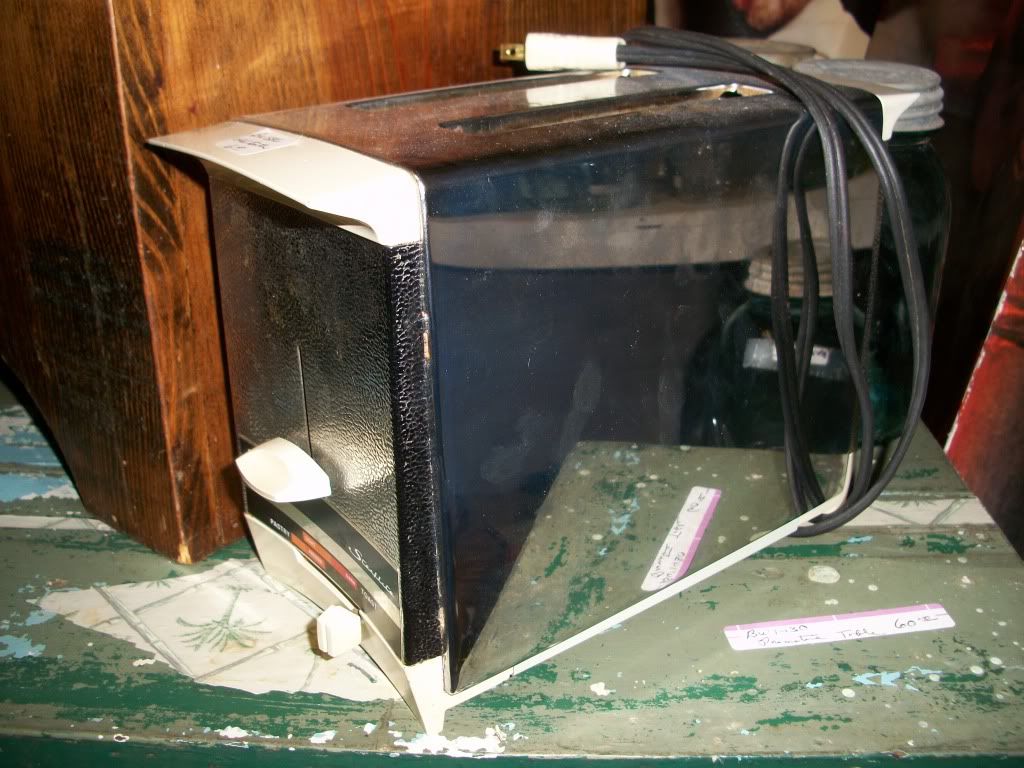
1970s era toaster looked pretty good and priced reasonably at $10.
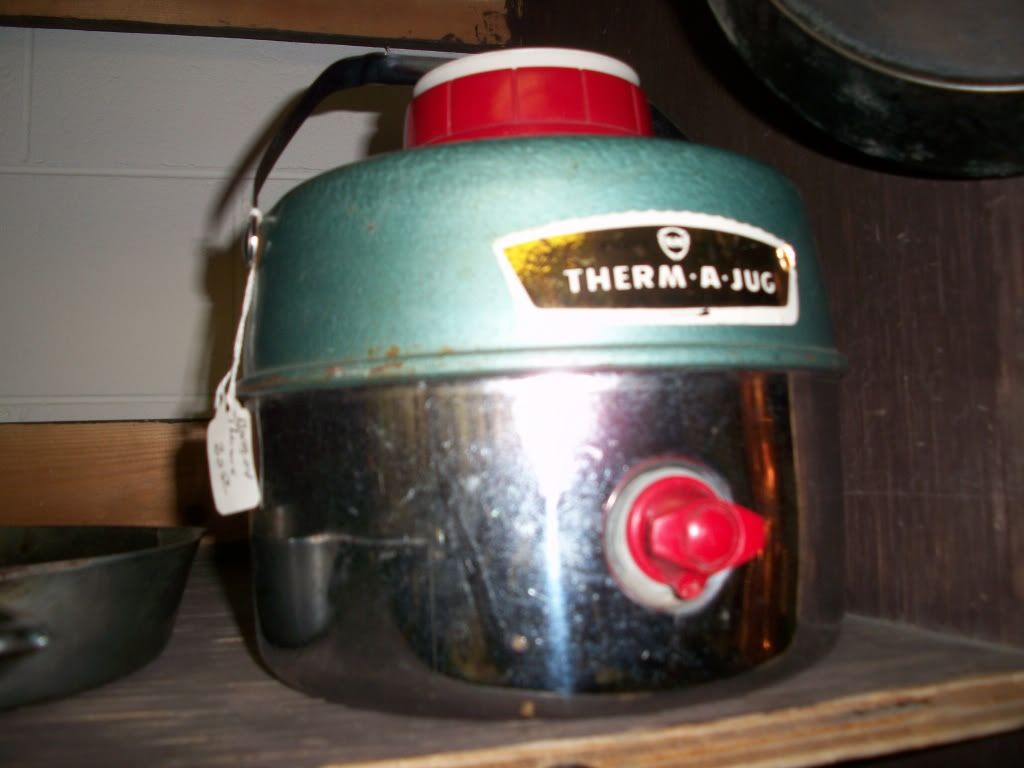
I really liked this water cooler, but too expensive.
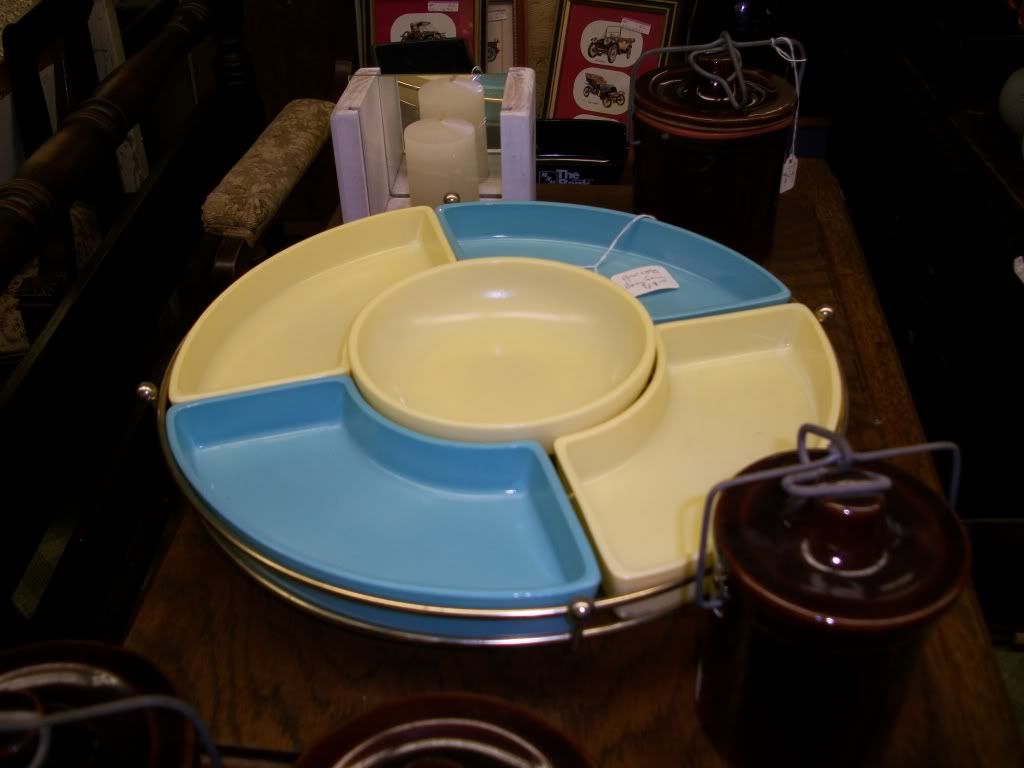
Here's a cool lazy susan, but again, priced too high at $49.
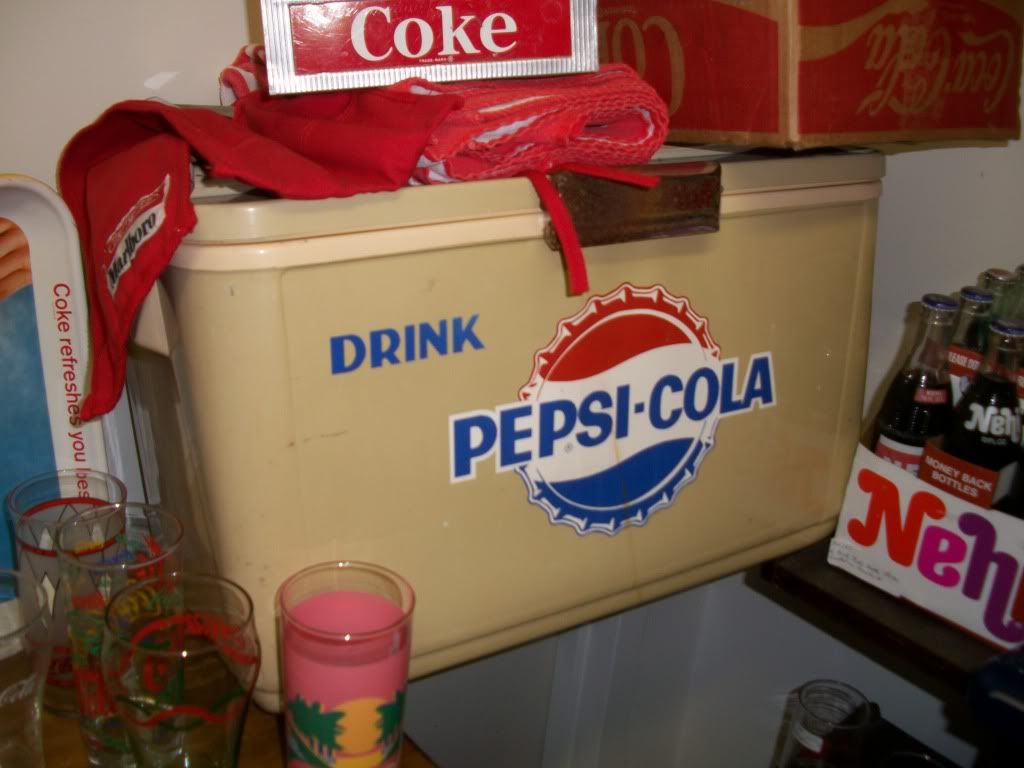
I need another vintage cooler like I need another project - I don't. But this one looks good, doesn't it? Except for the heavy rust on the front latch. No price tag visible.
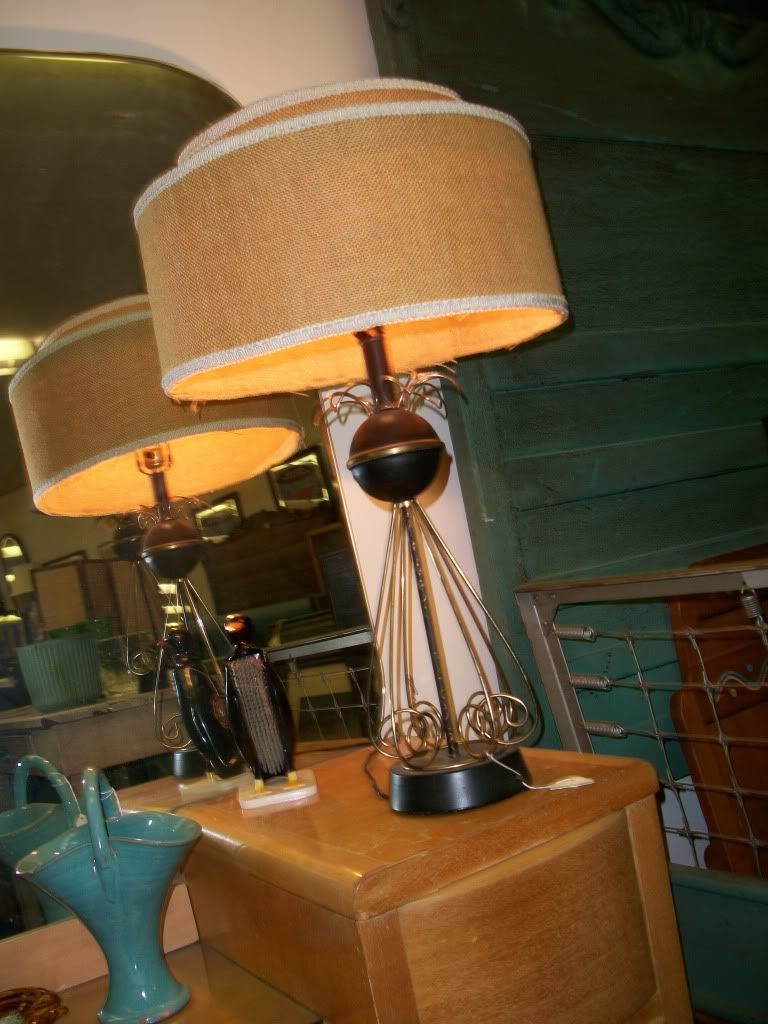
A pair of matching atomic lamps looks pretty good, but someone had glued burlap to the shades and they were ugly! Priced at $49 each. No thanks.
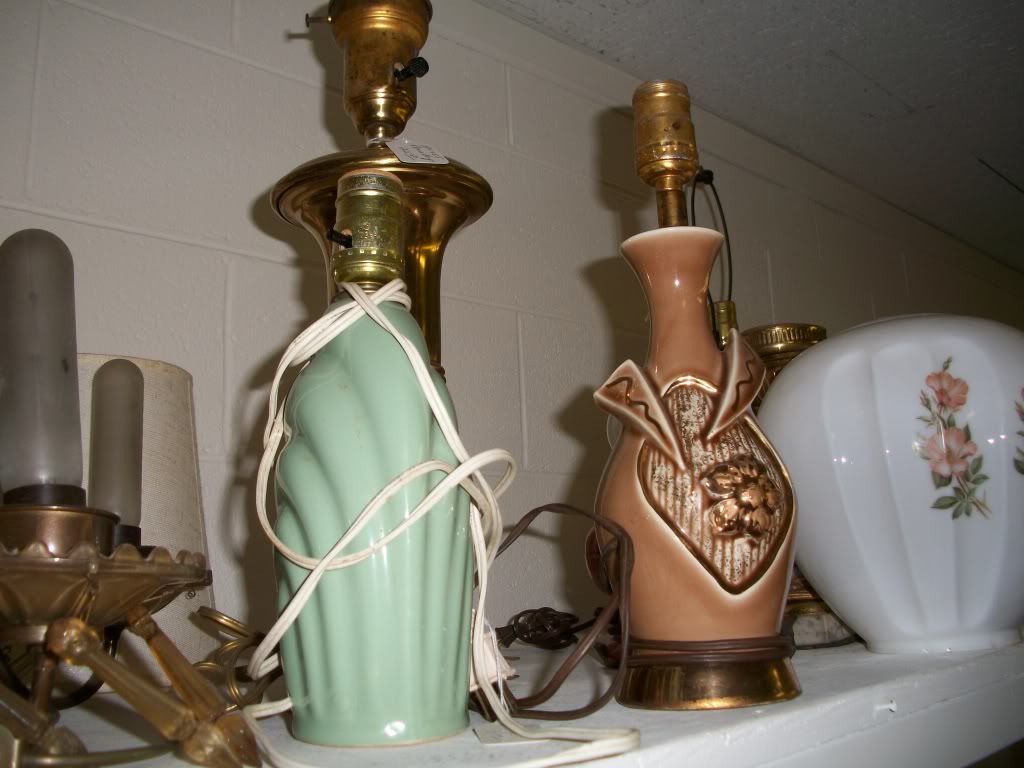
Brown lamp looks good, but no shade. Priced at $19, it was a little tempting, but I have too many lamps already.
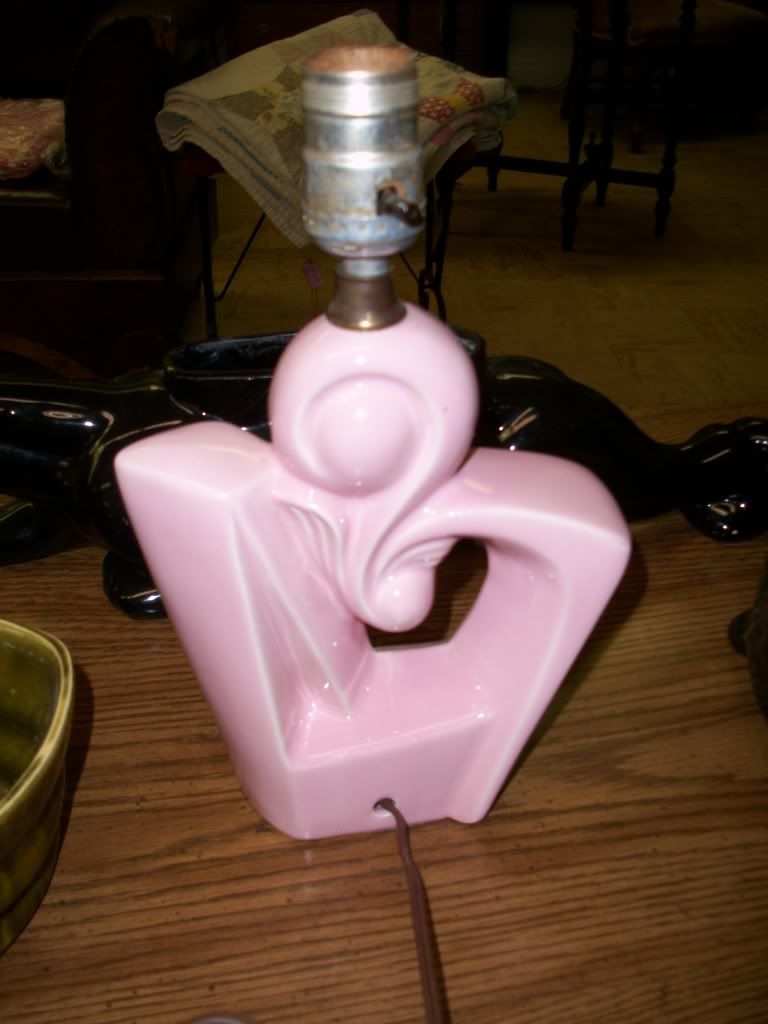
No price on this pink lamp, and again, no shade.
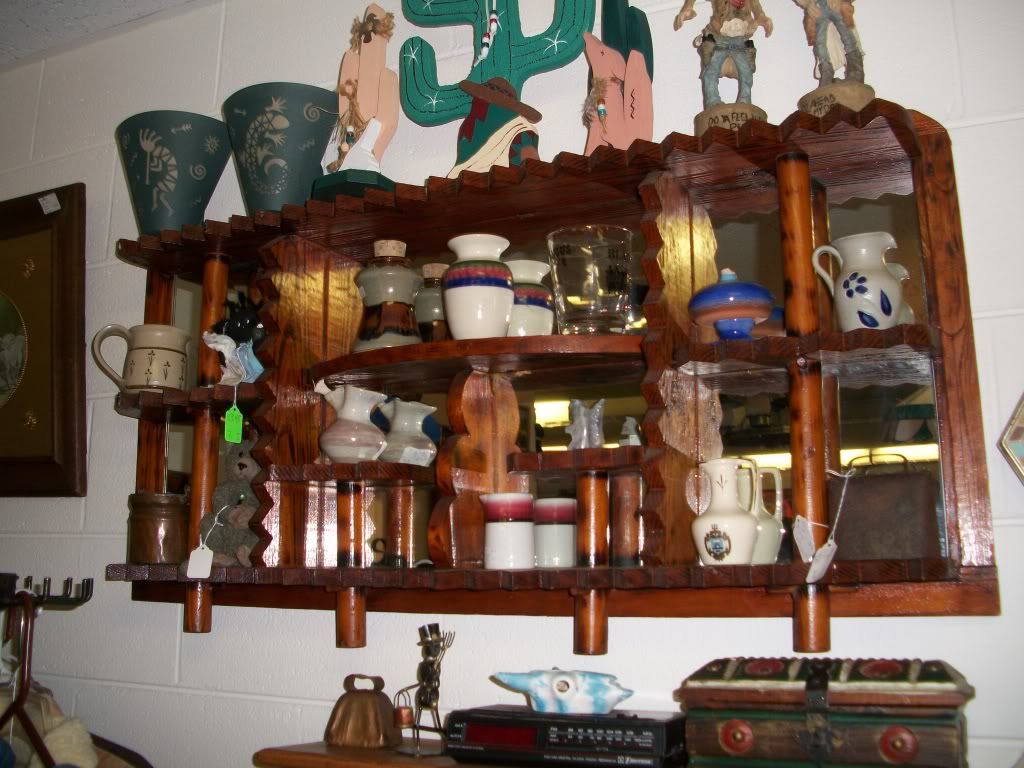
This mirrored wall shelf has that tacky souvenir shop pine vibe to it, I couldn't see a price, but it sure is different!
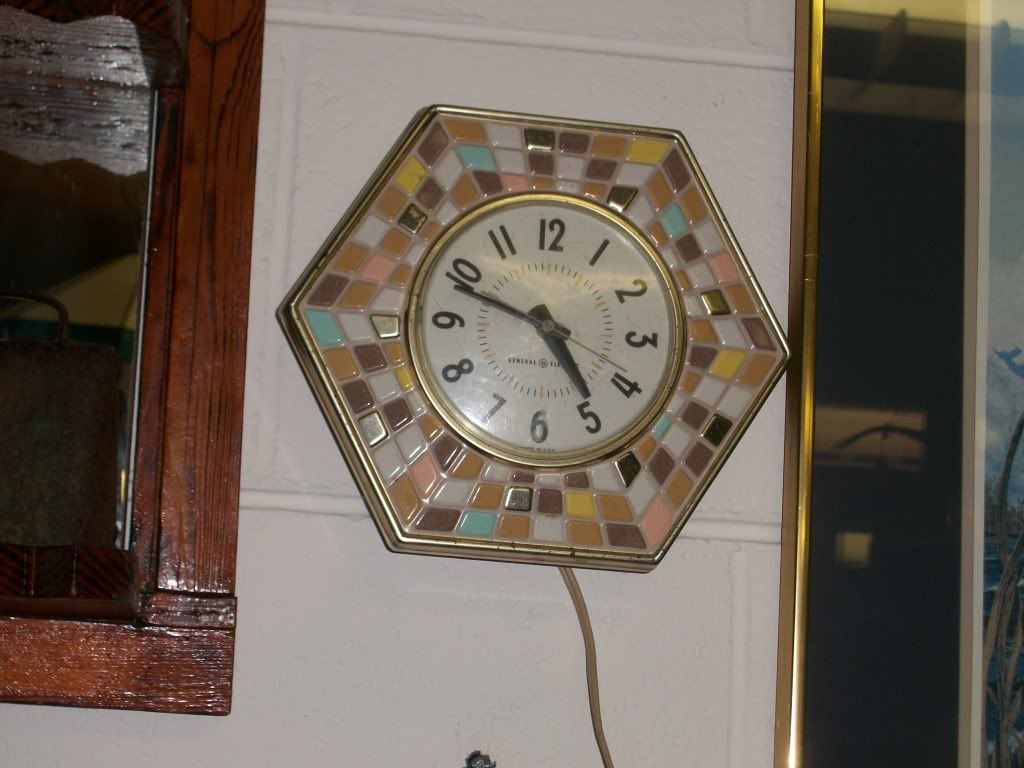
Beside the shelf was this plastic 1970s era clock - not for me, but I appreciate the look. I was surprised that the back was plastic, I expected metal.
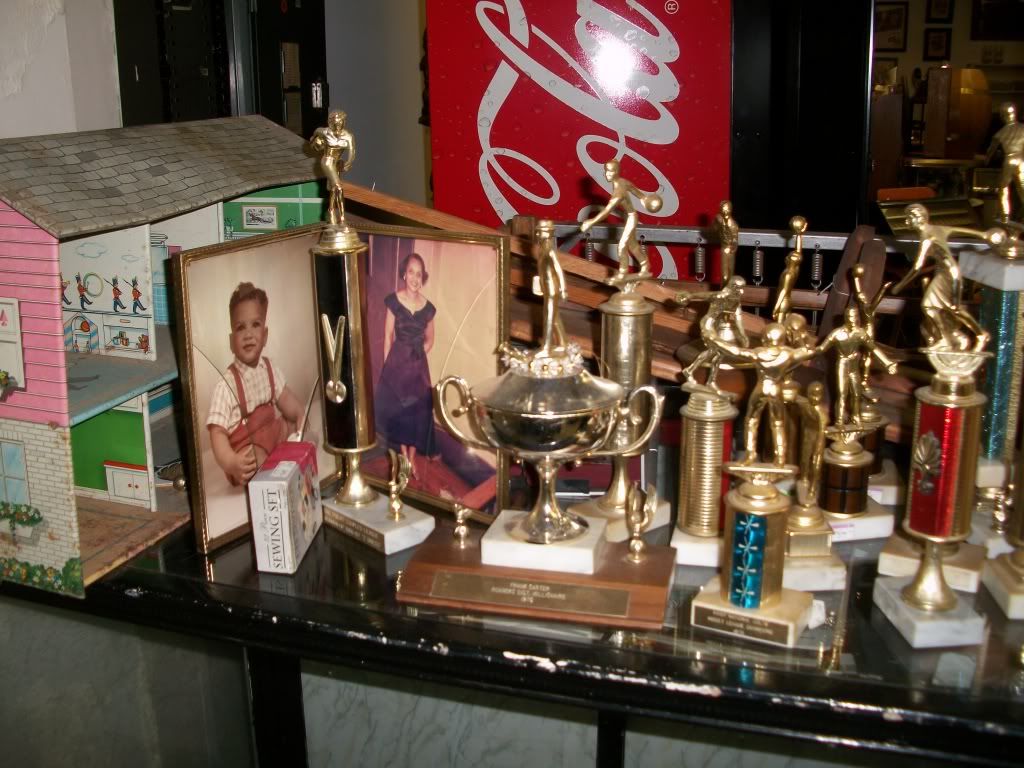
Quite a collection of 1970s or 80s era bowling trophies. I liked the hinged double picture frame, but the glass was broken in both frames. No thanks - project.
Vintage barbecue tool set in the box, $10.50.
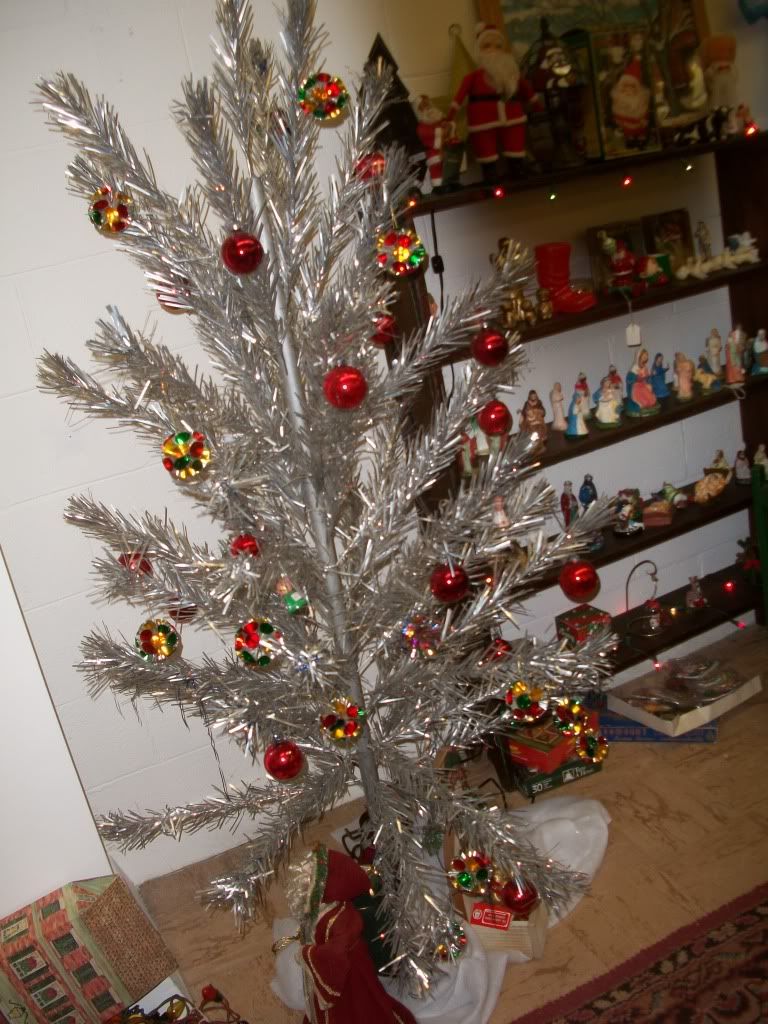
No price on this aluminum Christmas tree, and I like the one we have better.
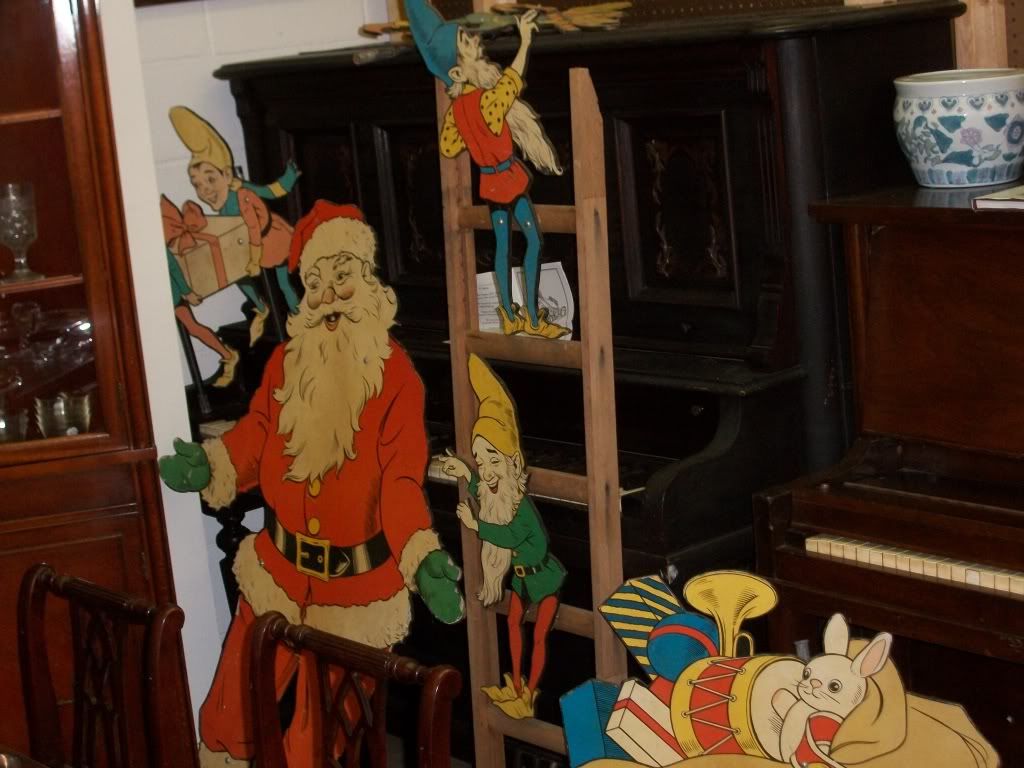
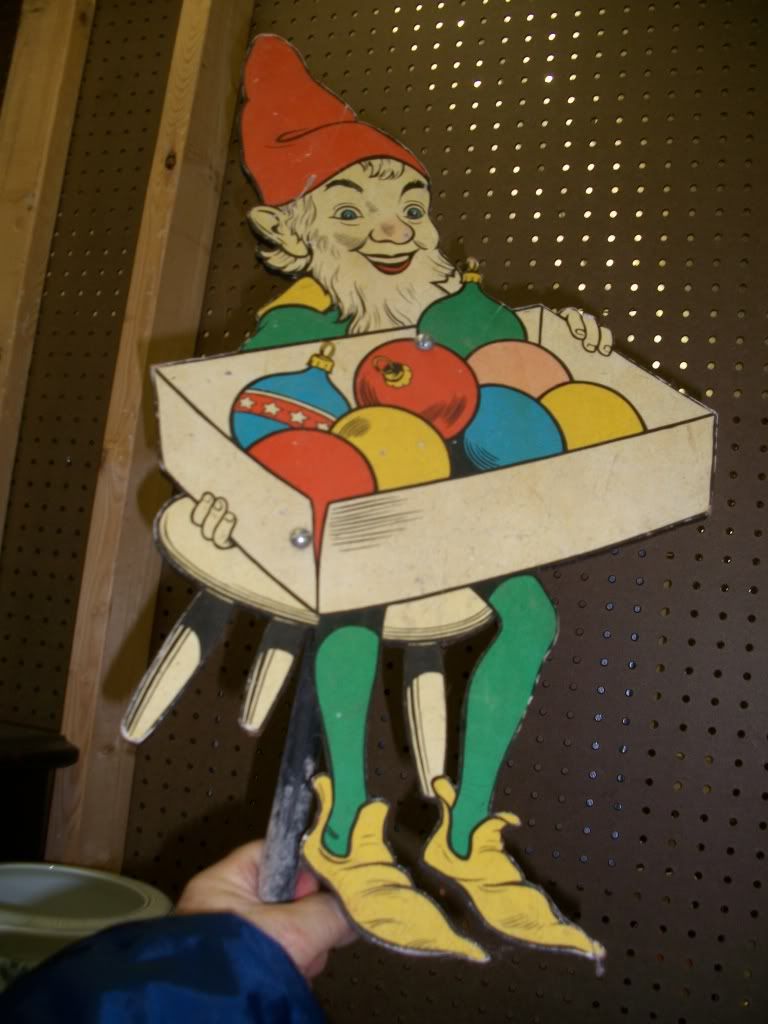
Not far from the tree I spotted a stand up Santa and a set of Elves.
I haven't seen these anywhere and they look to be 1950s era. No price I could find, there were like five elves, Santa, and one or two other pieces. I asked about them when I was checking out, and the guy there said there was a price on them. I said I looked everywhere and saw none, he said $350 and I said no thanks.
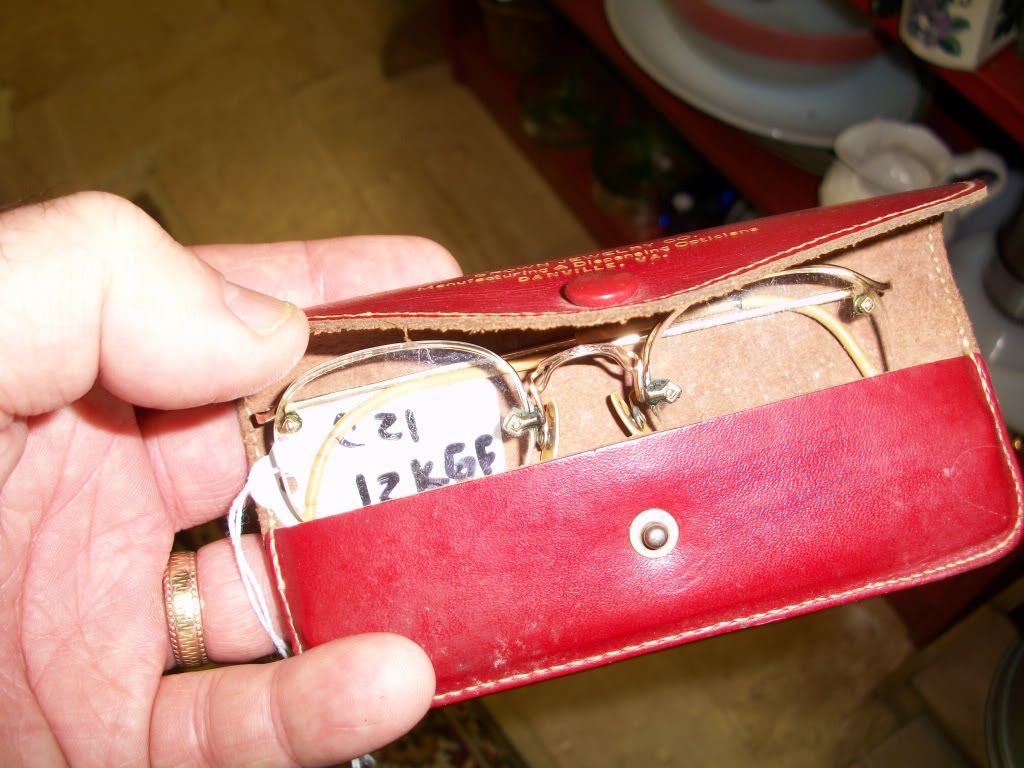
Near the end of our wandering my daughter and I found this bunch of old eyeglasses. They were priced at between $8 and $10 each. She couldn't settle on any pair that was both in good condition and what she liked, but I did shoot some pix for you all.
She was getting dizzy looking through the prescription lenses. I will keep trying to get her into some vintage frames, if we can find the right ones for a pair of sunglass lenses.
Overall, the store had a lot, but a lot of the stuff I was interested in was either overpriced or so covered with other stuff that I didn't bother taking a closer look. I only bought one small thing, a sort of danish style trivet/pot holder and I didn't get a photo. We'll probably do a little more shopping on the way home, so I'll try to shoot some more and give another update once we get home.
Sunday, December 5, 2010
Who knew? Fruit cocktail eggnog pie?
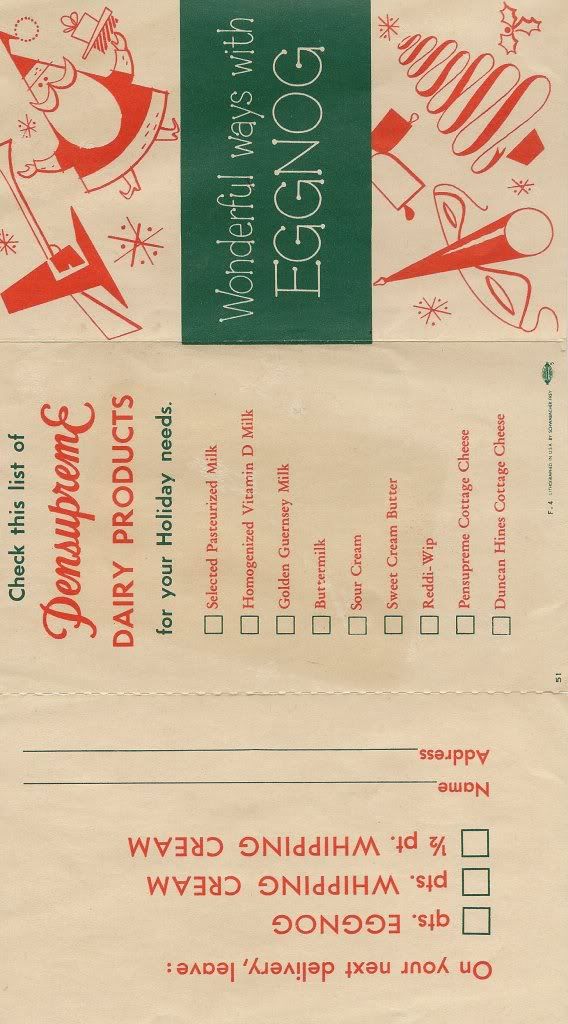
When I bought our aluminum Christmas tree a few years ago, in the box I found this small 3"x5" Pensupreme Dairy Products giveaway. It's a tri-fold card, and the front has a very mid century graphical appearance, don't you think? I love to find old graphics like this. It's the kind of thing that typically got trashed, except, since there's a recipe involved, maybe some of you have seen this in someone's old recipe box.
Pensupreme was, and still is, a dairy in Lancaster, Pa.
Inside, there's a recipe for Fruit Cocktail Eggnog Pie, a tradition on everybody's holiday menu, I'm sure!
Now I don't intend to try this, I've never cared for eggnog to begin with, but I think this is something for fellow blogger RetroRuth over at No Pattern Required. She's always experimenting on her husband - so here's a shout out, have you tried this one yet, RetroRuth?
Friday, November 26, 2010
Santa, I am so done with you!
Finally, I got the piece of rebar cut to the right length, painted, and into the ground. I used a mini sledgehammer, about the size of a regular hammer but with a heavy head. Drove that rebar into the ground about 30 inches, and it was tough going. I feel like I have one Popeye arm after all that work. Anyway, as I hammered the rebar the top of the bar was flattening out and becoming wider. I was a little worried that it would be too wide to still fit inside the pipe I attached to the back of Santa. Fortunately, the mini sledgehammer persuaded the pipe to slide down over the rebar. Santa may never leave my yard again!
This would be the time when I would say I'm getting back to carving the tiki stump, but my chainsaw is on strike. Won't even let me pull the cord. So, I have to try to get that repaired. Or, hope Santa will slip away from my front yard long enough to bring me a shiny new Stihl MS 290 Farm Boss with toolless fuel and oil caps, 16-inch adjustable automatic bar and chain oiler, and side access chain tensioner for ease of use! In the meantime, I have some leaves to deal with...I hope everybody had a great Thanksgiving!
This would be the time when I would say I'm getting back to carving the tiki stump, but my chainsaw is on strike. Won't even let me pull the cord. So, I have to try to get that repaired. Or, hope Santa will slip away from my front yard long enough to bring me a shiny new Stihl MS 290 Farm Boss with toolless fuel and oil caps, 16-inch adjustable automatic bar and chain oiler, and side access chain tensioner for ease of use! In the meantime, I have some leaves to deal with...I hope everybody had a great Thanksgiving!
Sunday, November 21, 2010
Santa's almost here!
When we left Santa last weekend, he didn't have it all together, and he was laid out in our basement.
But after some careful cutting and sanding the edges, a little white stain along his edges, some glue, clamps, and some carefully modified deck screws, he went together pretty well. (Two pieces of the plywood together were only about 7/8 of an inch, so I used a pair of bolt cutters to nip off enough of the ends of the one-inch deck screws I had to make them just short enough so they wouldn't go all the way through the wood and mess up the project.)
I had a piece of 1/2 inch conduit pipe that I found nicely fits over a long piece of rebar, so I cut it, drilled a couple of holes, and screwed it into the thickest part where three layers of plywood come together.
So after I drive the rebar into the ground where I want him to stand, I'll have what I hope is a good, unintrusive way to stand Santa up in the yard.
Now, his glue is dry, he's all screwedup together, and he's patiently waiting for Thanksgiving to pass so he can take up residence in our front yard! (Santa's a traditionalist donchaknow - wouldn't think of decorating for Christmas before the turkey leftovers are in the fridge.)
I still need to get some white outdoor caulk and use it between the edges of the pieces of plywood that are glued/screwed together. I want to do this to minimize the amount of rain, snow, and ice that gets in there. After all, I'd like this Santa to last for a while through a mix of bad weather conditions.
Here's what I learned from this project:
But after some careful cutting and sanding the edges, a little white stain along his edges, some glue, clamps, and some carefully modified deck screws, he went together pretty well. (Two pieces of the plywood together were only about 7/8 of an inch, so I used a pair of bolt cutters to nip off enough of the ends of the one-inch deck screws I had to make them just short enough so they wouldn't go all the way through the wood and mess up the project.)
I had a piece of 1/2 inch conduit pipe that I found nicely fits over a long piece of rebar, so I cut it, drilled a couple of holes, and screwed it into the thickest part where three layers of plywood come together.
So after I drive the rebar into the ground where I want him to stand, I'll have what I hope is a good, unintrusive way to stand Santa up in the yard.
Now, his glue is dry, he's all screwed
I still need to get some white outdoor caulk and use it between the edges of the pieces of plywood that are glued/screwed together. I want to do this to minimize the amount of rain, snow, and ice that gets in there. After all, I'd like this Santa to last for a while through a mix of bad weather conditions.
Here's what I learned from this project:
- If you want to work with treated plywood, buy it and let it sit flat to dry out for a couple of weeks - I was too hasty, and I think the wood shrunk and bowed a little as the treated chemicals in the wood dried out
- Have plenty of clamps to hold the pieces together after you apply the wood glue - with the piece glued and clamped, you can then screw the pieces together to hold better. I left the clamps on until the glue dried
- If you have the Santa standing up while the glue dries, watch for glue running down the front - if you catch the runs before they dry, they'll wipe off with a wet cloth
- Don't expect to have the pattern glue down perfectly to the wood - despite my best efforts, I have some wrinkles and areas where air pockets puffed out the applique a little
Overall, this was a fun project, not too difficult, but you do need enough space to work in, the right tools, and you have to be fairly good with a jigsaw or sabersaw.
Saturday, November 13, 2010
Here comes two-dimensional Santa Claus
Back in August I picked up a 55-year old Douglas Fir Plywood Santa pattern that you glue to plywood, cut out and assemble to make an outdoor Santa. He looks something like the old Santa in the Coca Cola ads of the 1950s and 60s.
Here's my cheat sheet to tell me how and where to attach the pieces when it's ready to assemble. Two arms, the head, a bag o' toys, and a mustache have to be attached.
I put off buying the plywood until I got the correct glue to use with the paper pattern. I ended up finding this stuff through Amazon.
So today I bought a sheet of half-inch treated plywood to use as the backing (the big box stores don't usually have doug fir plywood, so treated will have to do). First I got out the sawhorses and used some leftover white stain on what will be the back of the Santa. I did this to make the back more presentable when it's finished.
The stain drys quickly, so after about 90 minutes I flipped the plywood over and used my belt sander with 120 grit paper to smooth out the surface I wanted to glue the paper onto. I used compressed air to blow the sawdust off and then moved the sawhorses and plywood into the basement for gluing.
The glue comes in a powder that you mix with warm water. I guessed on the amount, and ended up with a good bit left over. Unfortunately, I don't think it will keep for use some other time. But, better to have too much than run out in the middle of the gluing process.
I cut out the Santa pattern pieces, then laid them out on the plywood and traced around them quickly with a pencil. I think this was a smart move, because it allowed me to spread the glue onto the plywood only where I needed it. I also rolled glue onto the back of each piece in turn, then pressed it down onto the wood.
It's always good to have all your materials and tools ready before you start. I don't always remember everything, and this time was no exception. I had a small paint roller for spreading the glue, but after I pasted down the main two-piece Santa body, I realized I needed a clean roller to smooth out the paper and get it to make better contact with the plywood. I was lucky I had another small paint roller nearby and used that along with a clean paint stirring stick. I also ended up using a small paint brush to get glue under a few edges that didn't get enough glue from the roller. It all went together reasonably well, considering this 1956 pattern has been folded for at least 50 years, so I couldn't get all the creases out even with using the roller. But hey, we'll just pretend this Santa has seen a lot of snow and cold, and we'll say he's held up pretty good!
So here's where I am with it.
After the glue sets up, I'll move it outside and spray a couple coats of clearcoat over the paper parts, then get out the jigsaw and cut out the pieces, then attach them with screws and figure out how I'll prop Santa up. I'll do an update when he's done or when I get him out in the yard.
Subscribe to:
Posts (Atom)


