Showing posts with label cooler. Show all posts

Sunday, April 28, 2013

Recent Estate Sale Finds: Some Keepers, and Some Destined for Replenishing the Etsy Store

When I haven't been continuing my tree cutting, brush trimming and yard work, I've been busy taking a metal sculpture class and learning to weld with an oxy-acetylene torch, so don't think Uncle Atom has been slacking.  Well, I have been slacking some on this blog.  But now it's estate sale season, and I've fit in a few sales already. Here are Saturday's pickups:

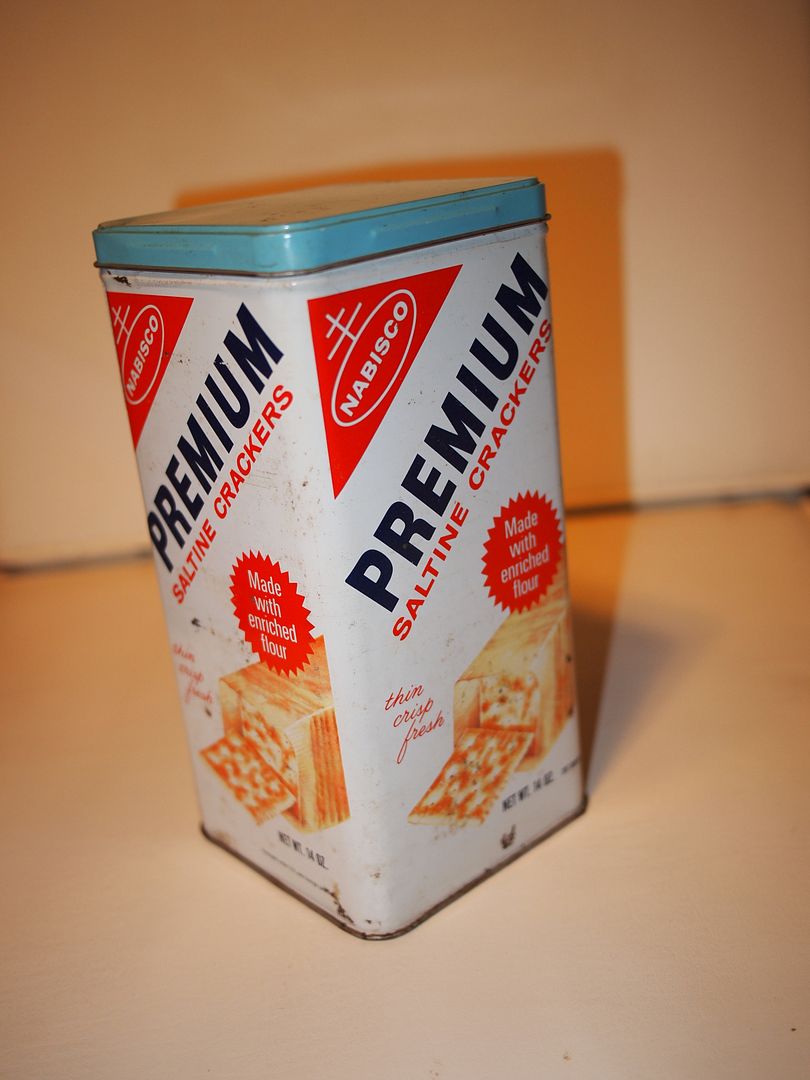
Premium Saltines Tin from 1969

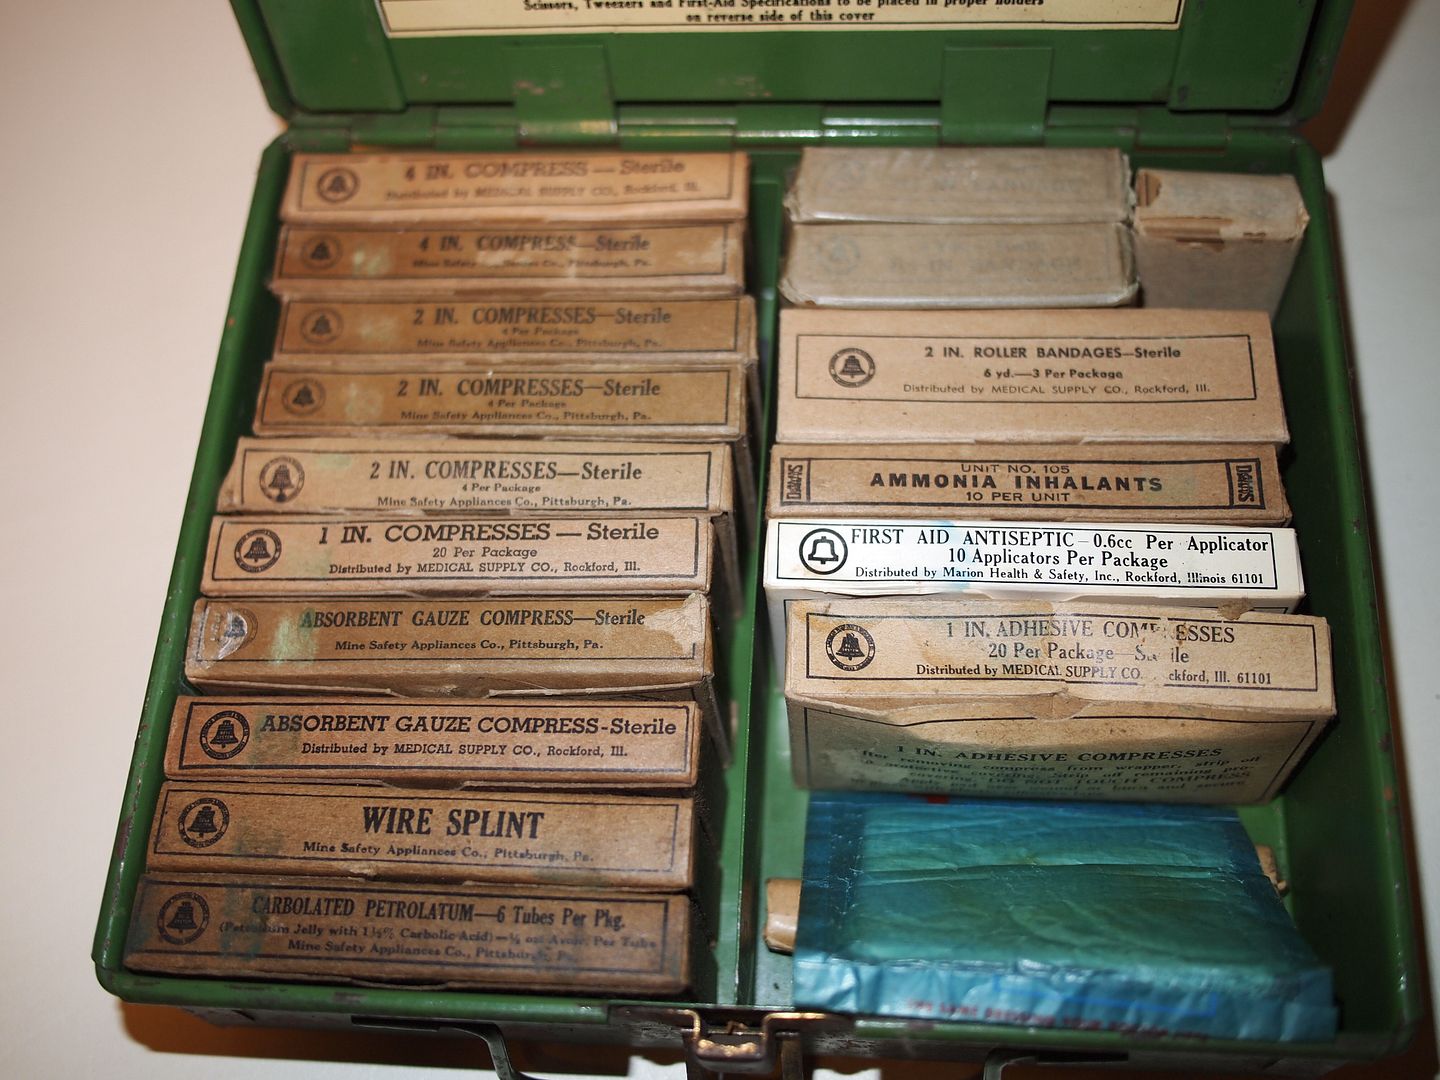
Bell Telephone System First Aid Kit - nearly all original supplies, and it also came with original scissors and tweezers.

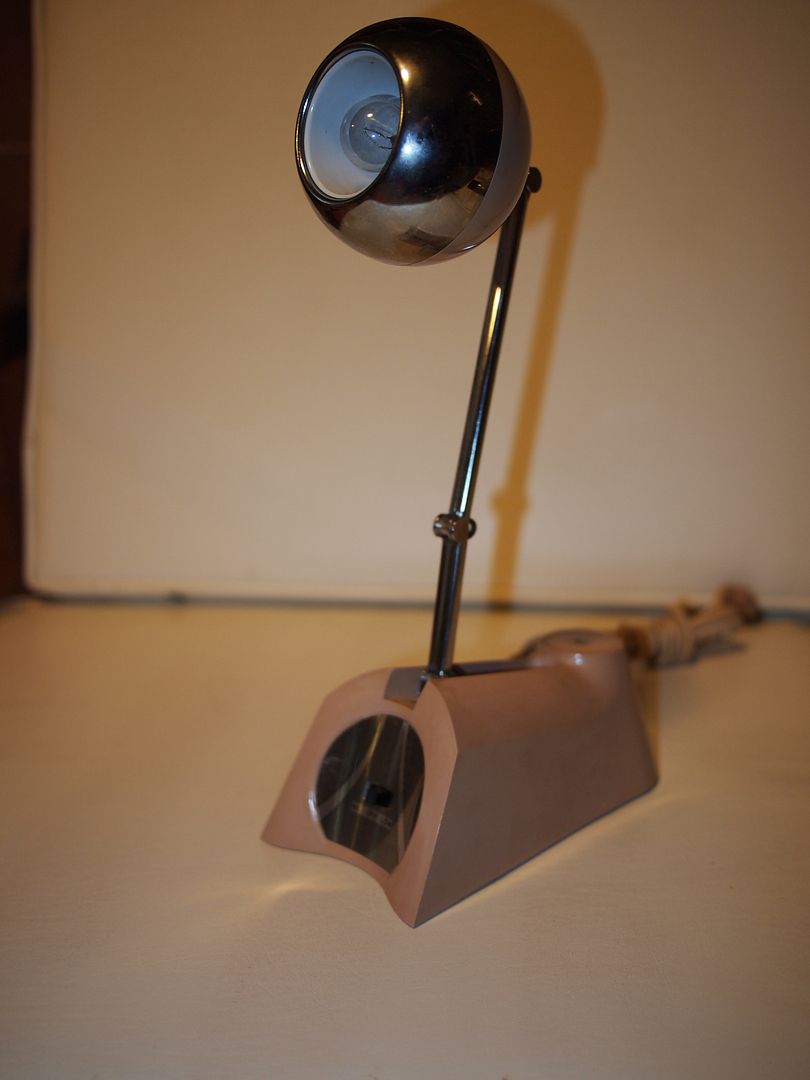
Small lamp with articulating arm

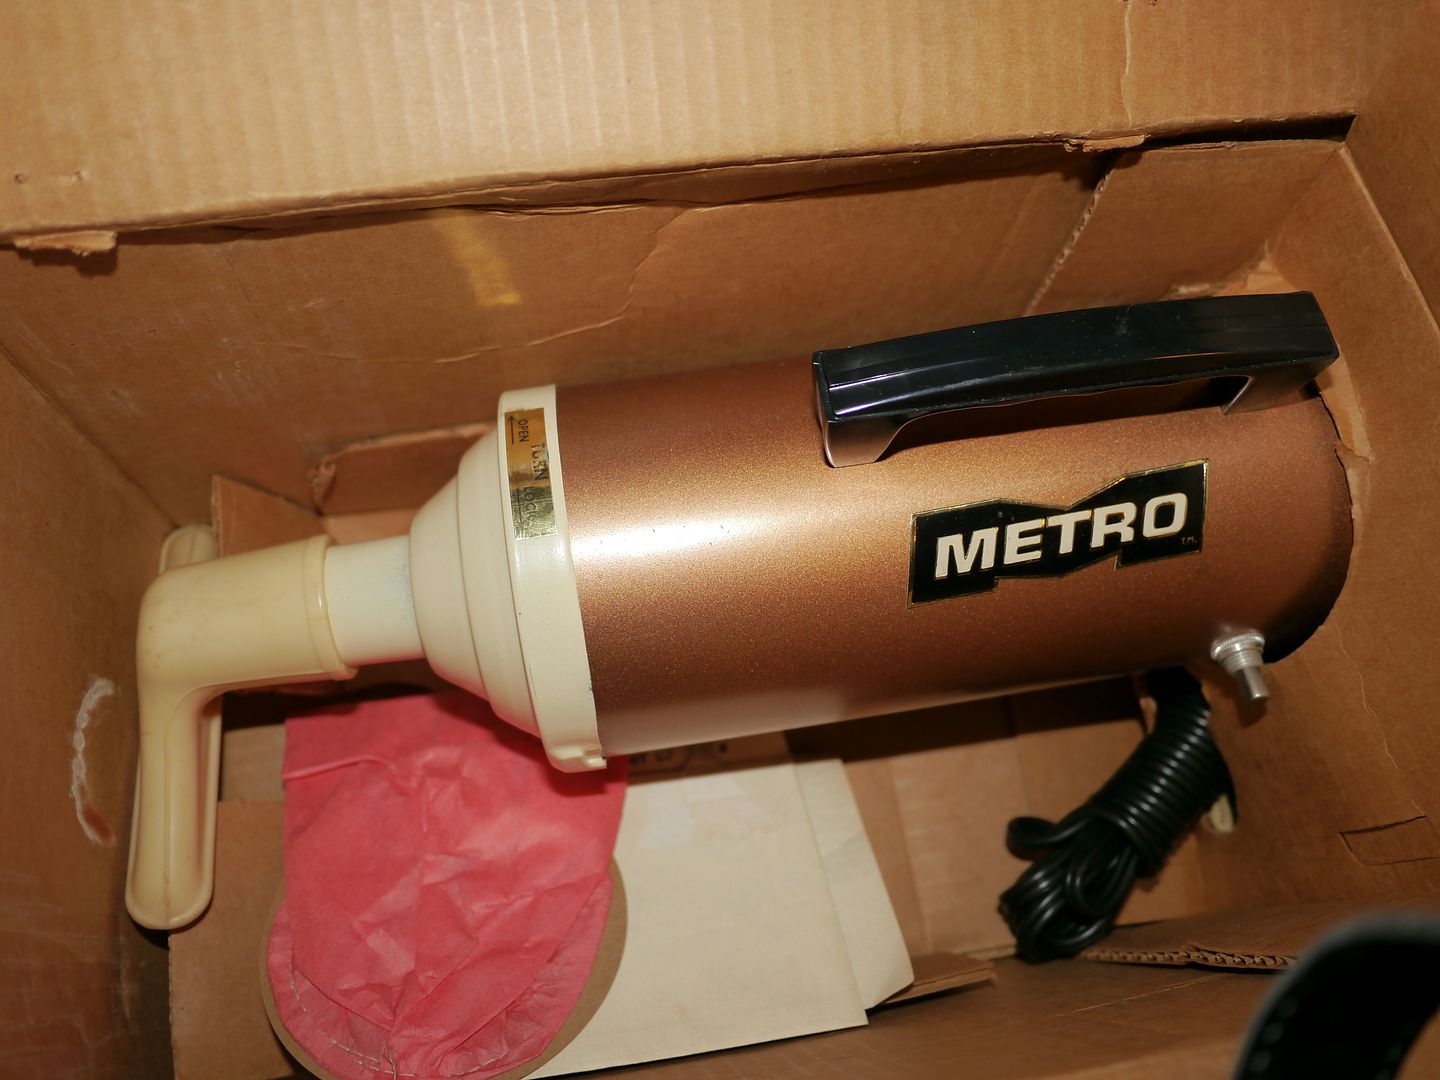
Small 12 volt auto vacuum cleaner

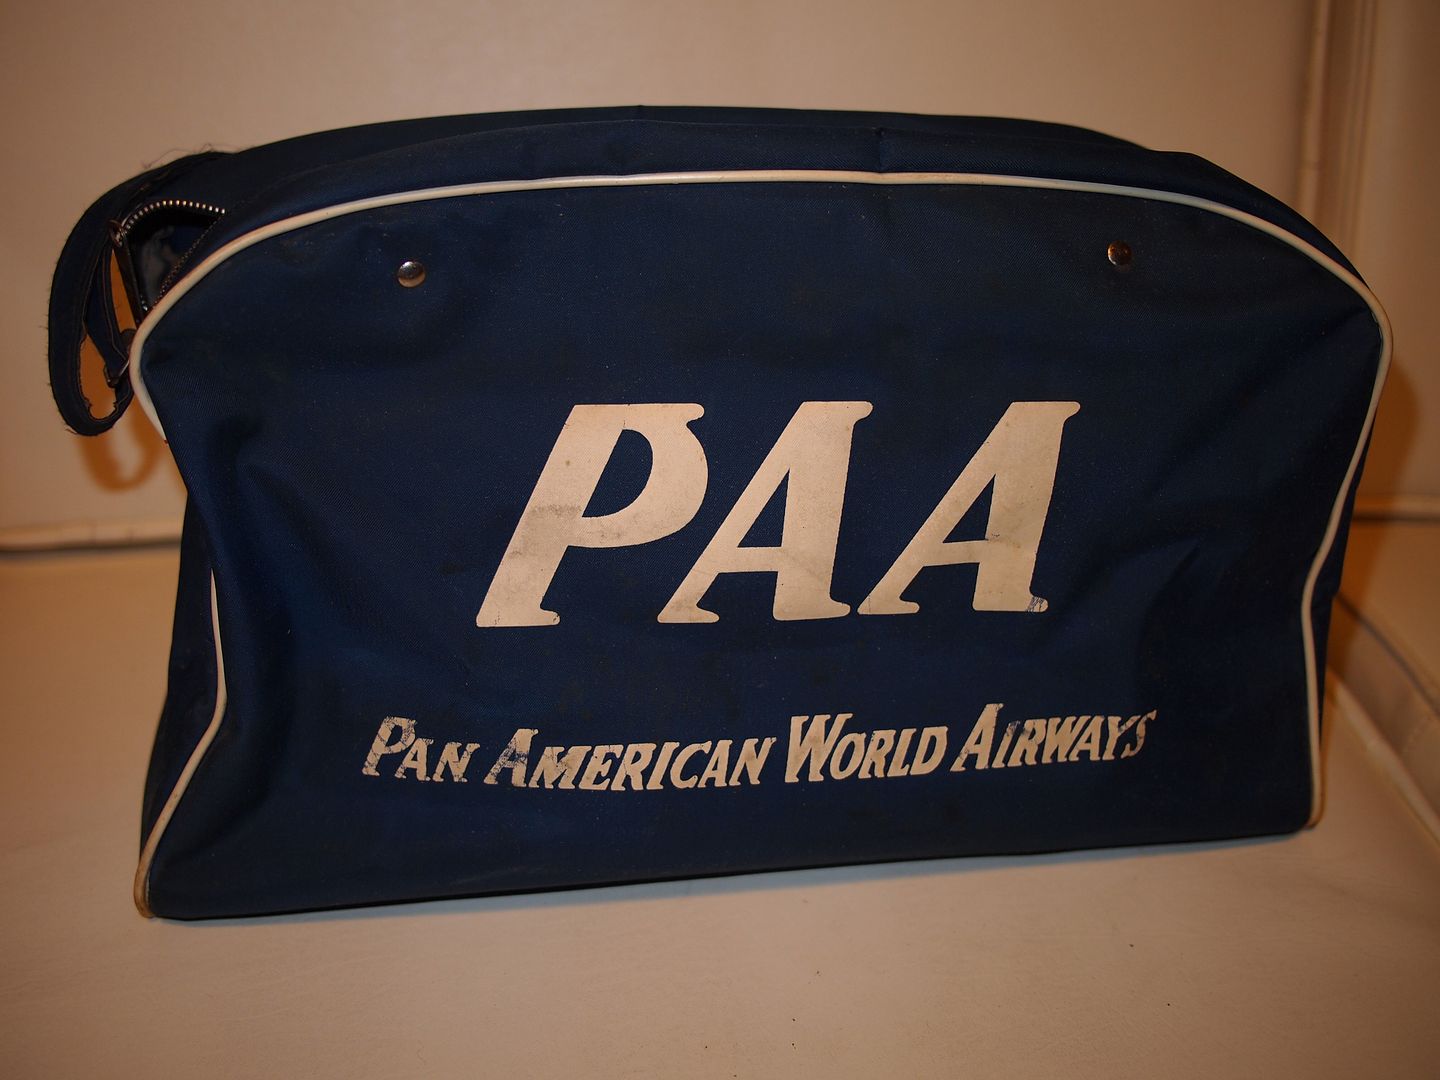
Pan American Airlines carry on bag (this came with a Polaroid camera inside!)


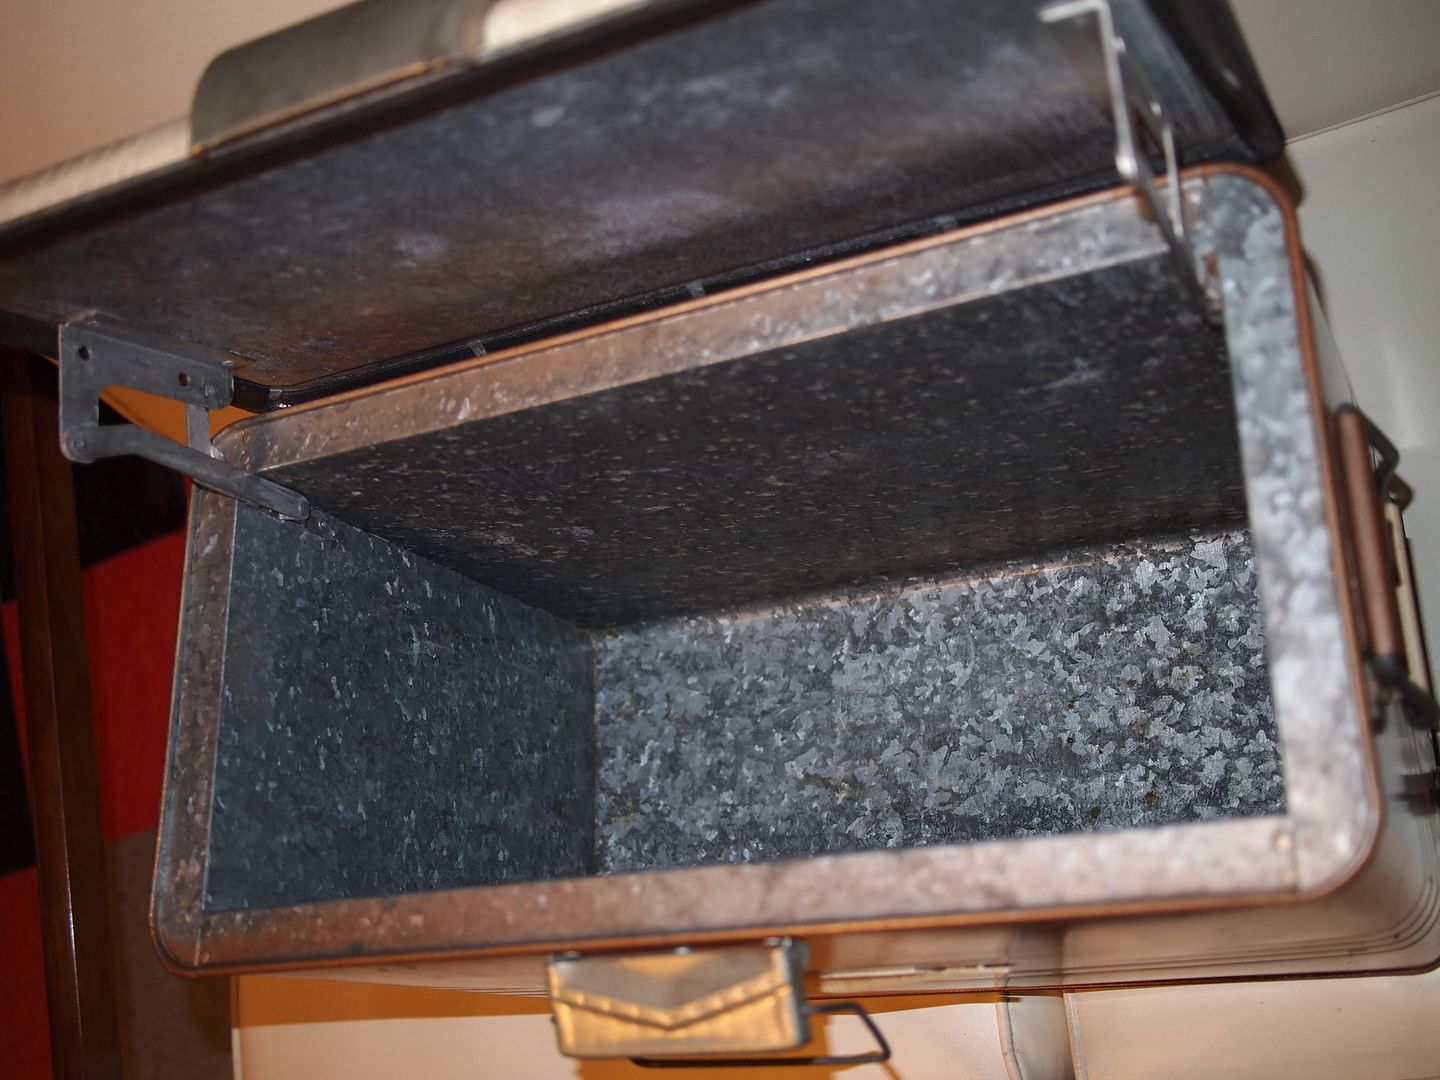
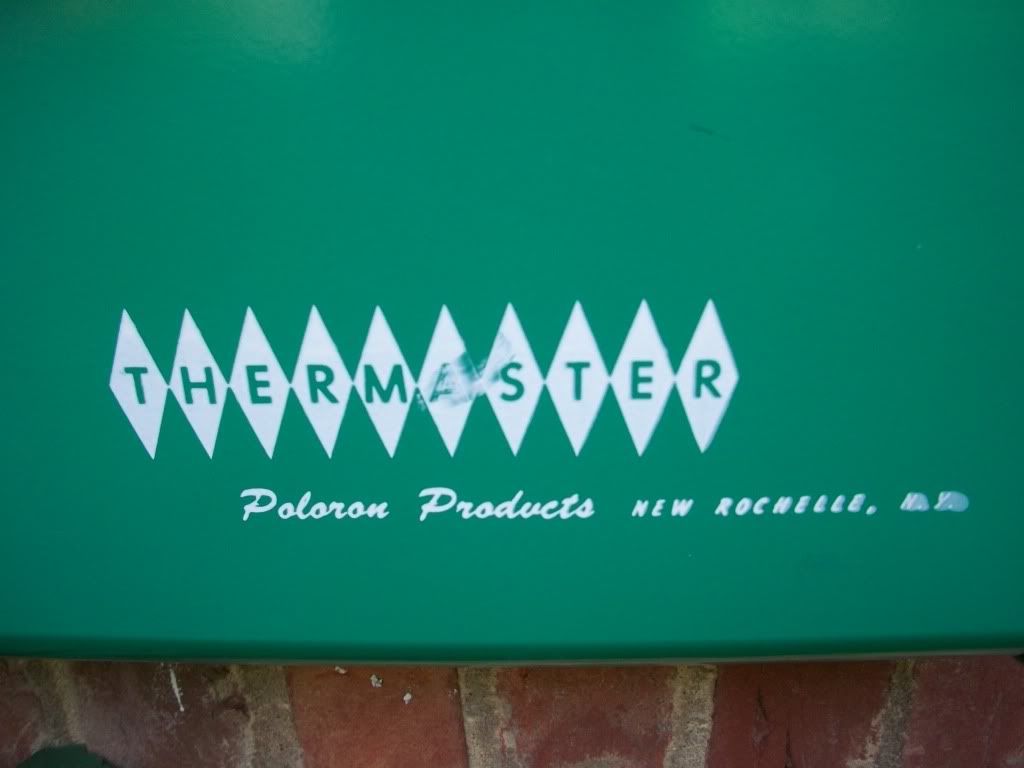
Vintage Thermaster Polaron Cooler in bronze

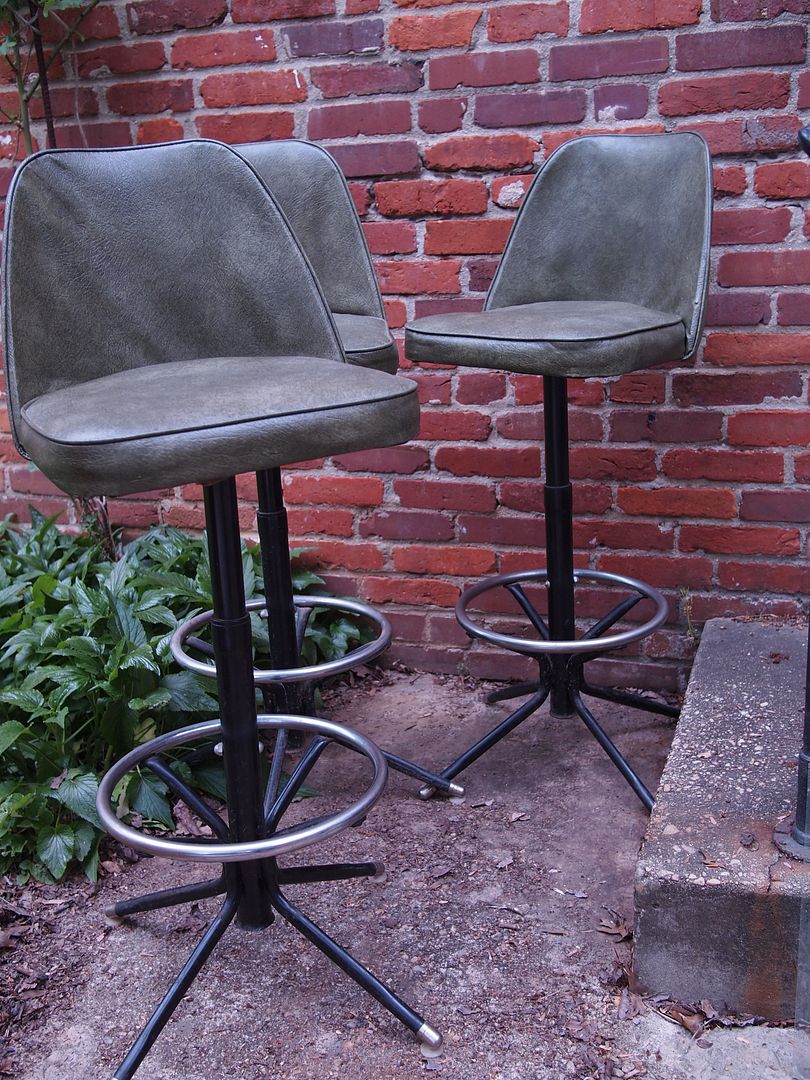
Three avocado green barstools, super cheap!

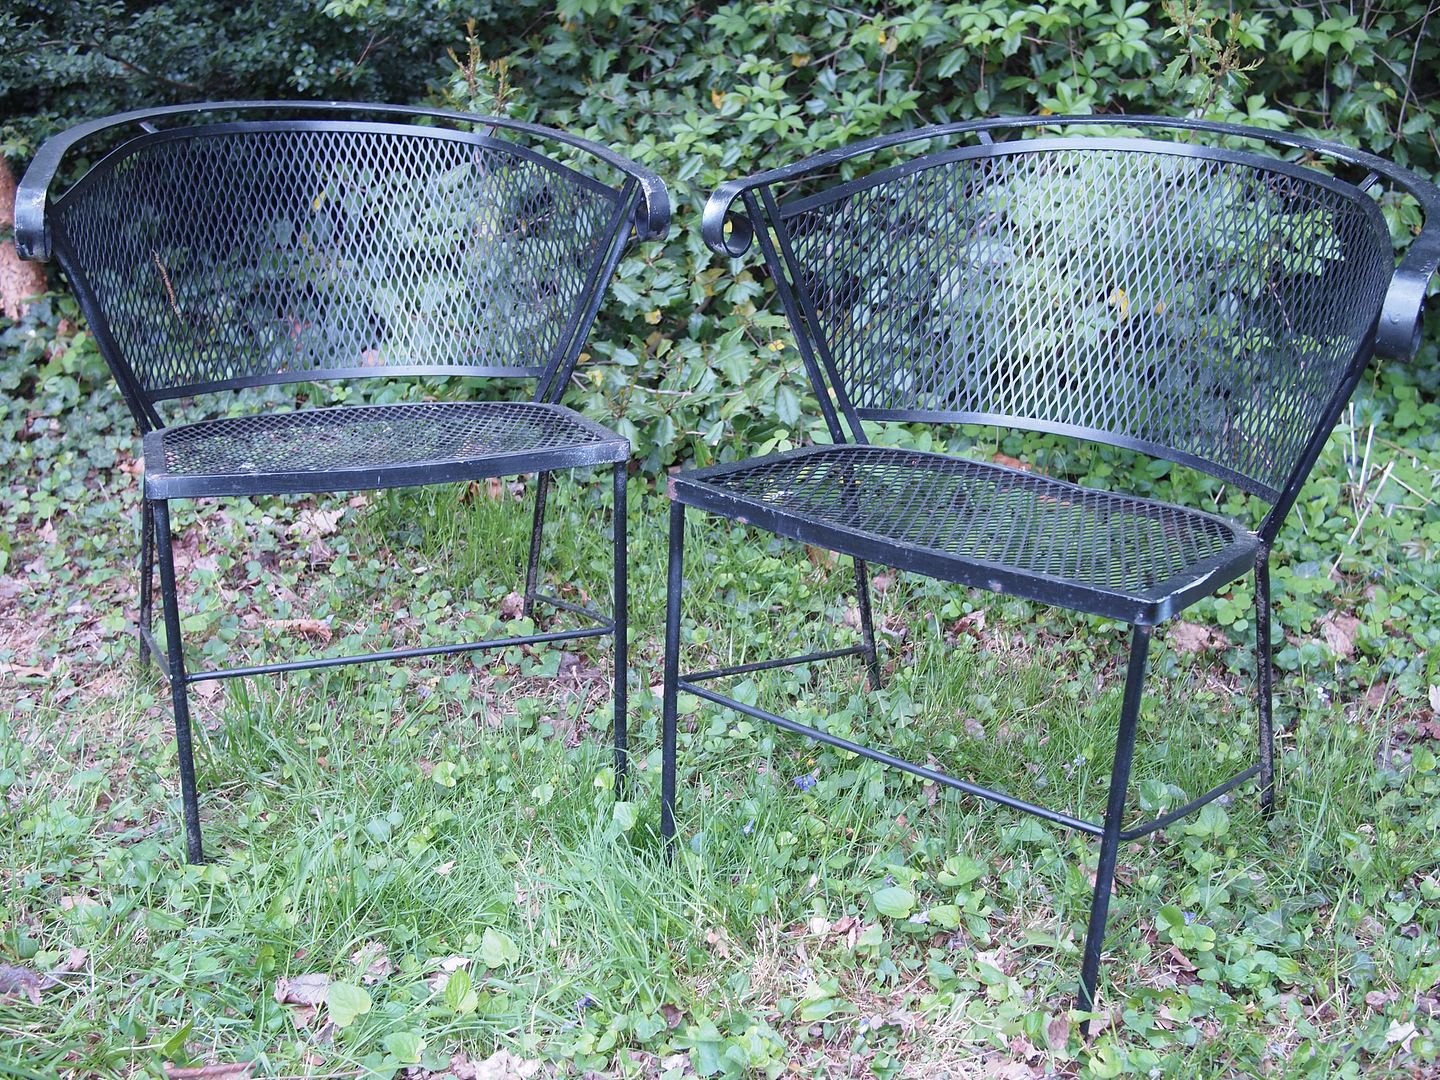
A pair of Salterini style iron chairs


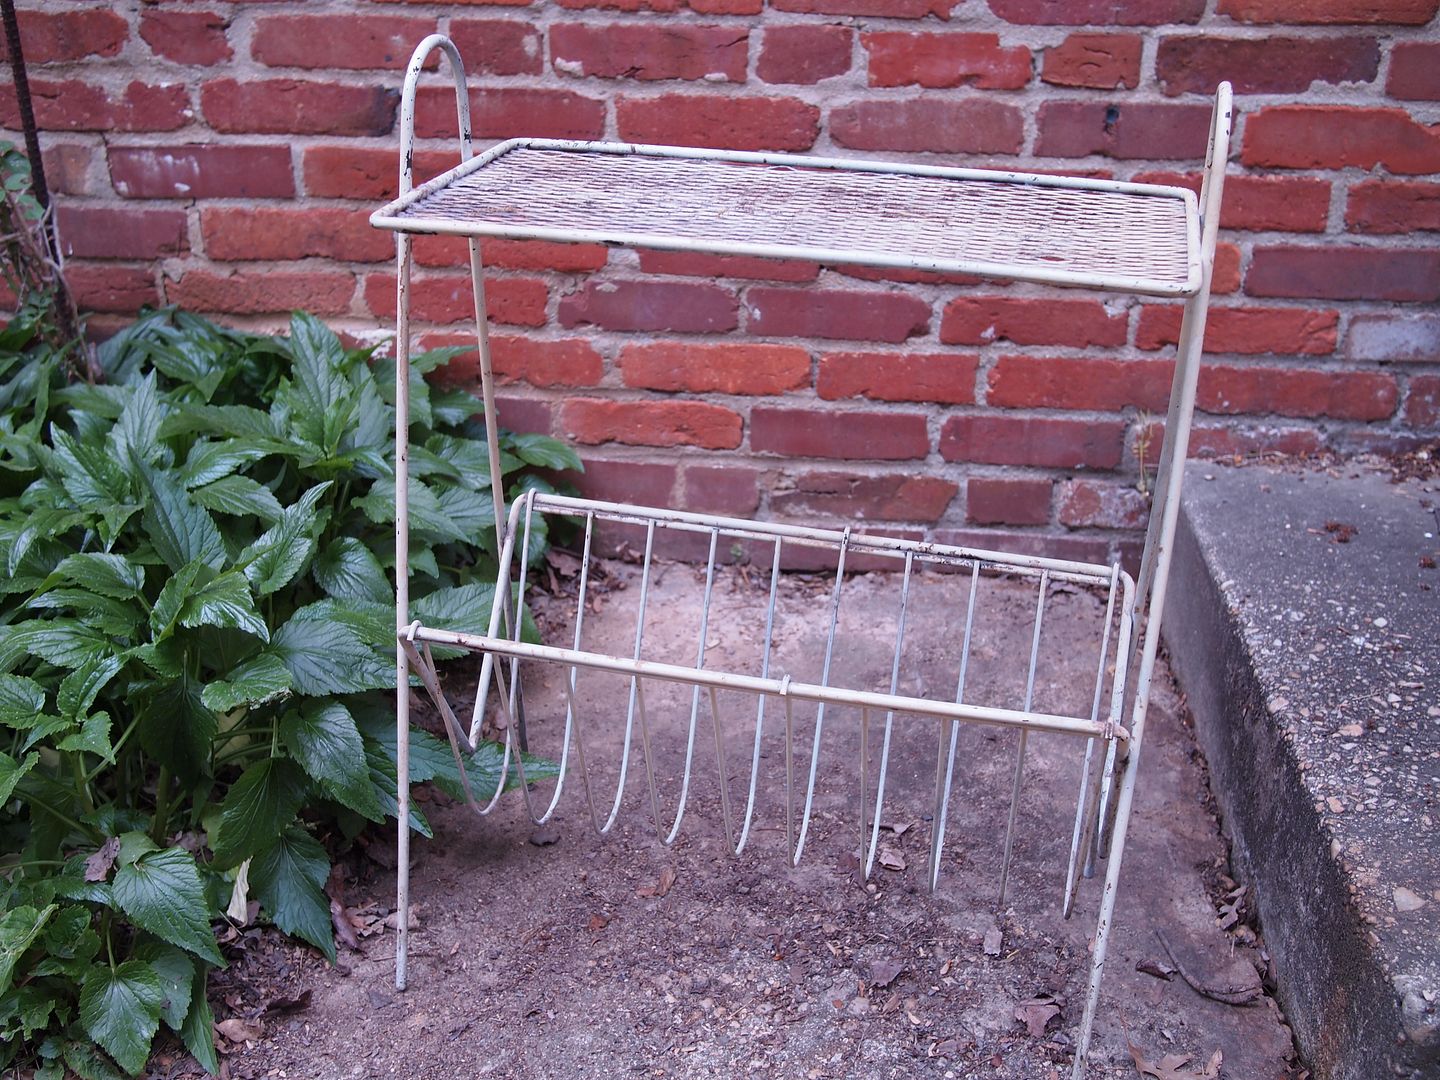
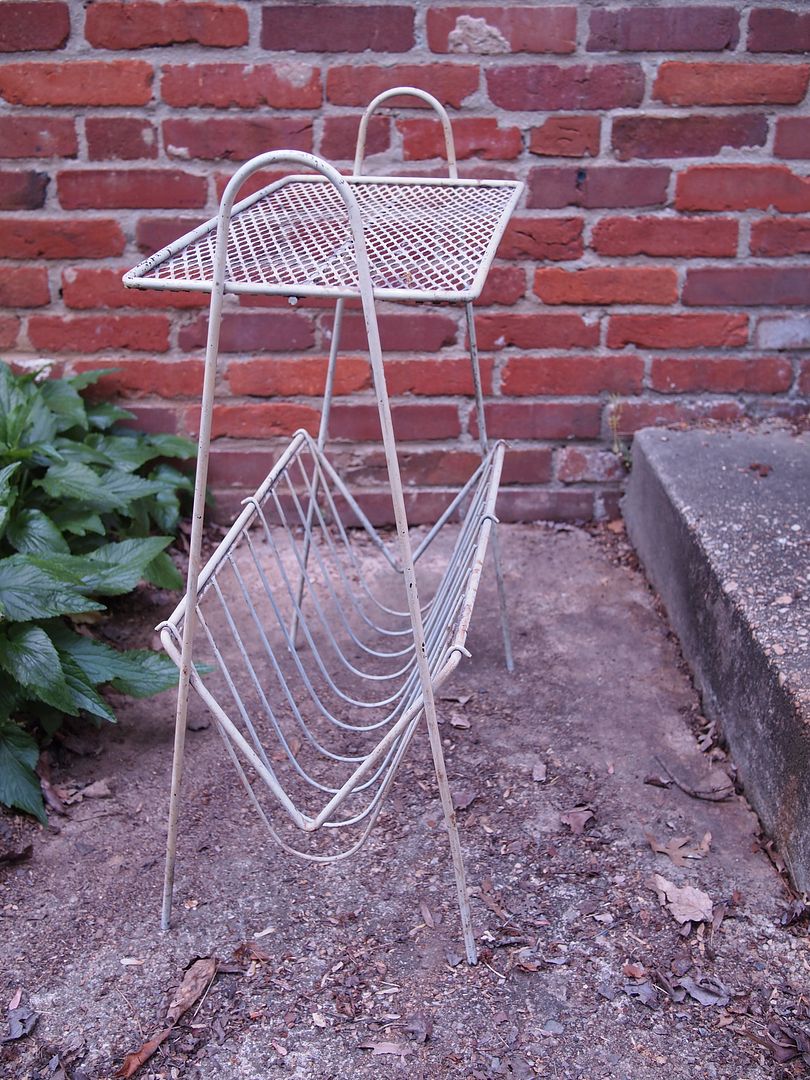
A sturdy wire bookshelf/stand

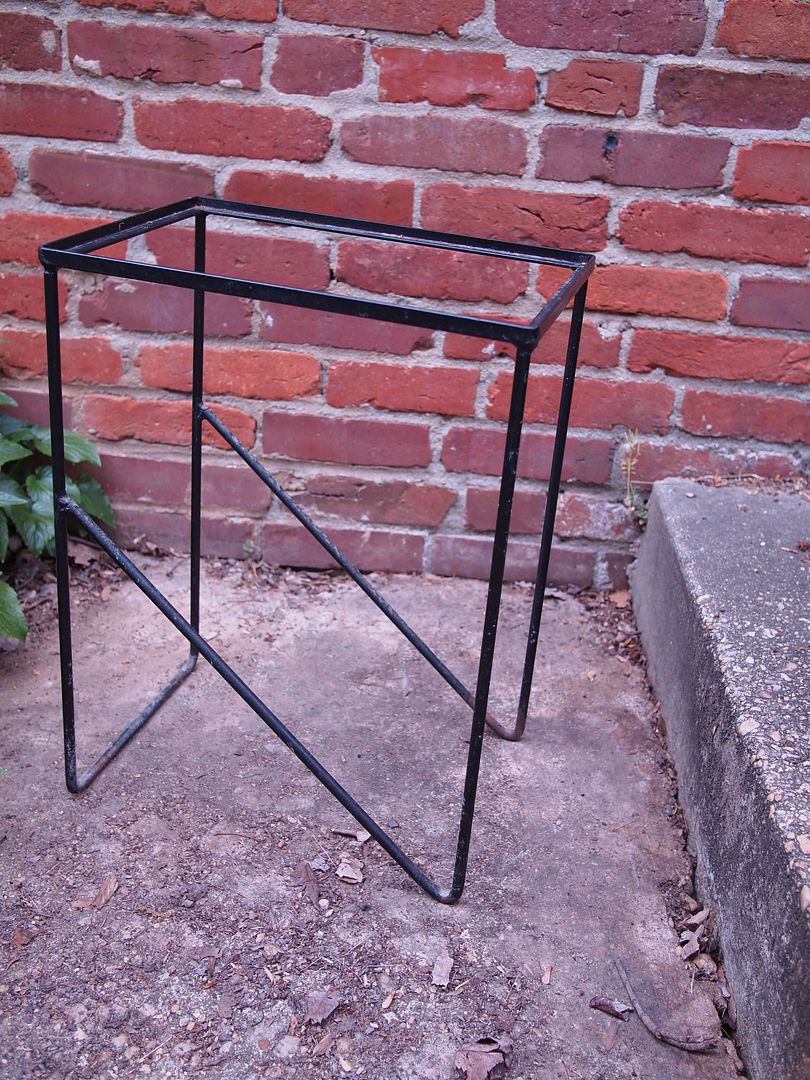
A small glass-topped iron table

All in all, a good weekend.


Saturday, July 31, 2010

Cooler Resto


Since I have a nice template to add the starburst graphic and logo to the other unrestored Thermaster cooler (thanks again Amber!), I figured I would walk you through the process.

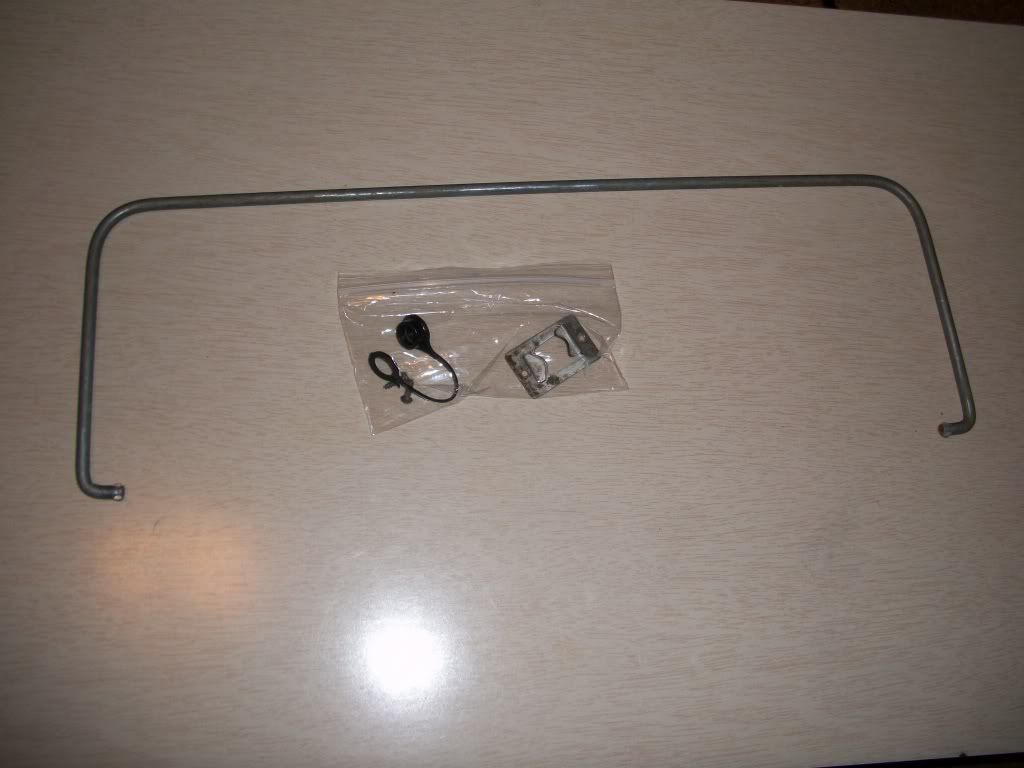
First the old paint has to come off.  I removed the carrying handle (it pops out of two sockets easily), and the other pieces that don't get painted.  All I needed was a flathead screwdriver, and a ziplock bag to save the parts in for reassembly later.


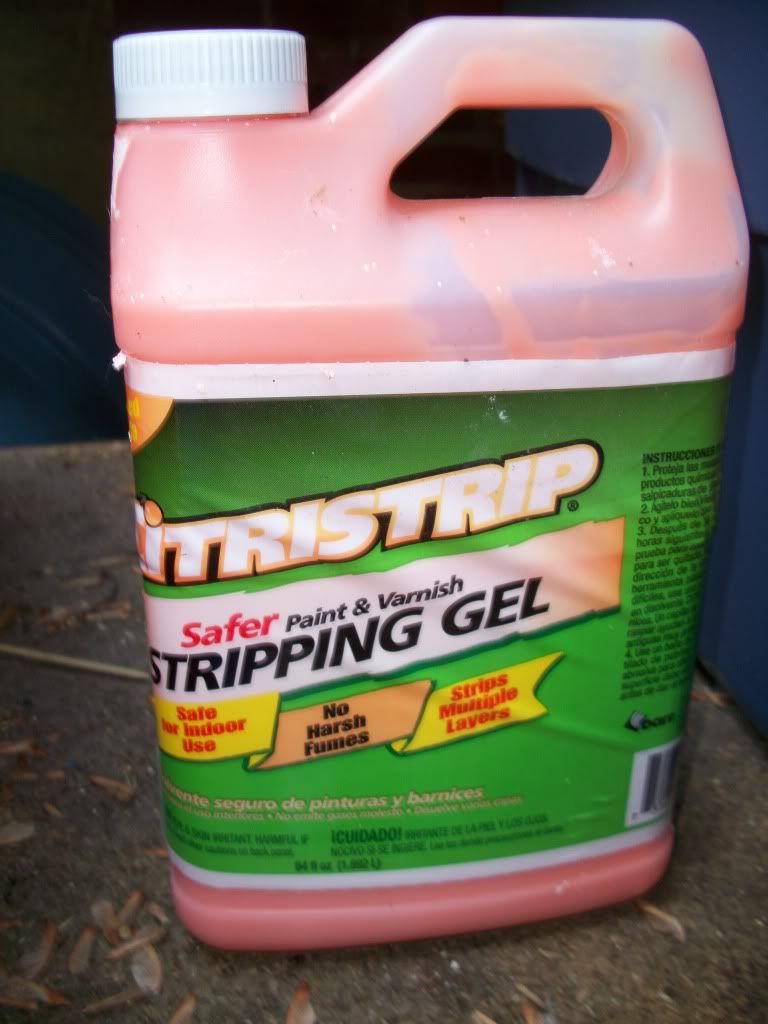
Next I got a cheap paint brush and this orange paint stripper.  It works pretty good.


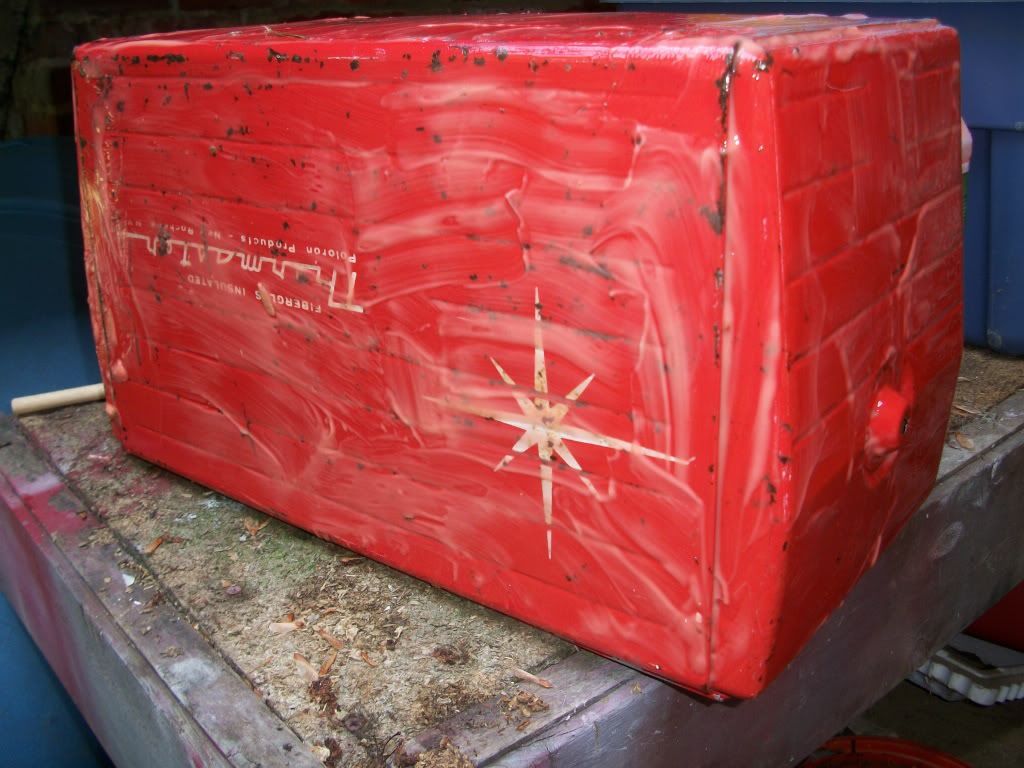
Brush it on and let it soak into the paint.  Then take a razor blade and scrape off the orange stuff and the old paint.  Sometimes it takes a second coat of the orange paint stripper to get the stubborn parts.


Next, get some medium grade and fine grade steel wool to rub off the last of the paint.

Once that's done, I like to use some mineral spirits to wipe down the metal.

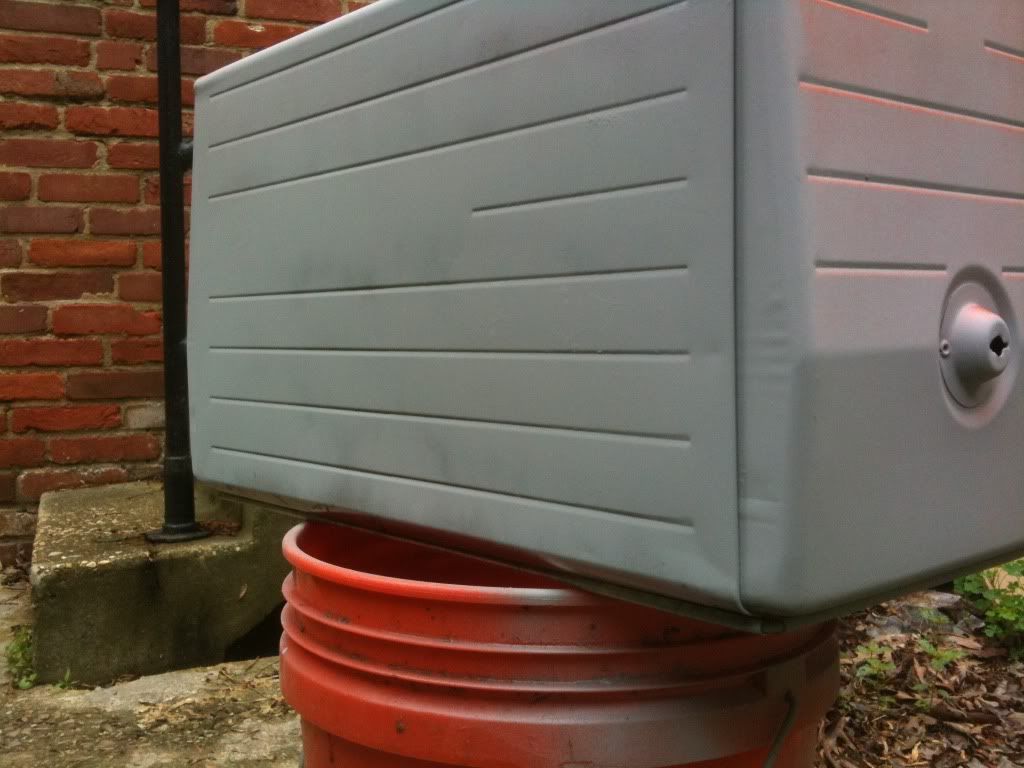
Next, use some spray primer to coat the area to be painted.  Let the primer set up for at least an hour.


Then, lightly spray on two or three coats of paint, letting each coat dry well.  I used an off white for the top, and orange for the cooler.  The orange and green coolers together should have a mid century vibe.

Wet sand if you like, between coats to smooth out any grit from the paint.  If you've never wet sanded, it's really pretty easy.  Get some fine sandpaper (1000, 1500. and 2000 grit automotive sandpaper) from any auto parts store.  Fill a small bowl with water, wet down the 1000 grit paper first and sand in only one direction over a small area. You don't need to press down hard, let the paper glide.  Wet the paper very often and sand small areas.  Don't press down hard, just glide over the surface.  You're only trying to knock down rough spots left from the paint application.

When you've sanded all the areas you painted, wipe that all down again with the mineral spirits.  If you think it's smooth enough, quit at that point.  If you want to go further to see what higher grades of sanding will do,  use the 1500 grit paper to wet sand further.  Do this until you end up with a nice layer of paint that feels smooth to the touch.

Next I positioned the template for the logos, and masked off around the areas I didn't want to get the white paint on.  It's important to let the paint cure for probably at least 36 hours before trying to remove the masking.  I had to use a hair dryer to peel off the template, and unfortunately, some of the orange paint came with it.  This kind of thing makes me crazy.  Next I had to make sure the white logo area had cured for about 2 or 3 days, then I felt comfortable to carefully mask off the white to re-apply more orange in the areas that peeled up with the tape.  I gave it a couple of light coats, then let that all cure.  Then I taped off the other side of the star point where the paint peeled up, and repeated my steps.  Tedious, I know.  What I was left with was a reasonably good coverage everywhere, although a little of the white paint bled through in some tiny areas.

Since I had to mask and re-apply orange, it left me with some shadowing.  The next tactic was to wet sand with a fine grain wet sanding sandpaper.  Suffice to say, I screwed it up.  I couldn't overcome the shadowing, and I couldn't mask off the white areas without driving myself crazy.  So I punted and sanded down the white areas, and sprayed with more orange, then wet sanded again.

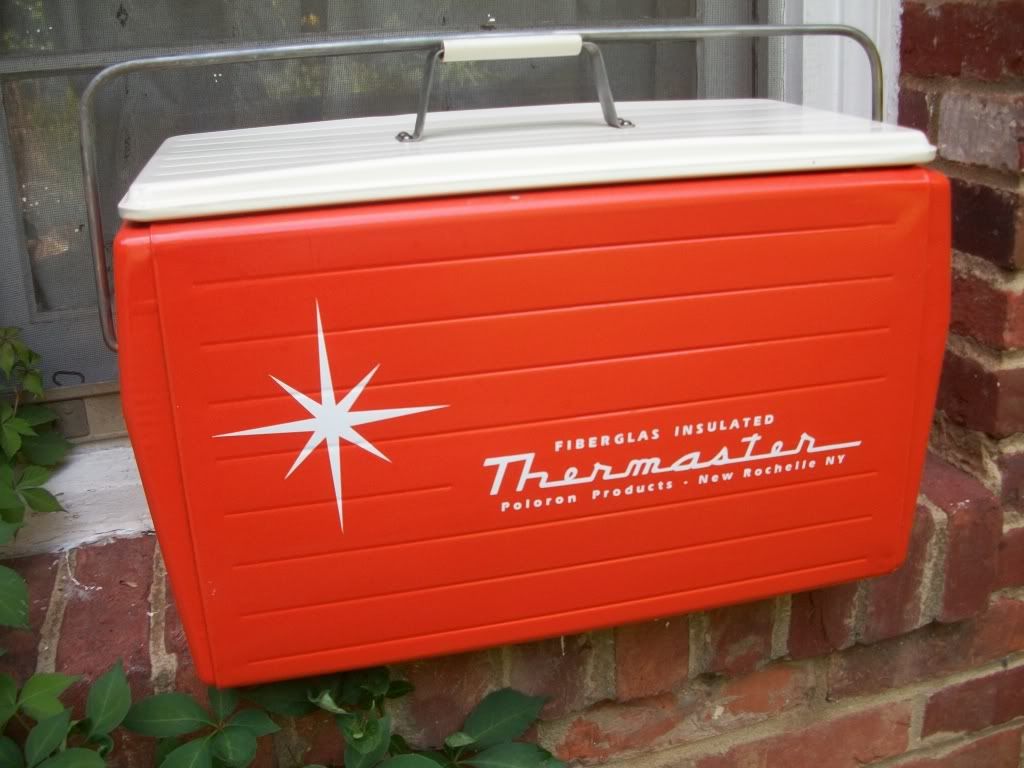
Luckily I had a backup set of the star and label vinyl so I carefully cleaned the surface and rubbed down the vinyl.  Carefully peeling back the paper backing left a nice looking finished cooler.  I'll give it a couple of coats of gloss clear paint to finish it out, after the clear cures, I;ll wax the whole thing.  Here's the final outcome.

Overall, I would use the positive decals and skip the template/painted logo, it introduces more room for error and mistakes that need to be covered up later.

Oh, and while I'm on the subject, here's another Polaron cooler I picked up recently, the lid on this had been sat on, but I was able to remove the insulation under the lid and push the dented area back out.  It's hard to notice it had a dent.  The logo is smudged a little, but what the heck, it still looks great.


Do I have too many vintage coolers?  I don't know. I'm up to four now, but I have three old cars and a camper, so I'd say that's just about right.

I couldn't have finished the orange cooler (or the earlier green one) without the help of a great fellow blogger who set me up with the vinyl graphics.  So do the Uncle a favor, and start following I Heart Everything.  You'll be glad ya did!

Monday, May 3, 2010

Cooler Coolest - update

Got Amber's great reproduction decals for the Thermaster cooler in today's mail and I had to drop everything and get them on the cooler.  Here's the final result, I think it looks awesome.  I can't thank you enough Amber, now this baby's ready to cool some beverages for another 50 years.


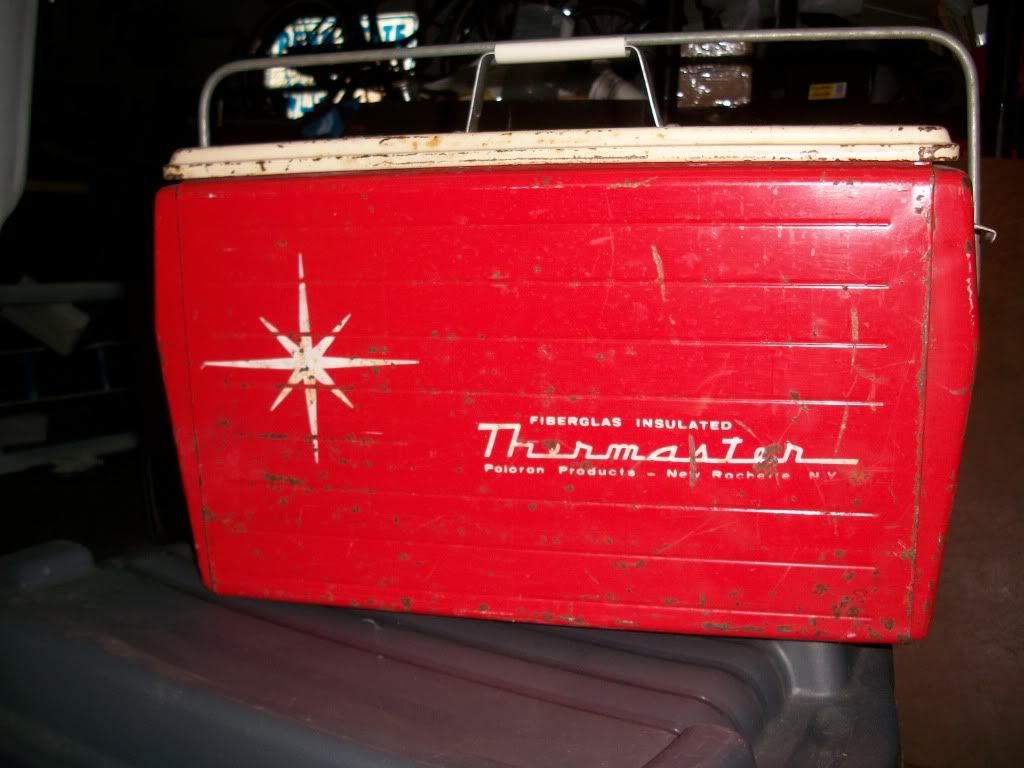
Since she sent me an extra set, I'm going to put this red cooler back to original condition once I find a close match for the red paint.


I get a real charge out of giving new life to something that's been used pretty hard like these coolers.  Thanks again Amber, I heart your work!

Saturday, April 10, 2010

Cool Cooler Coolest

I've been to many vintage car shows over the years, and to me the old accessories that sometimes accompany the cars make the experience feel a little like time travel.  For a few years I had a 1969 Mercury Colony Park station wagon with a big-block 429 engine (the BUSS 429 name I had for it was a tongue in cheek pun honoring Ford's 1969 Mustang.  When it was bought with a similar 429 engine Ford marketers called that Mustang the BOSS 429).

Anyway, to me half the fun of taking the wagon to shows was setting the car up on the show field with accessories from the same era.  The car had a McGovern-Shriver bumper sticker from the 1972 Presidential election (bonus points if you know who won that election).  I also had a picnic basket, some vintage copies of old magazines (Mad, Life, etc.) and some 1970 baseball cards sitting on the back seats, and some old suitcases tied to the wagon's rooftop luggage rack.  The whole effort was to make the car look like a family on a long vacation had parked it just a minute ago.  Pretty cool and it got a lot of nice remarks from show goers.

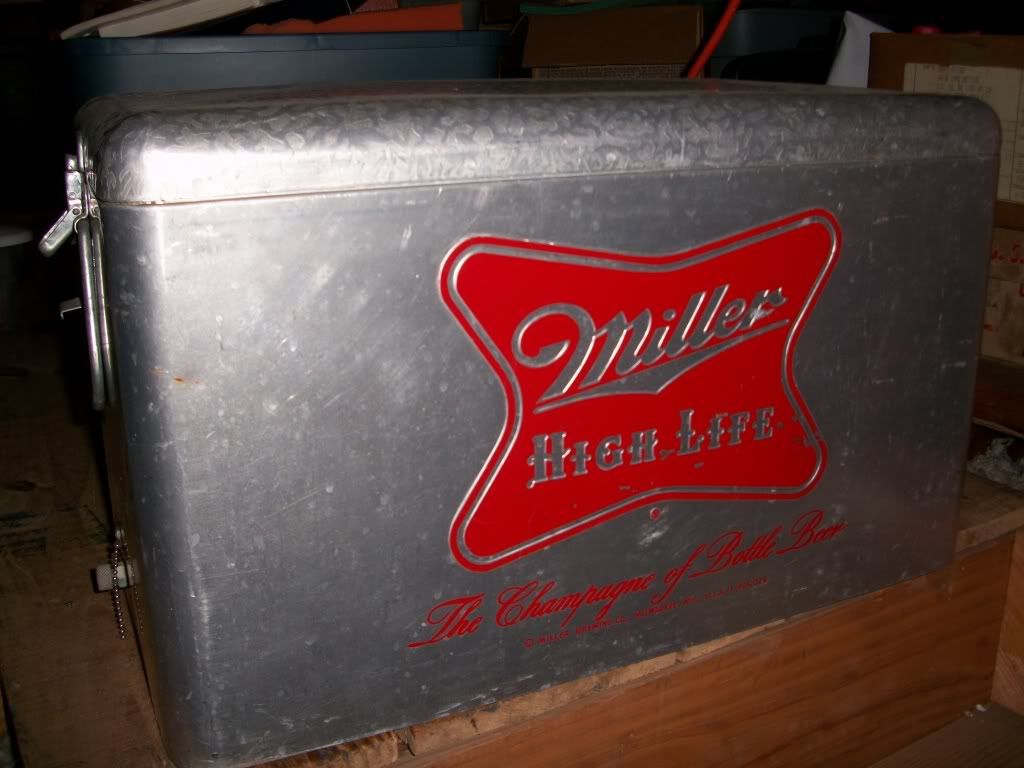
So for this post I have photos of a couple of vintage coolers.  This first one - the aluminum Miller High Life beer cooler - I bought at my favorite local flea market, and as I recall I got a good price on it.


And here's a shot of the old Uncle in the wayback seats of the Colony Park, cooler by his side while he's enjoying a savory car show hot dog.


This next cooler is a duplicate to one that appeared in the picnic scene of an episode of Mad Men.  If you've ever watched that show, and I highly recommend it, it's a great kick to see something you either have or remember seeing in the early 1960s.


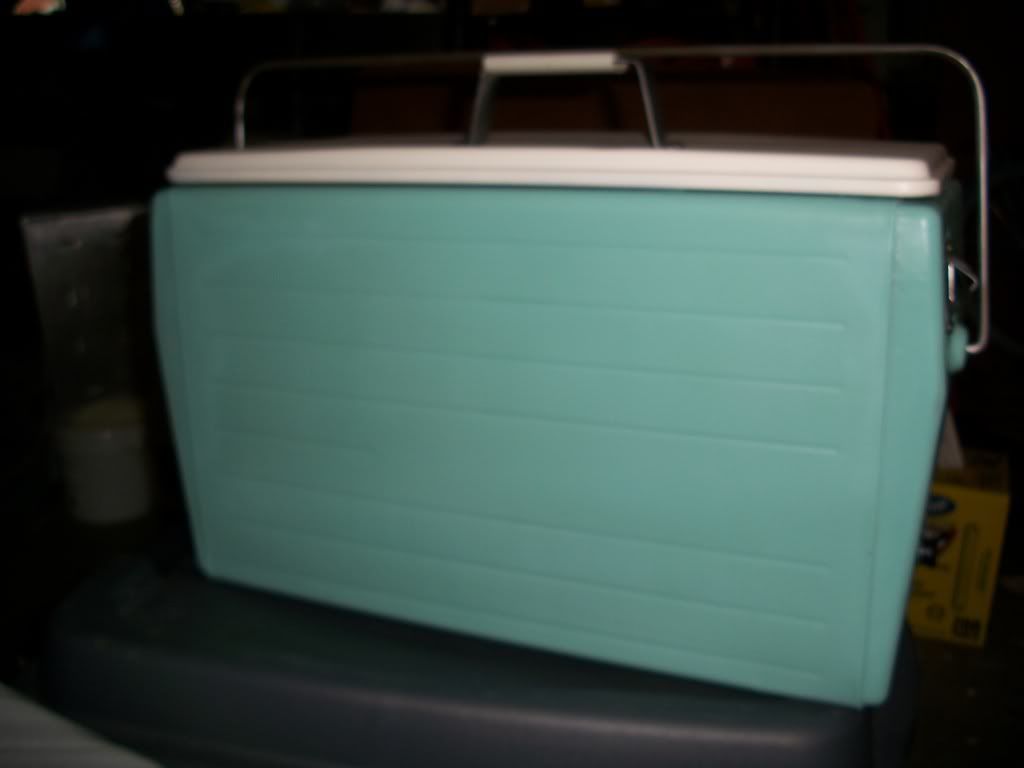
I've had this Thermaster cooler for several years and wanted to restore it, but held off.  And luckily I did, because a couple of years after I found it, I found it's twin, but someone had taped carefully around the logos and tried to use a rattle can of red paint to make it look better.  Only the red was the wrong shade of paint so it looked worse. I got that one for a good price, and now that I had two I figured I would remove the bad paint and logo, clean it up and repaint it to match the paint on the Shasta.  Here's the result:


It's still missing the logo, and I want to get as close to reproducing the font as I can. Originally I traced the old font and planned to try and cut out a mask to spray paint the logo on the refinished surface, but the tracing is hard to get perfect and I didn't like the masks I made.  Later, I stumbled across a web page (see my Links section) called Tack-O-Rama where you can find some outrageously cool Postscript fonts with great mid-century vibes.  One of them, called Air Conditioner, is a nearly perfect match to the Thermaster font on the cooler!  

Armed with the right font, I figured I would try using some special inkjet paper that's supposed to be good for making water slide decals.  So far, my attempts have failed badly, so the turquoise cooler remains logo-less.  But I'm hoping I can get some heavier stencil paper and print the logo onto that then cut it out with an exacto knife and try masking things off so I can spray paint the logo onto the cooler.  Hopefully I'll have a nice finished product to show off, and if that effort succeeds I'll probably restore the red cooler back as close as I can to original.  Stay tuned.  Better yet, Stay Cool! - I know I will  ;-)