Showing posts with label bullet planter. Show all posts

Sunday, August 22, 2010

Atomic Leftovers

A few random things I don't have enough to make a whole post about:


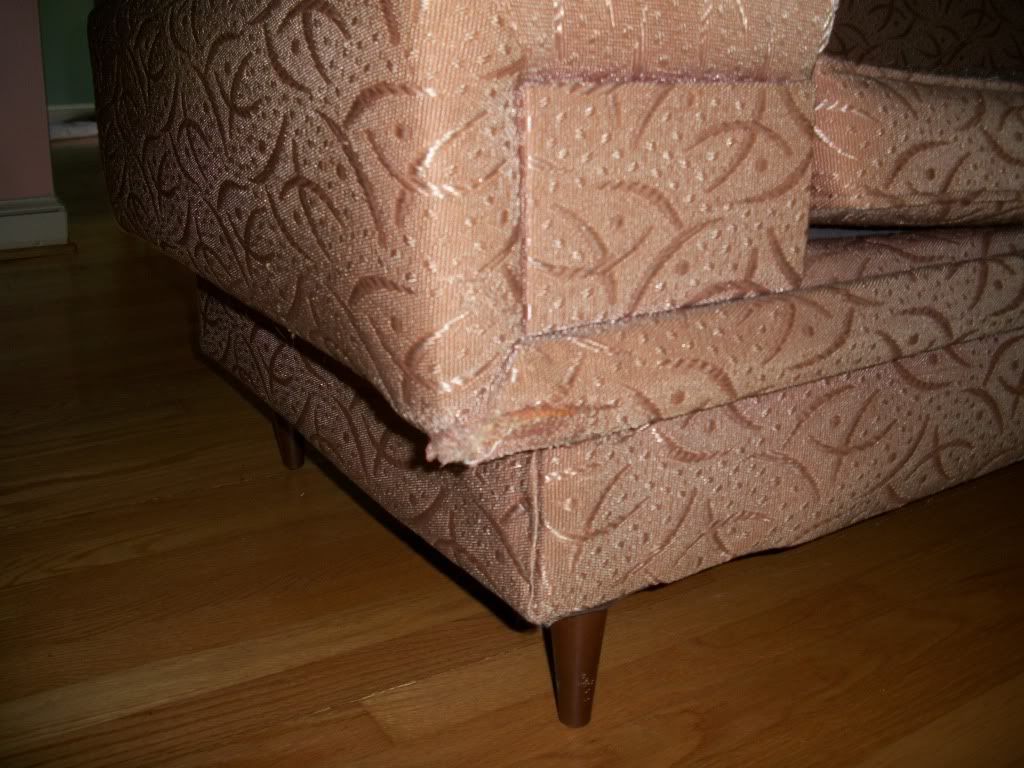
  • Last year our Corgi puppy tore up a corner of my Kroehler-style sofa.  Yes, I allowed her to live, barely. I left it that way because I couldn't decide how to deal with the shreds, which were down low in the front corner.  Finally I rolled the dice and used some rubber cement on the wood backing and the back of the fabric.  


Worked OK, now it's hard to notice the damage unless you are looking for it.  At least I no longer have shredded fabric hanging down there.


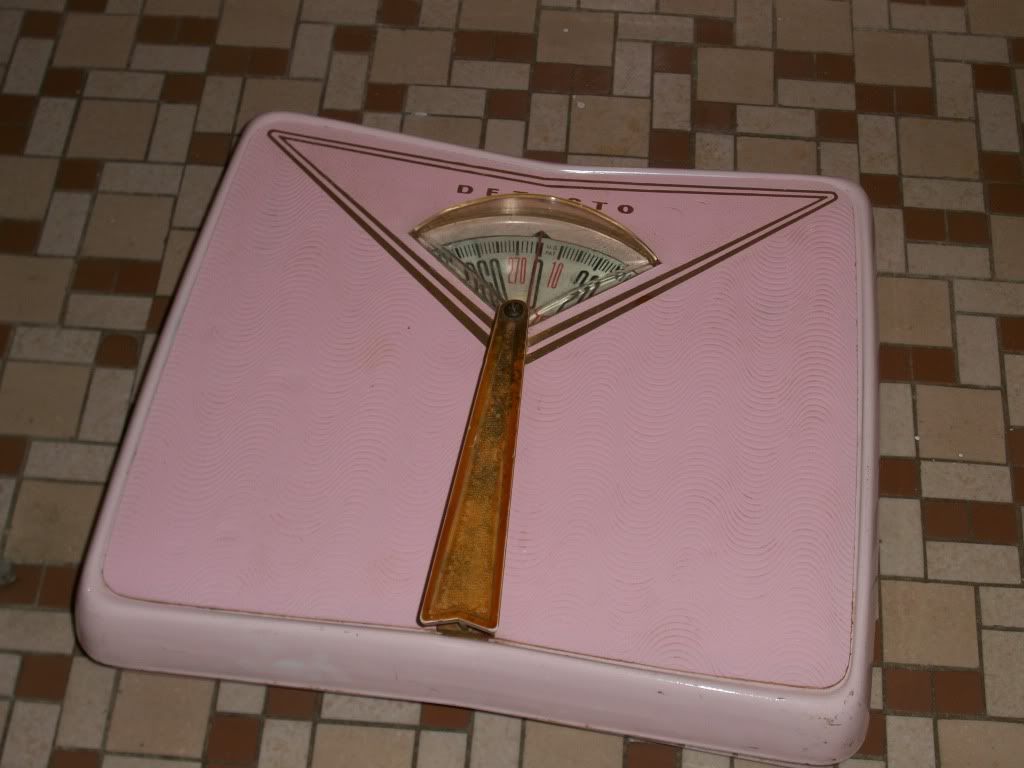
  • I have a pink bathroom scale, and I like it.


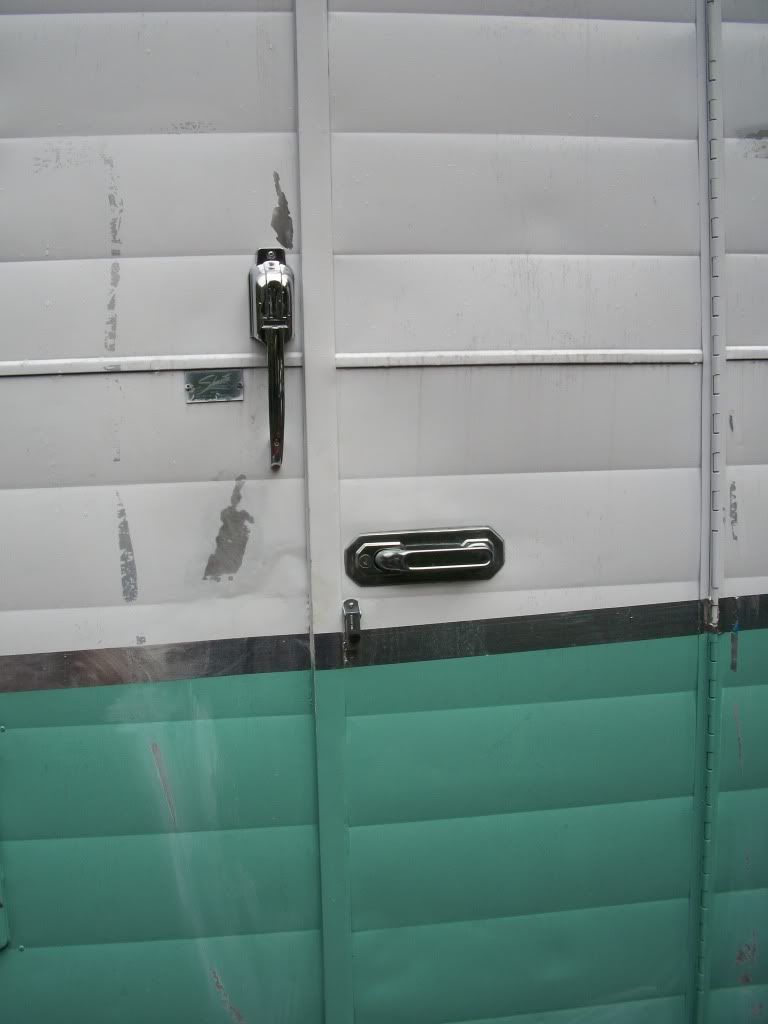
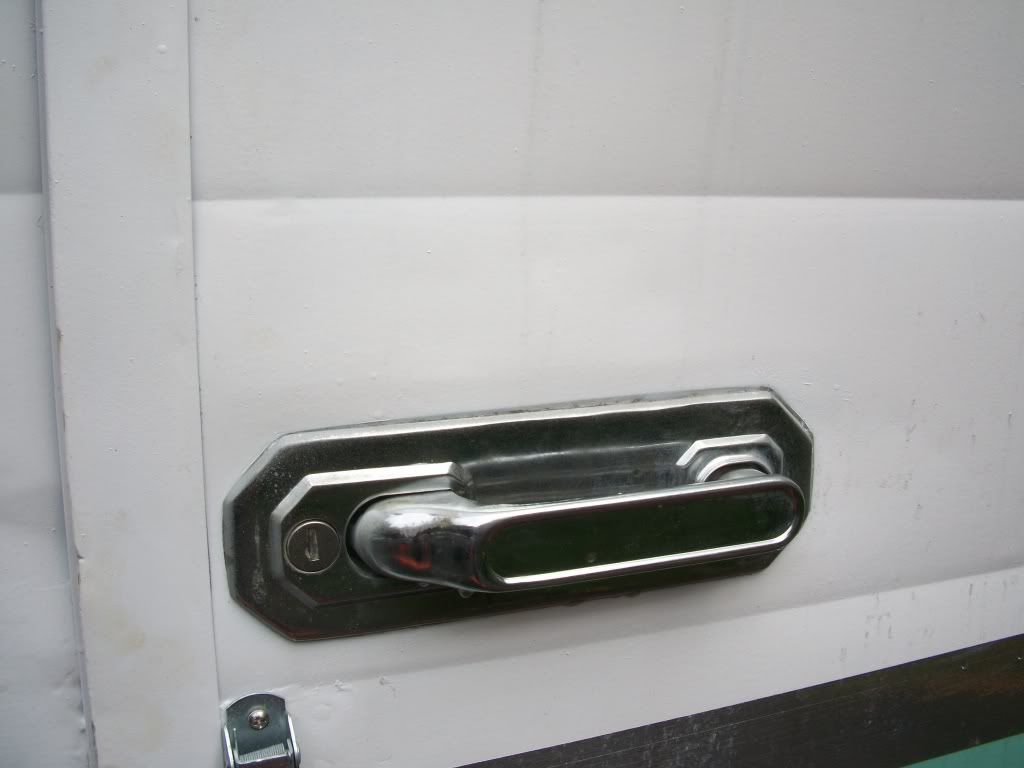
  • I've had an unsolvable problem with the reproduction door lock for our Shasta camper.  I was thrilled when I found this repro piece, but the sliding bolt inside the handle was made of pot metal, which is crap!  It breaks very easily.  I tried JB Weld to epoxy the broken pot metal back together.  Major Fail.  And these original Bargman L-66 locks, or the now unavailable reproduction locks, must be made of unobtanium!  Very expensive when you can find them, and they still are likely to break, leaving you trying to bungee cord your door shut, or tape plastic to it to keep rain and snow out, which then ruins the paint when you remove the tape.  I was not happy this day.


Anyway, last week I got a wonderful email from Vintage Trailer Supply - they reproduced the sliding bolt out of billet aluminum.  Much stronger than pot metal. I ordered one immediately and installed it on Friday.  Fit well and appears to have solved the problem.  Thank you Vintage Trailer Supply!


  • I've had this planter stand, minus a planter, for a while and it needed cleaning and painting.  Originally brass, it was poorly painted gold, which had begun to rust.  So I gave it the steel wool treatment, primed and painted it satin black.  Now I'm scoping the web for a fiberglass planter that might fit.  Wish me luck.  If I don't eventually find a planter, I may get a piece of glass cut and try to use it as a side table.

Sunday, May 30, 2010

Bullet Planter Reloaded

Last year I picked up this broken fiberglass bullet planter for pretty cheap because it had a bad break on the bottom that needed patching, and the whole thing needed sanding and repainting.  Before winter hit, I cleaned and painted the iron legs, but by the time I picked up the patching materials I knew I needed, it was almost winter and too cold to patch since the stuff lets off one heckuva bad smell as it cures so doing it inside was not an option.


 I haven't worked with fiberglass repair before, but I already had some fiberglass fabric mesh and I picked up a small can of the repair patch.  It's a two-part mix, and actually mixes a lot like automotive filler, and you can find it at auto parts stores.  You just follow the directions to add some hardener to this jelly and mix well.


I sanded along the edges of the broken area's and knocked down the couple layers of paint that had been used on it over the years.


On the inside bottom I found the Kimball trademark stamping, but I knew it would have to be sacrificed to patch the breaks.

Next I cut a piece of the fabric mesh and cut some notches along the sides of the mesh so it would conform better to the bullet shape. You can also buy this stuff at auto parts stores.  It's usually sitting near the auto body bondo patch kits.

Once I got the fabric the way I wanted it, I mixed and applied the patch.  It spreads like peanut butter.  I then added the fabric mesh and coated over it with more of the patch. It dries in less than 30 minutes, and gets rock hard.  Once the inside patch had hardened,

 I cut a couple of small pieces of fabric and repeated the process along the edges of the cracks still visible on the bottom of the outside.

Then I used some very coarse sandpaper (80 grit, but 40 would have been even better) to knock down the rough edges of the patch. Your goal when spreading the patch is to get it as smooth as you can before it hardens, so there's less sanding to do to smooth out everything later.

I limited my sanding to the outside only and saved myself some time.  Since the inside will be covered with dirt, I figured I would save the effort for other projects.  It's not like you can read the embossed Kimball seal anyway since it's covered up.

Outside of planter with rough sanding almost done.

Outside bottom of planter sanded, giving it an appearance similar to the top of my head.

With the outside sanded well all over, all I had to do was pick the right paint color. 


I already had a can of red paint for painting plastic, and the directions say it also works on fiberglass. Sweet, here we go!


Looks pretty good.  We picked up some cacti (cactuses?) to plant in this reloaded bullet.


Cacti are planted, now (I'm told by SWMBO) we just need to add some sedum and it's done!