
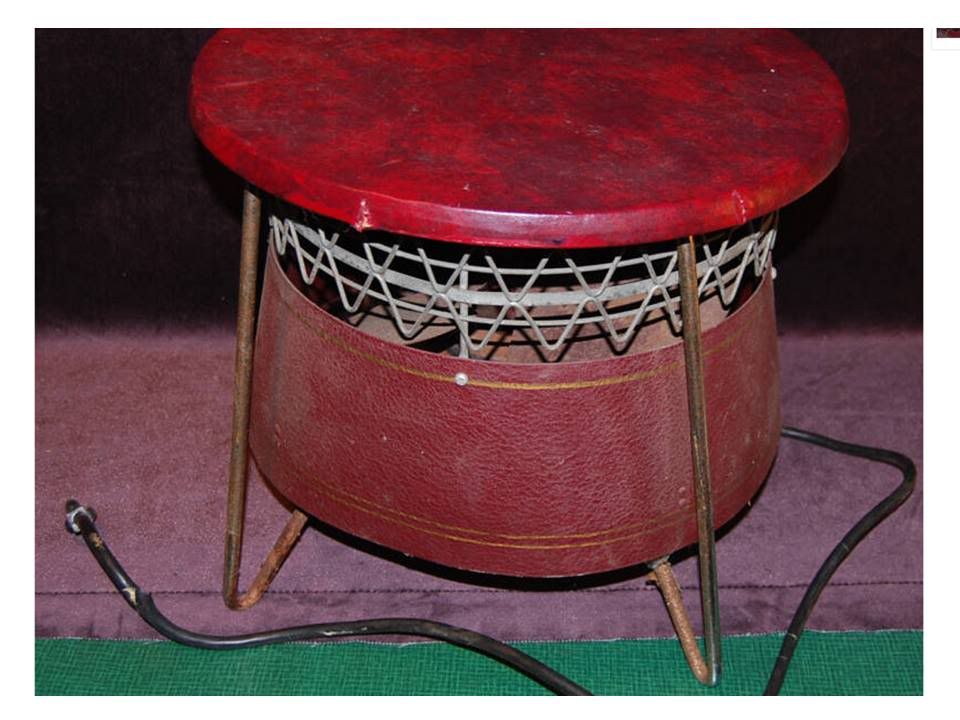
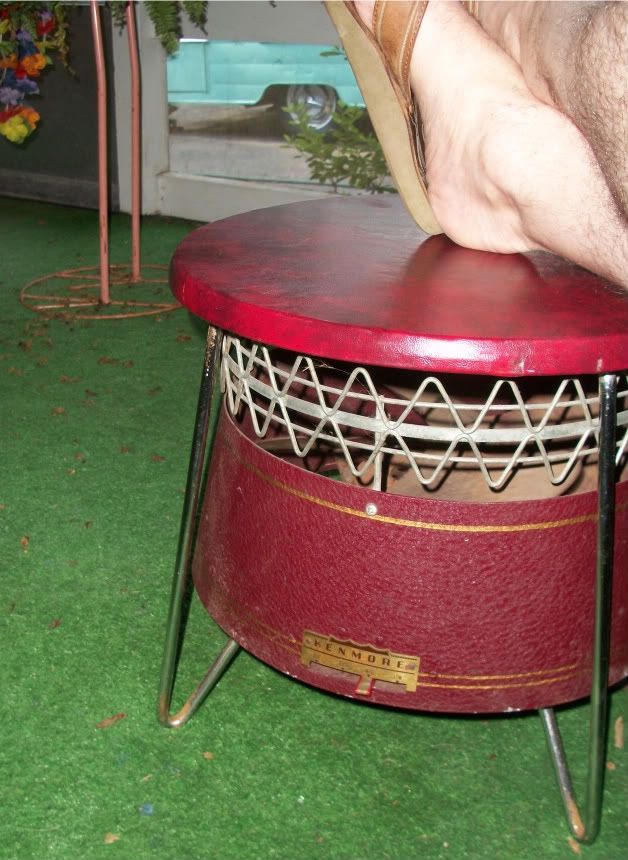
As advertised, the chrome legs were rusted pretty heavily in places, ands it needed to be rewired. I used some 0-grade steel wool on the legs and got about 80 percent of the rust off. I didn't mess with the decorative metal that runs around the top of the stool,it's not chrome but I'm sure it will shine up. But
I'd rather deal with the cosmetic flaws for now and use it rather than tear the whole thing down to shine everything up. That can wait, I think it looks pretty decent now as it is.
I did plug it in and turned it on to see if it worked -- it did. The motor was nice and quiet and the fan blows a lot of air. Perfect for the tiki porch. I have a couple vintage fans I've used on the porch, but they tend to get in the way when you're not using them.
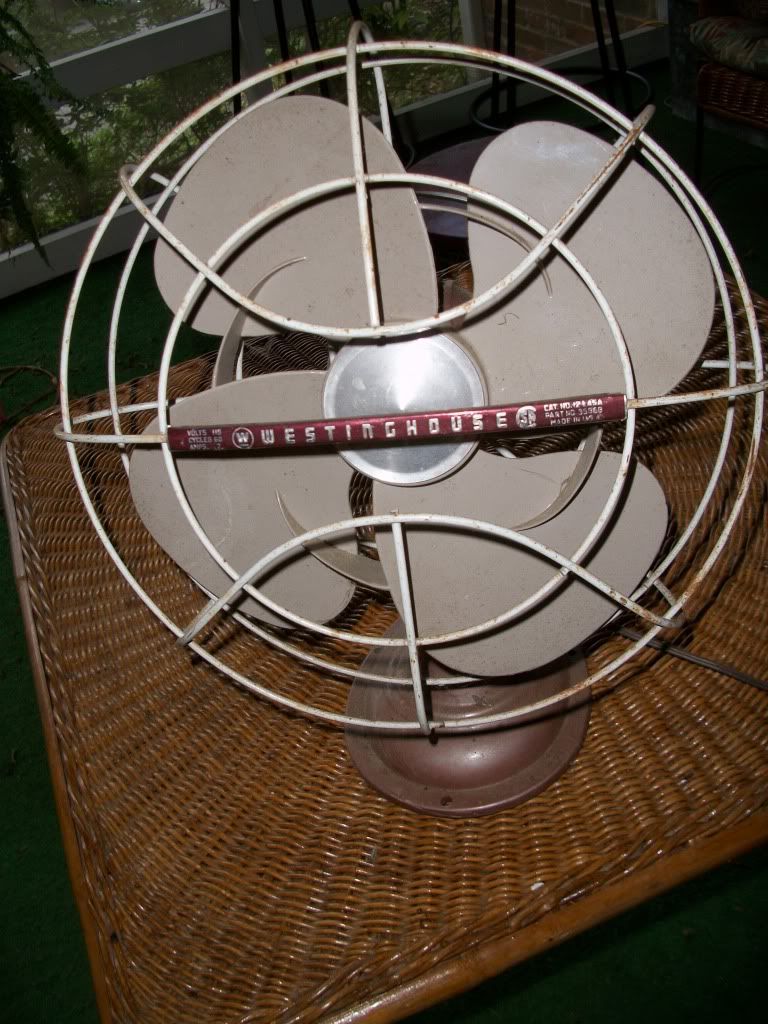
With this 90 degree weather we're enjoying right now, the porch is pretty unusable without a fan or two. I haven't wanted to try wiring a ceiling fan out there, so I figured this might help, and we'll use it to put our feet up even if it's not plugged in.
(Disclaimer: I'm not an electrician, but I have rewired a couple fans and some lamps and haven't burnt the house down yet. Always consult a professional before trying something like this. Any rewiring you do at your own risk, OK? I'm just showing how I did things. Your mileage may vary, yada yada yada.)
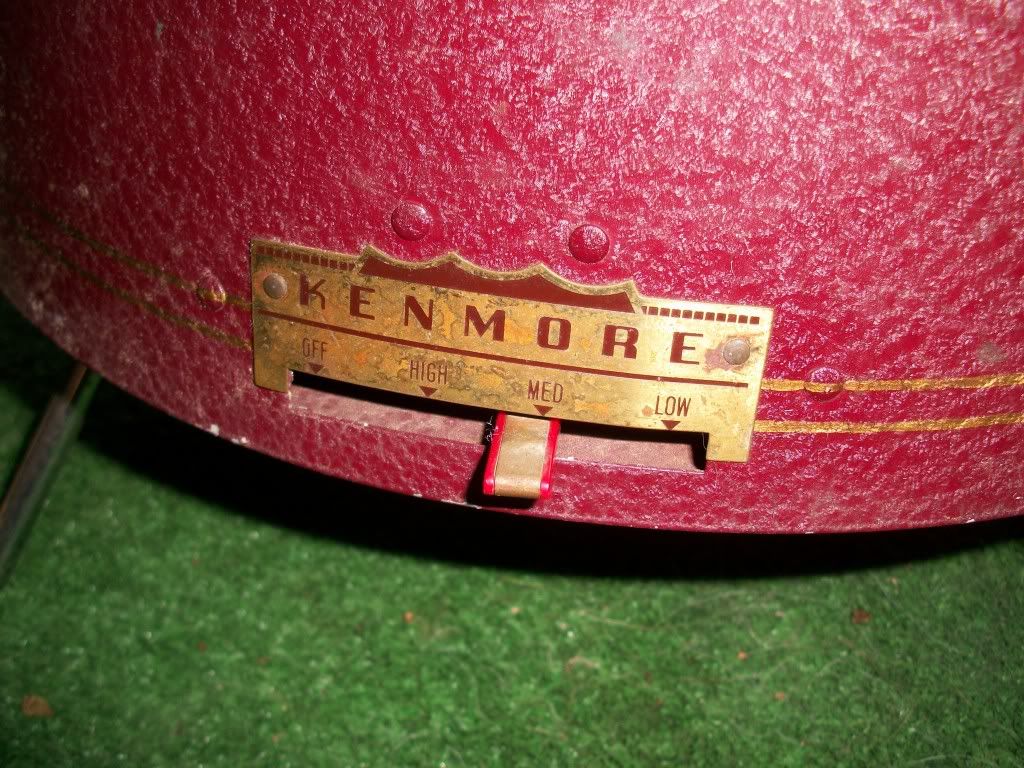
So, the first step with rewiring was to see what things looked like inside the control box.
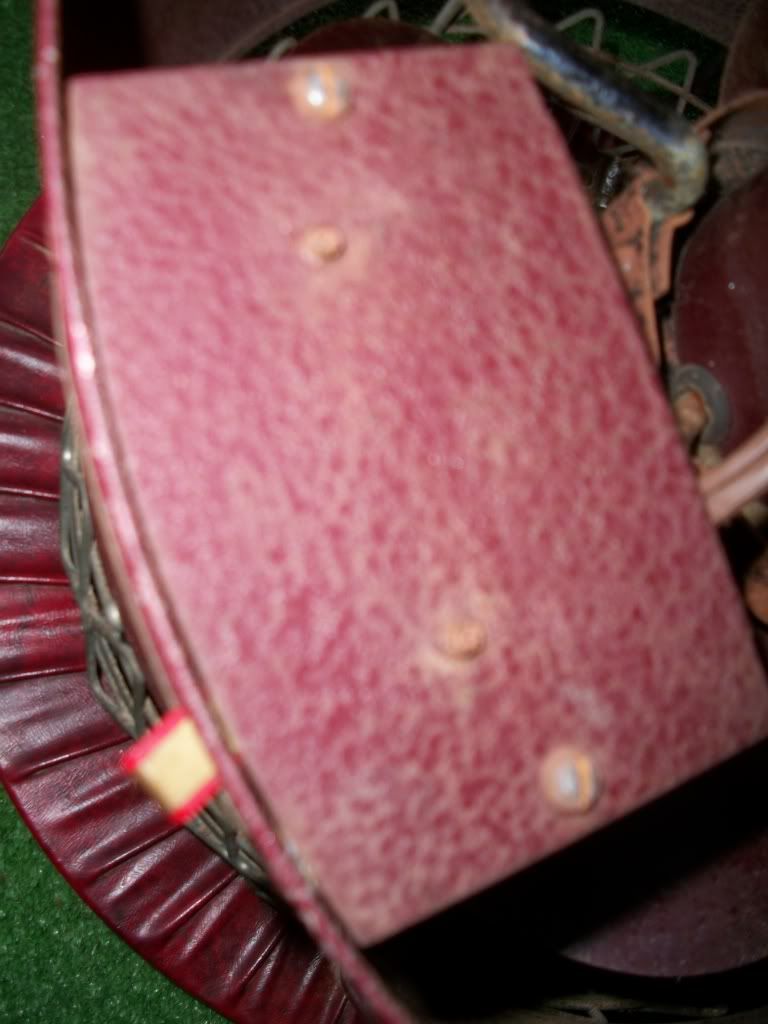
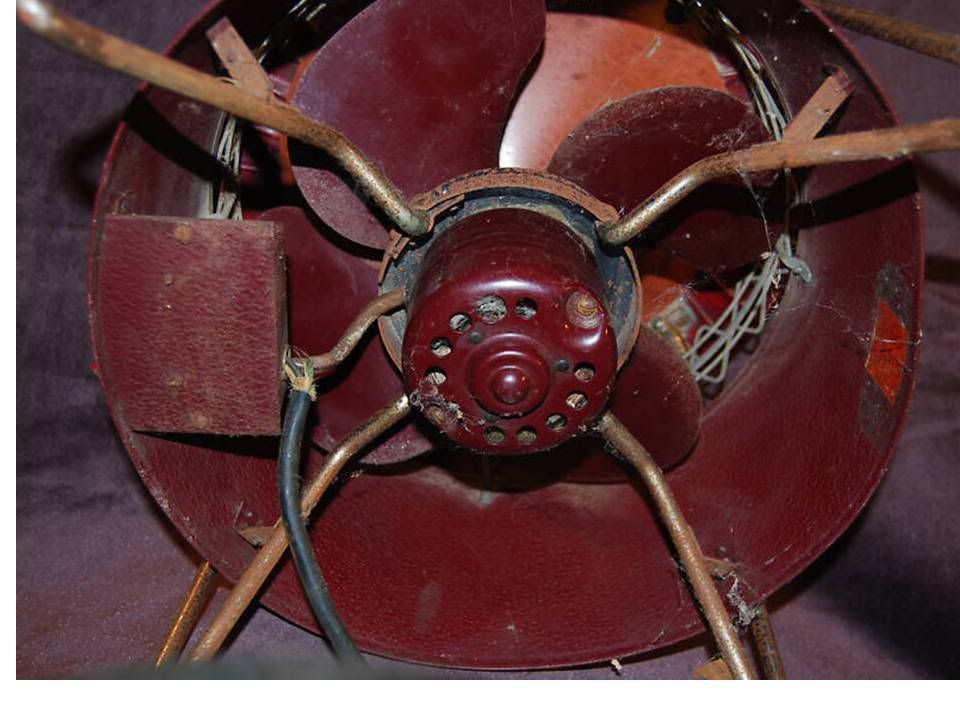
I removed two small screws and saw as I suspected that the black cord, which was hacked up in a couple places, was not original. So with a little careful snipping I cut off the old cord and snipped the end off of a modern, grounded brown extension cord I had laying around, peeled off some of the insulation and exposed two wires. I wired the ground side (the wire that connects to the wider of the two flat plug ends) to the black wire from the original motor wiring, and the other side of the brown cord to the fan's white wire. I used a couple of twist-on plastic insulators and wrapped them both with black electrical tape.
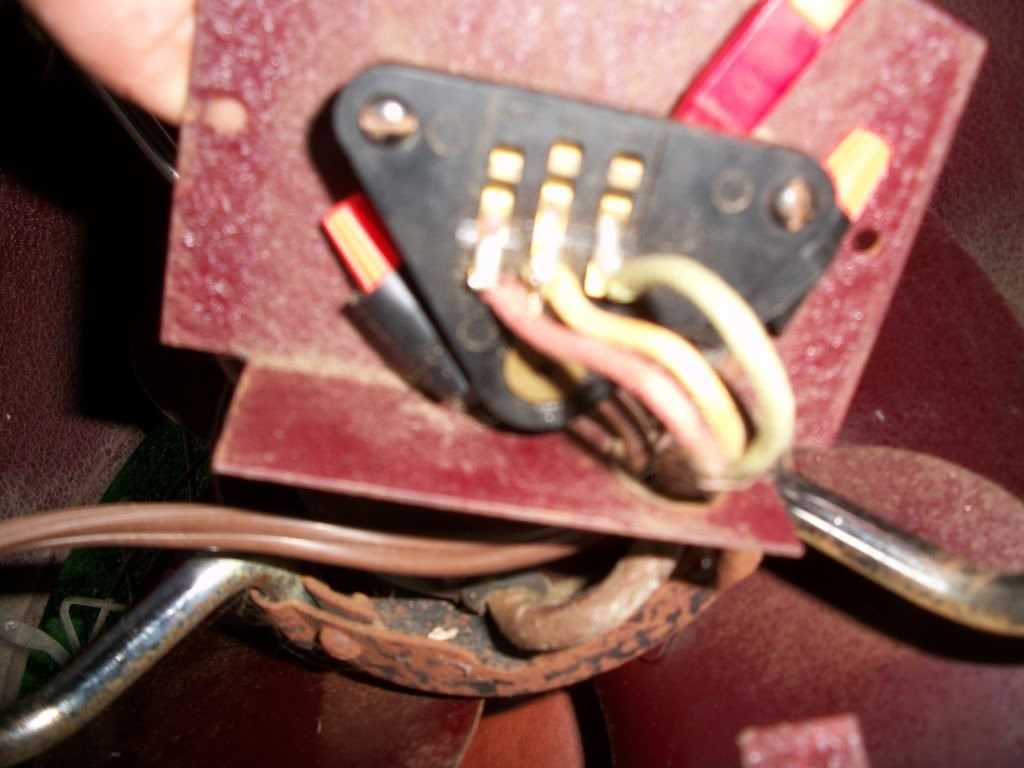
Before I put it all back together I plugged it in to test it and it worked well. (After the summer ends I'll re-do the wiring with a little solder to make sure the new wiring is firmly connected for the long haul.)
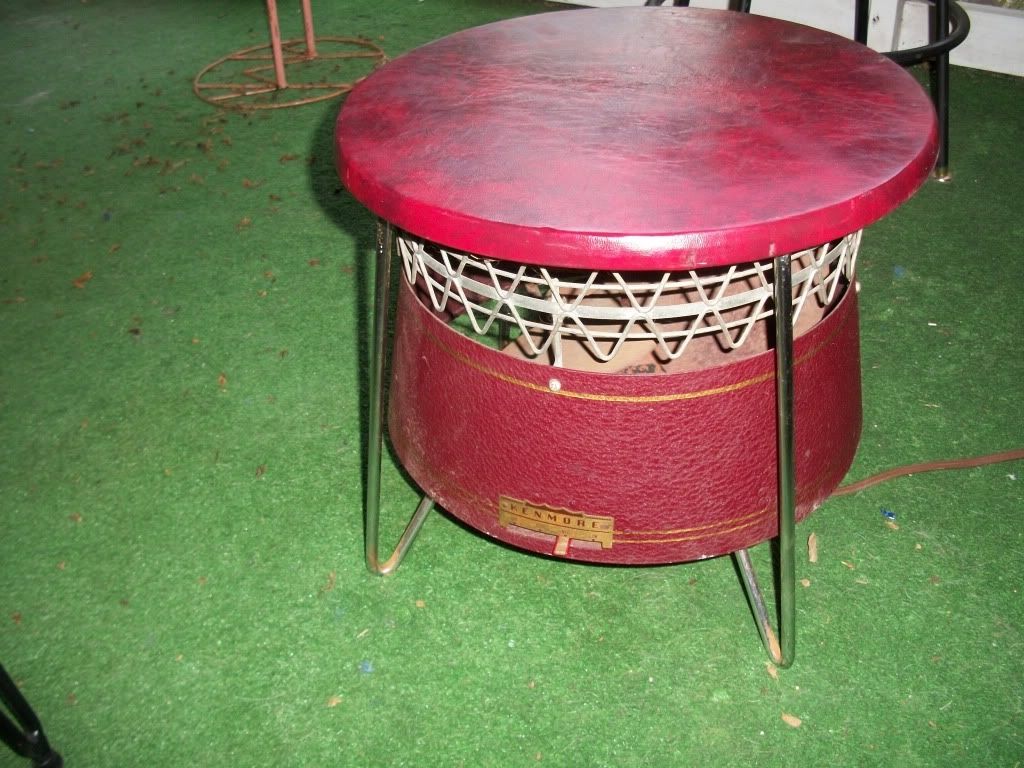
The last step was to clean up the burgundy metal sides and the vinyl top. For that I used a rag and some Pledge furniture polish. It shined up pretty good.
A little fine steel wool removed some fine paint splatters on the vinyl top, then I hit the vinyl with a little Pledge too.
Done! Not bad for about $40. I think I'm ready for a margarita...
Oops did blogger just eat my first comment?
ReplyDeleteOK, once again:
I love it! Have seen these on eBay.
The air is forced out the sides as the fan blows up at the bottom of the seat part, right?
Does it work real good?
Because I'll get one too if you love yours!
It pulls a lot of air, I like it.
ReplyDeleteI like the diamond pattern under the top and the hairpin legs on this one!
ReplyDeleteI see those from time to time at the shops, and after topping out near 100 degrees today, another fan sounds pretty tempting.
I love it! Very cool fan.
ReplyDeleteIts probably a great foot massager too when the motor is running! When my Dad & I rewire something, or turn on some crazy old electrical item (usually arcade games) for the first time, we call it the "Smoke & Fire Test". So far, nothing has smoked or caught fire yet! Looks like you passed the test too... Nice work!
ReplyDeleteHa, the smoke & fire test, I love it. Reminds me of the British Lucas Electric jar of wiring harness replacement smoke. http://www3.telus.net/bc_triumph_registry/smoke.htm
ReplyDelete