Showing posts with label Danish. Show all posts

Sunday, January 27, 2013

New Donald Deskey Fireplace Tools Make the Upstairs a Little Hotter!

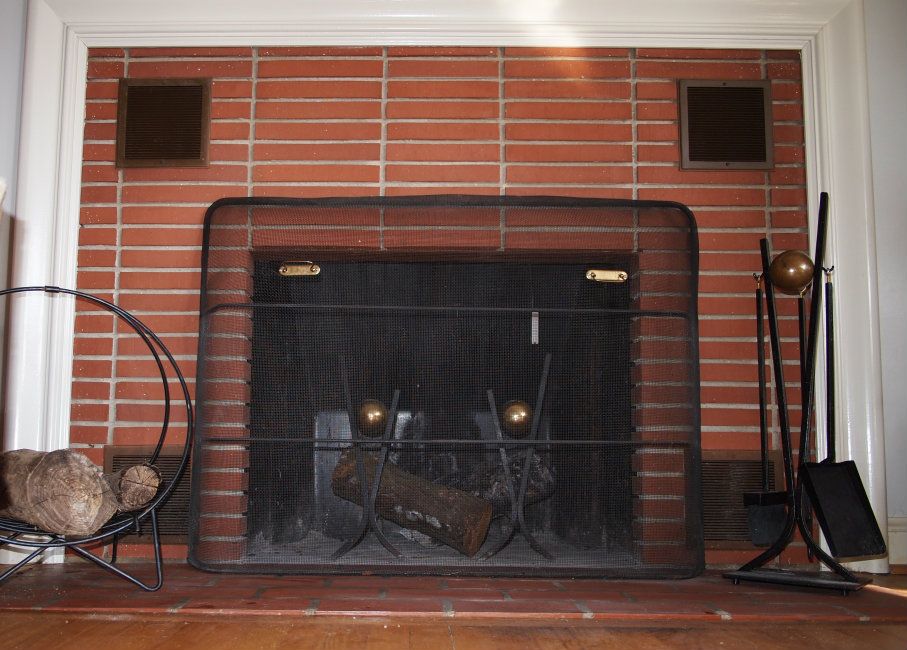
Back in June 2010, I posted about our pair of fireplaces and a set of andirons I scored at a flea market.  We're using those in our downstairs Rumpus Room fireplace.

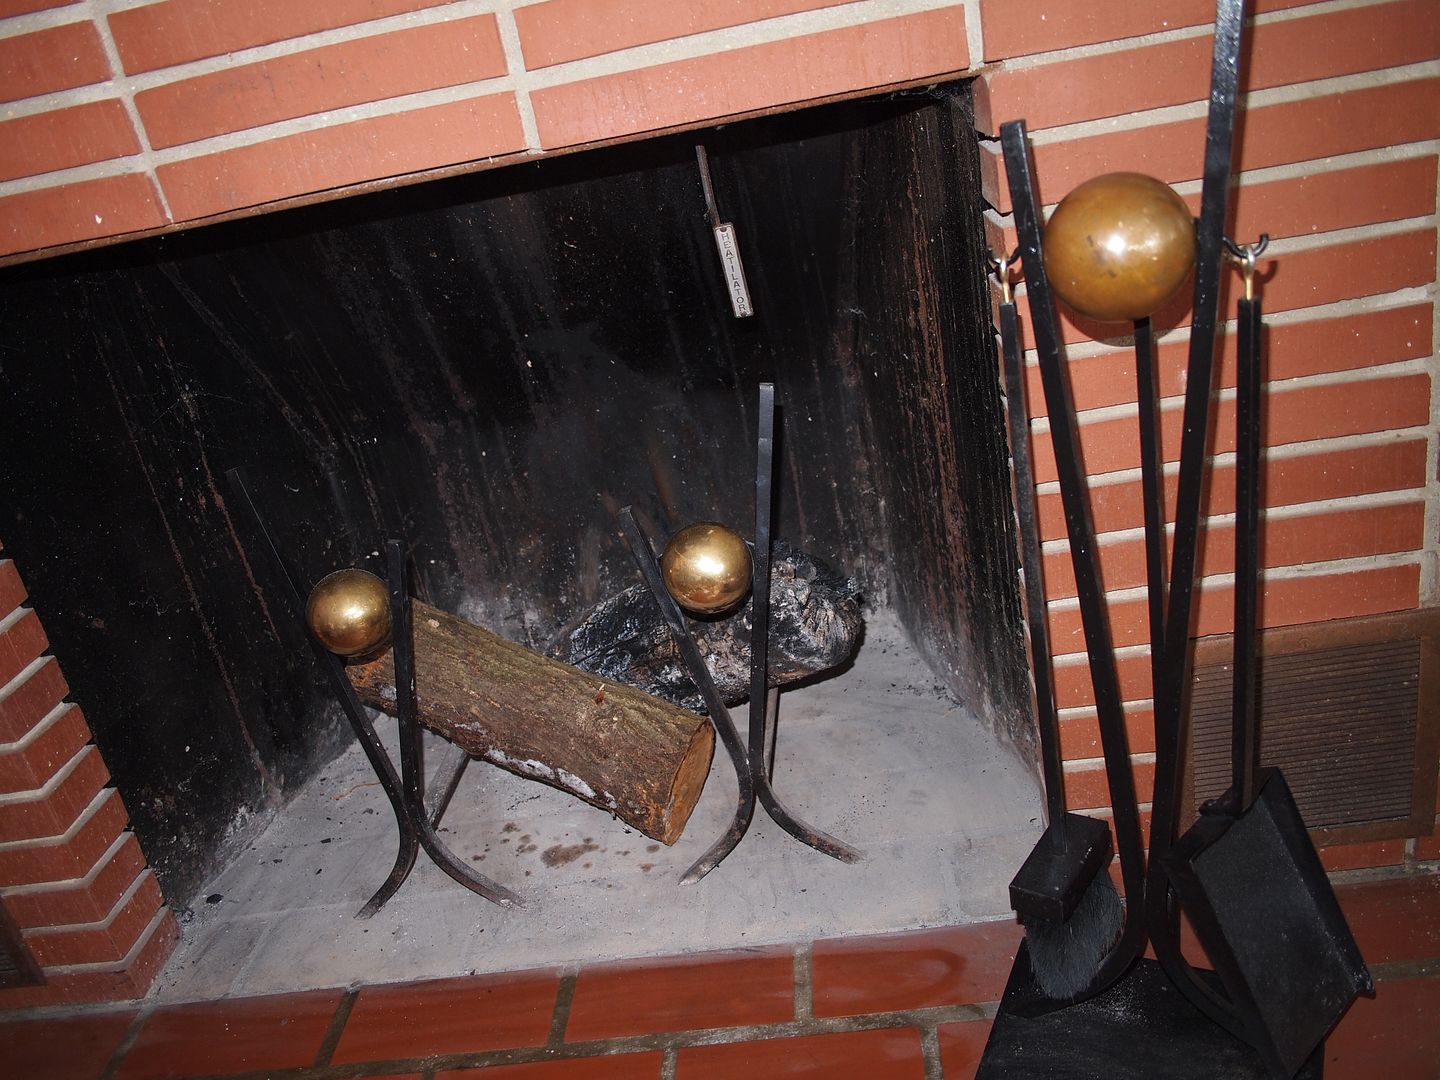
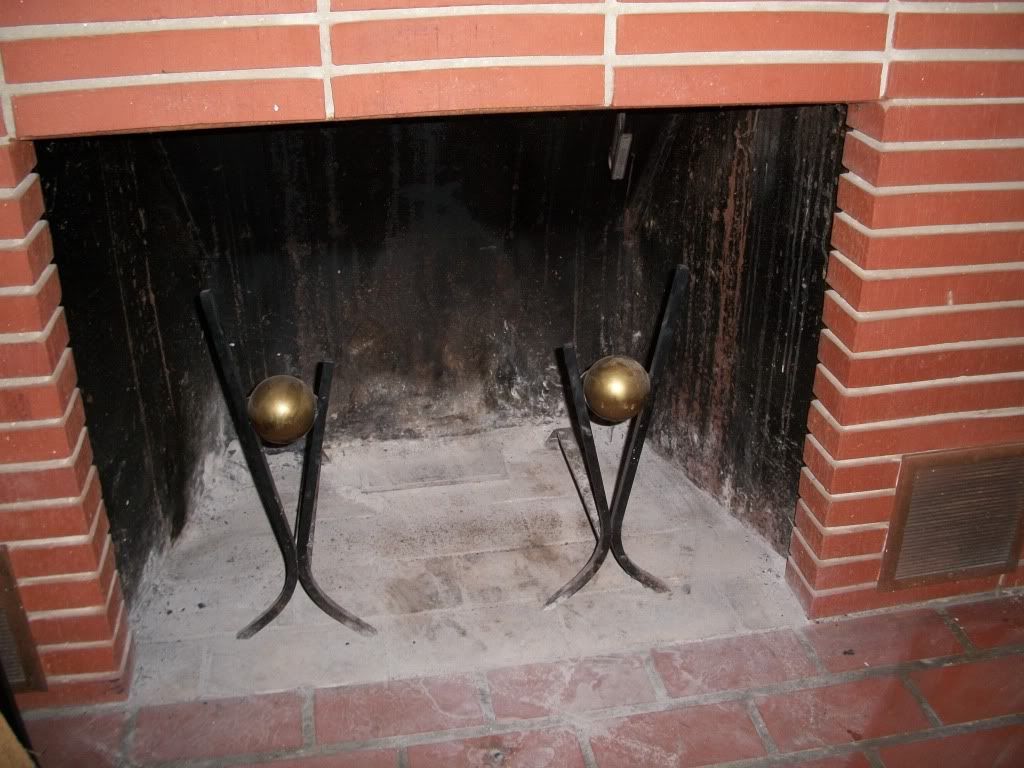
At the time, I also showed this original pair of danish modern  andirons that came with the house and mentioned that I wanted matching tools.


"We're lucky enough to have two fireplaces in our house.  When we made an offer to buy it, one contingency I put in the contract was to keep these fireplace andirons in the living room fireplace.  I need to shine the brass, but they are very danish mid century, aren't they?  I wish I could find fireplace tools that matched them, I suspect there is such a thing."

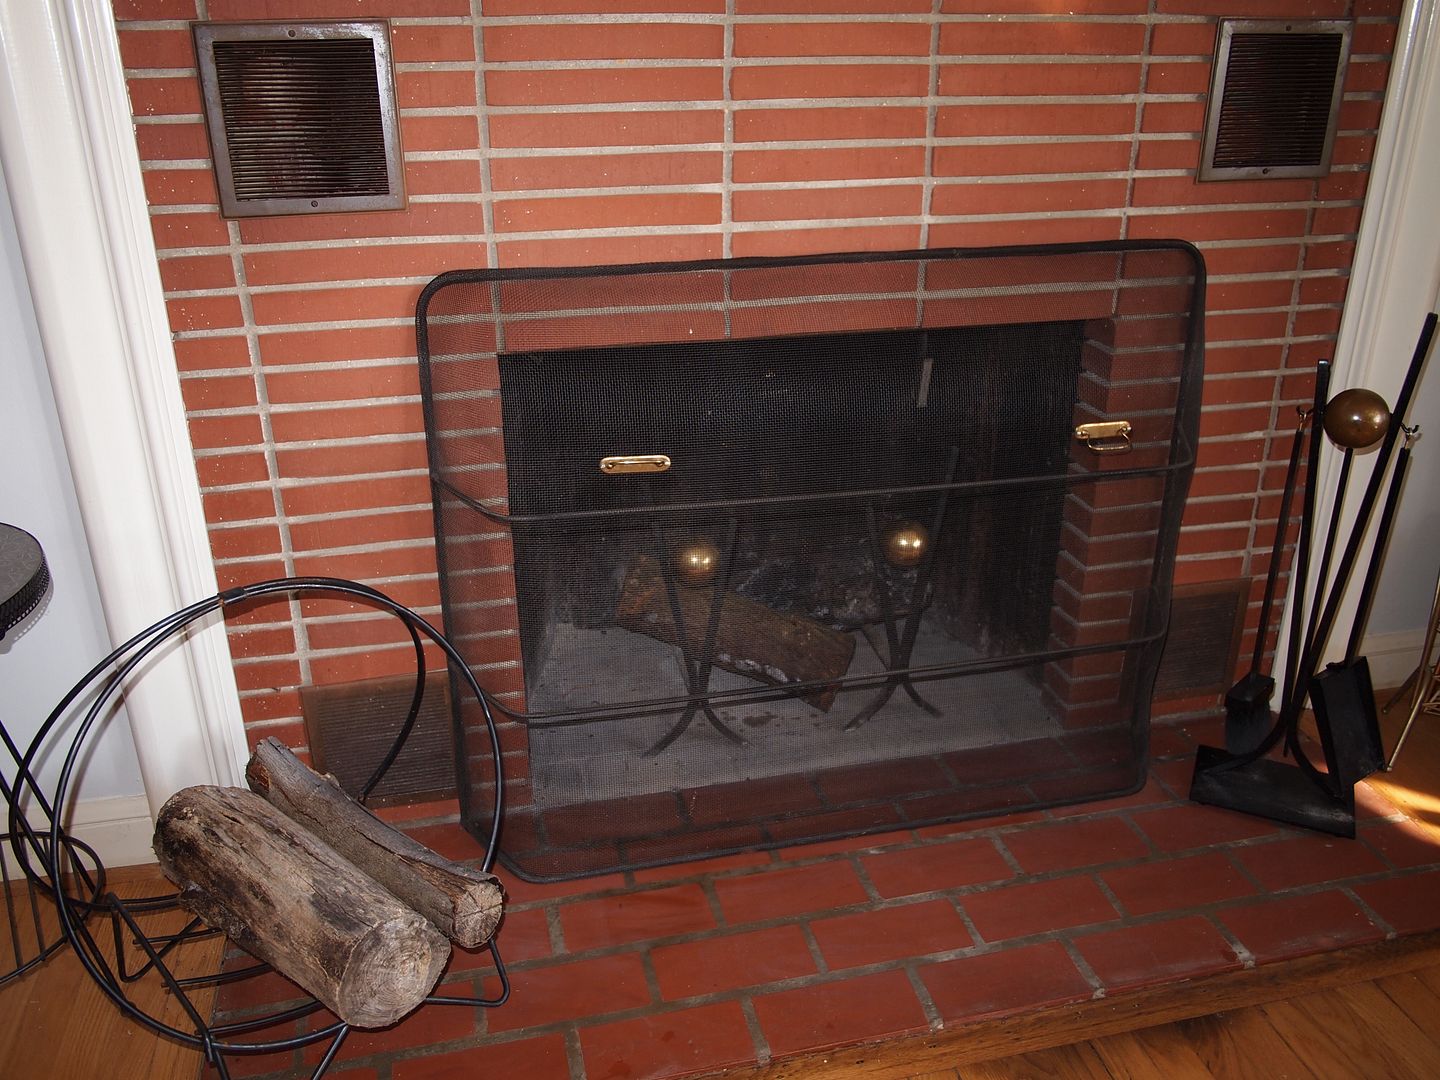
Well guess what?  Two and a half years of searching helped me learn that the andirons are associated with designer Donald Deskey, and there is a tool set that matches.  After a lot of further searching, I finally found it on that auction site, and now it's mine!


The set includes a matching black iron stand and brass ball with hooks to hold a broom, shovel, and poker.


Now that's more like it.


Sunday, September 9, 2012

Diamond-Shaped Vintage Clock Gets a Face Job

I picked up this great looking clock on Etsy months ago, but when it arrived, the careless seller had allowed some of the packing tape to get stuck to the face.  So when I tried removing the tape, it took part of the woodgrain face too.  Argh.

I put it aside for a while, and finally decided the rest of the clock was just too great to not have on display.  So I had another project on my hands.

Sorry I don't have a complete set of photos to document what I did, but I'll explain the steps.

First I carefully removed the hands and the movement.  All of the pieces got bagged and labeled.  I used a very small flat head screwdriver to carefully pry up the numbers and other pieces from the face.  Each piece had two small plastic prongs on the back which go into corresponding holes in the face.  That work left me with just the blank, tape-damaged face you see here.

Next I cleaned the face and used some spray primer to give myself a good base to work with.  After that I used some black spray paint to coat the face and let that paint set up for a while.  I toyed with keeping the face black, but I decided this was a good opportunity to try doing some faux wood graining.  I found a wood graining kit on Amazon and using some leftover wood stains I rubbed a couple coats of stain on the face, trying a couple stain colors to get something I liked.  Before the second coat dried, I used a wood graining comb to introduce the look of wood grain.  I let that set up and decided to rub on a couple more coats of stain.

After that all dried, I just reassembled the clock.  I did have to use a small pointed pick to open up the tiny holes which held the prongs behind the numbers and other pieces that went around the clock's face.

So here's the final product, now hanging above my office door at work.


I'm pretty happy with it, but I can see that faux wood graining like anything else requires lots of practice and experimentation.

Sunday, March 11, 2012

More Kitchen Cabinet Progress, and a New Sofa!

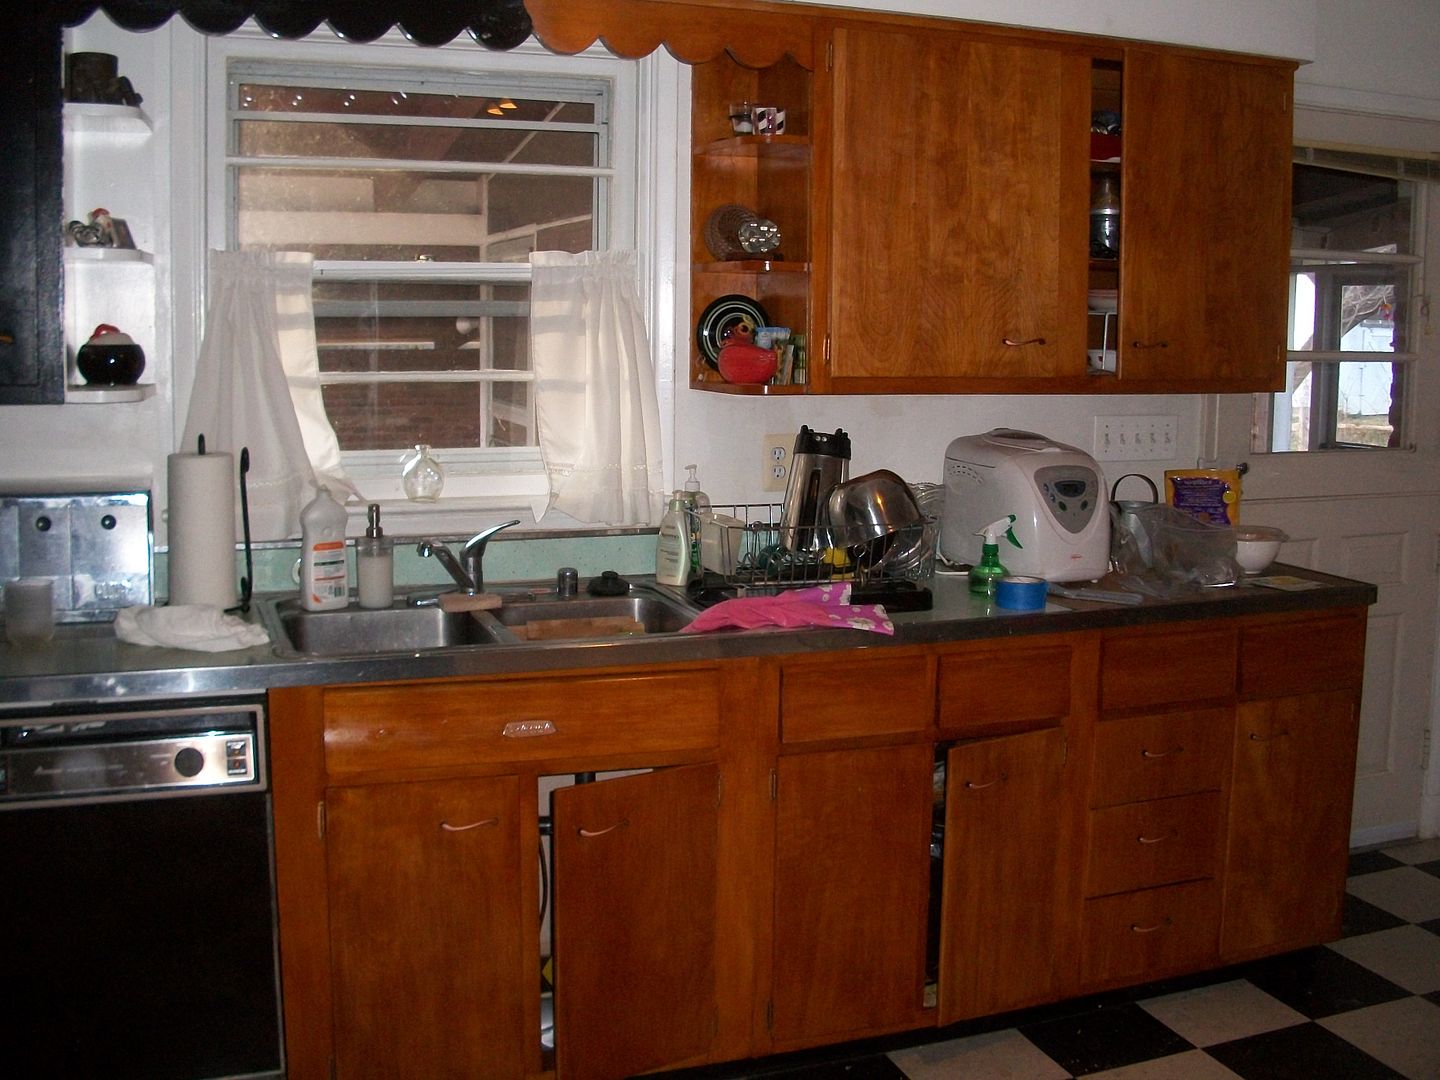
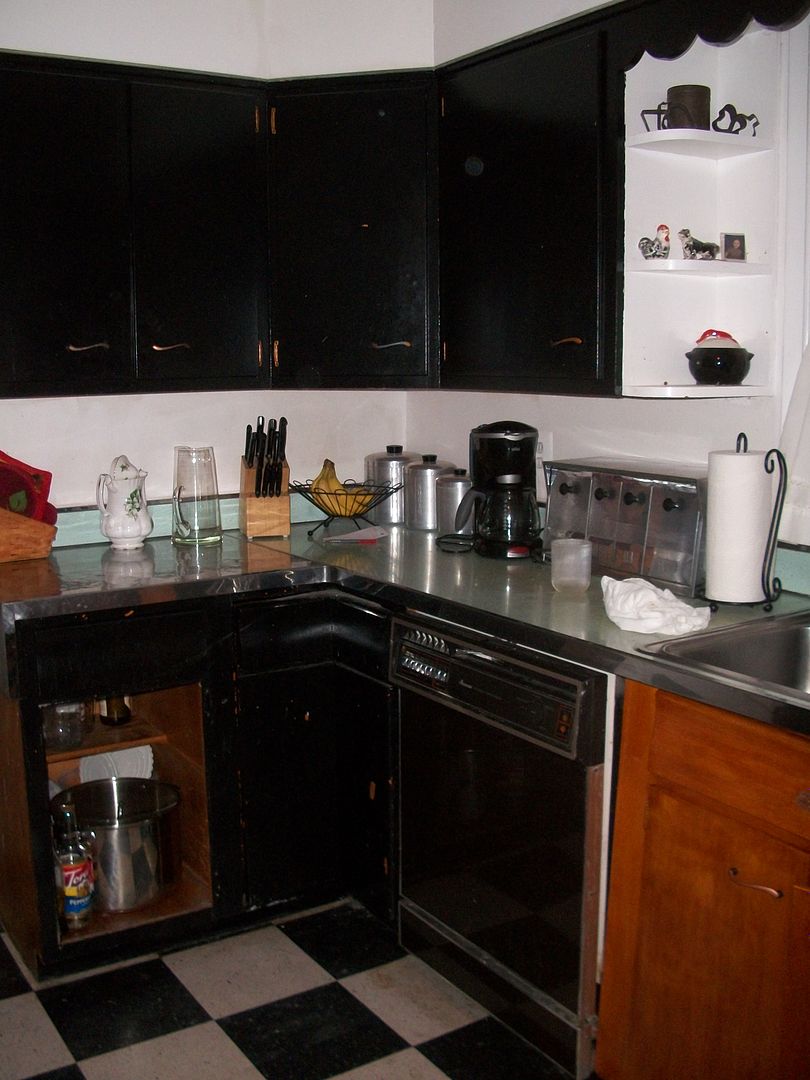
I'm still plugging away at refinishing the kitchen cabinets.  I got more of the lower cabinet faces, doors and drawers done.  I'm now almost half way done with the whole job.


Here's a before shot of the area I worked on this weekend.  Stripping the paint off the lazy susan in the corner was tiring, but I'm getting pretty fast at it.

 
Here's the lazy susan after shellacking and installing the repainted handles.  


I have the three doors off and in process.  I'm hoping that my evenings this week will be enough to get the doors done and the upper cabinets stripped and done.

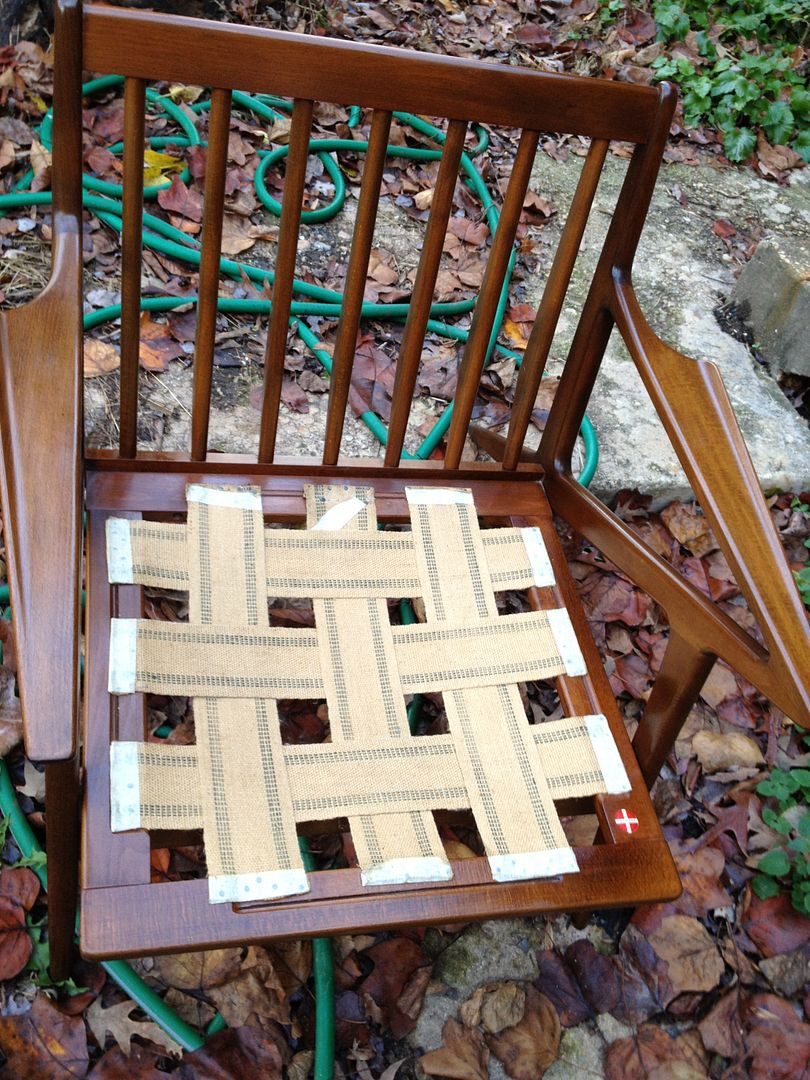
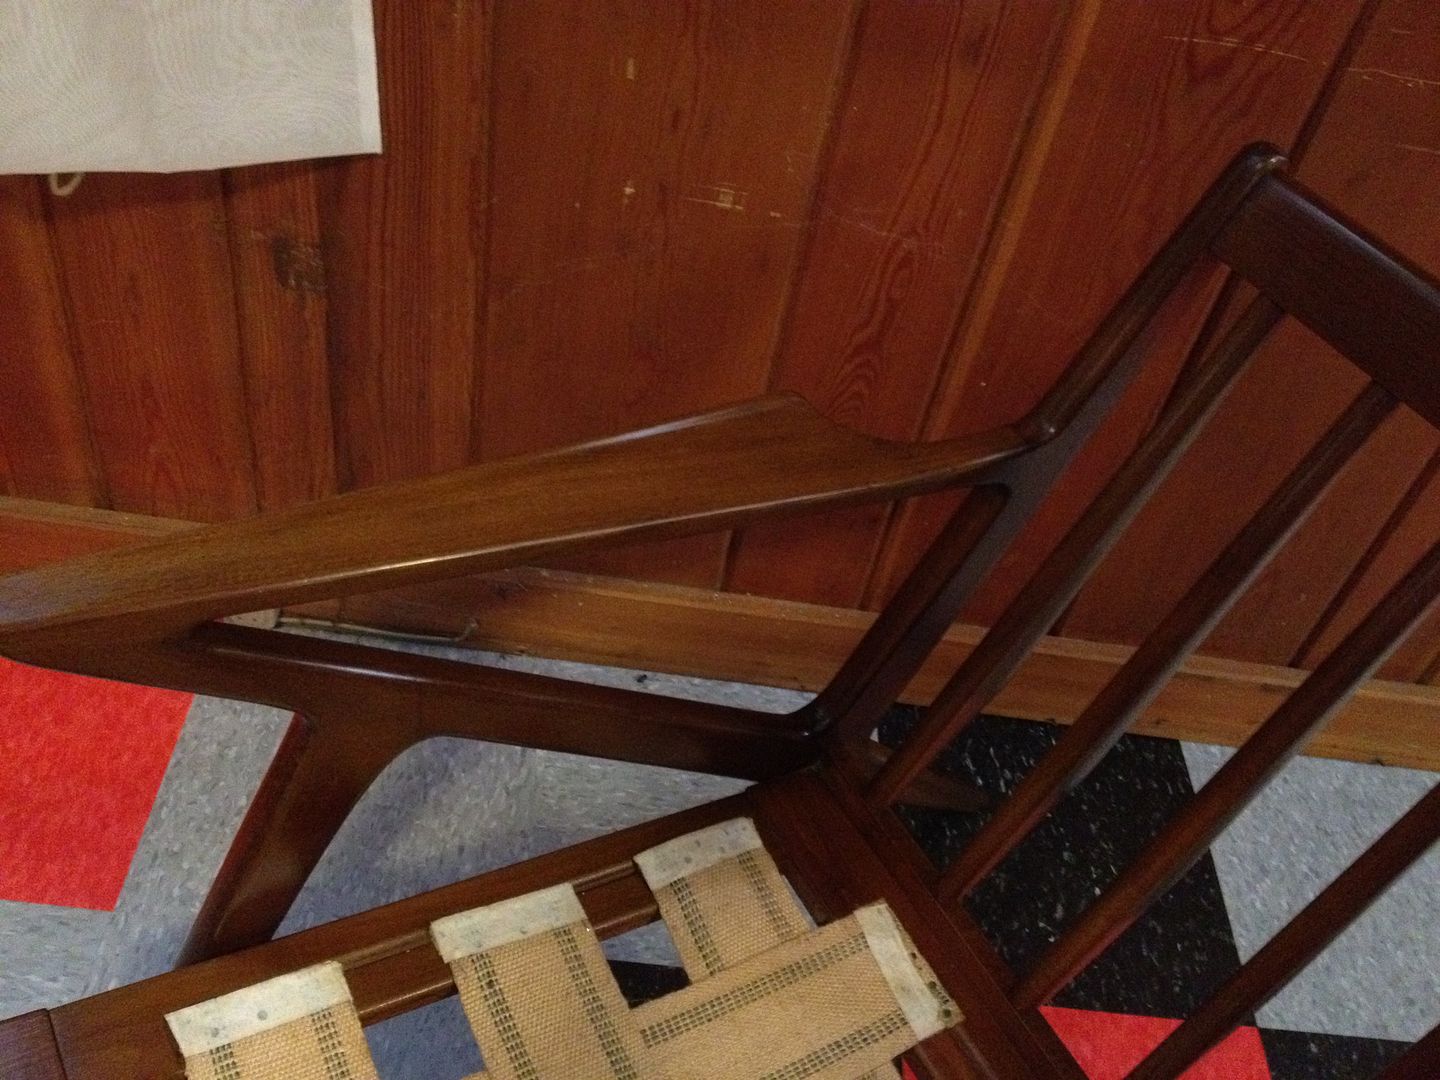
So, my latest score came today.  I found this danish-style wood sofa frame for pretty cheap because it's missing all its cushions.  


The straps in the photo above are made from lawn chair strapping!  I'll replace those with correct
 straps.  I like the lines on this sofa, especially the back.


The wood is a good match with our pair of Selig Z chairs, so I'm pretty excited. I'd really like to find the Selig Z sofa frame to go with the Z chairs, but until I do this will be a great stand in. I'll do a follow up post on the sofa as I get it cleaned up and have some cushions made.

Thursday, November 24, 2011

Z chairs get spruced up

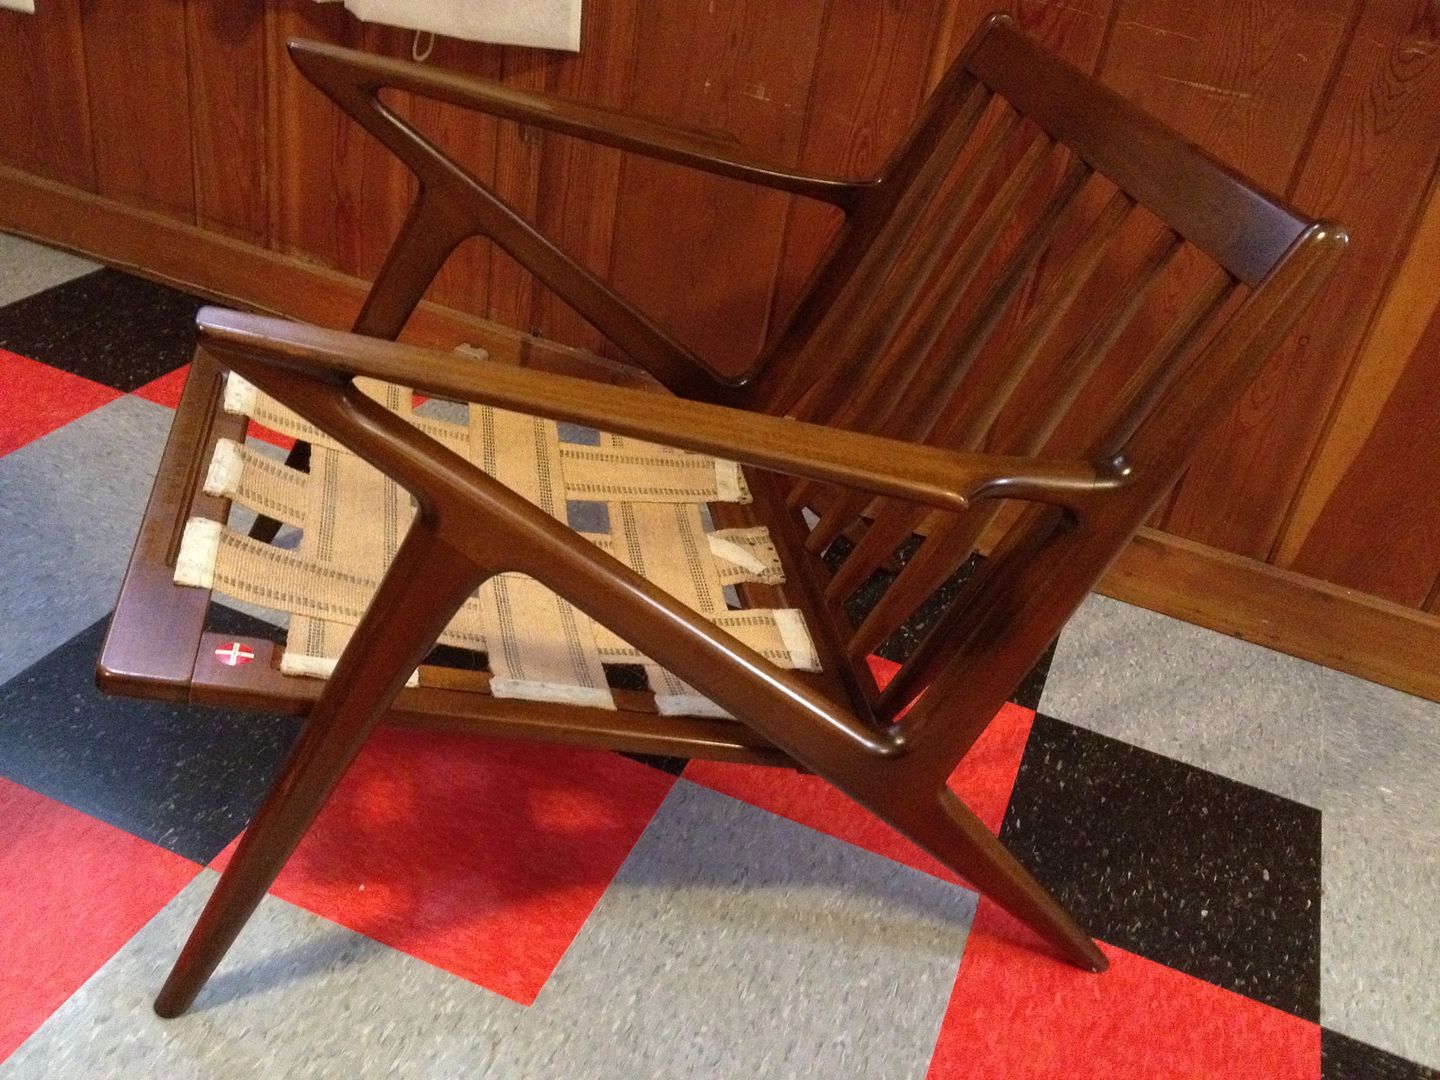
While I've been banished from the kitchen today (except for when the trash needs to be taken out) I figured I would try the Mr. Modtomic treatment on the pair of Selig Danish Z chairs I blogged about the a couple months ago.

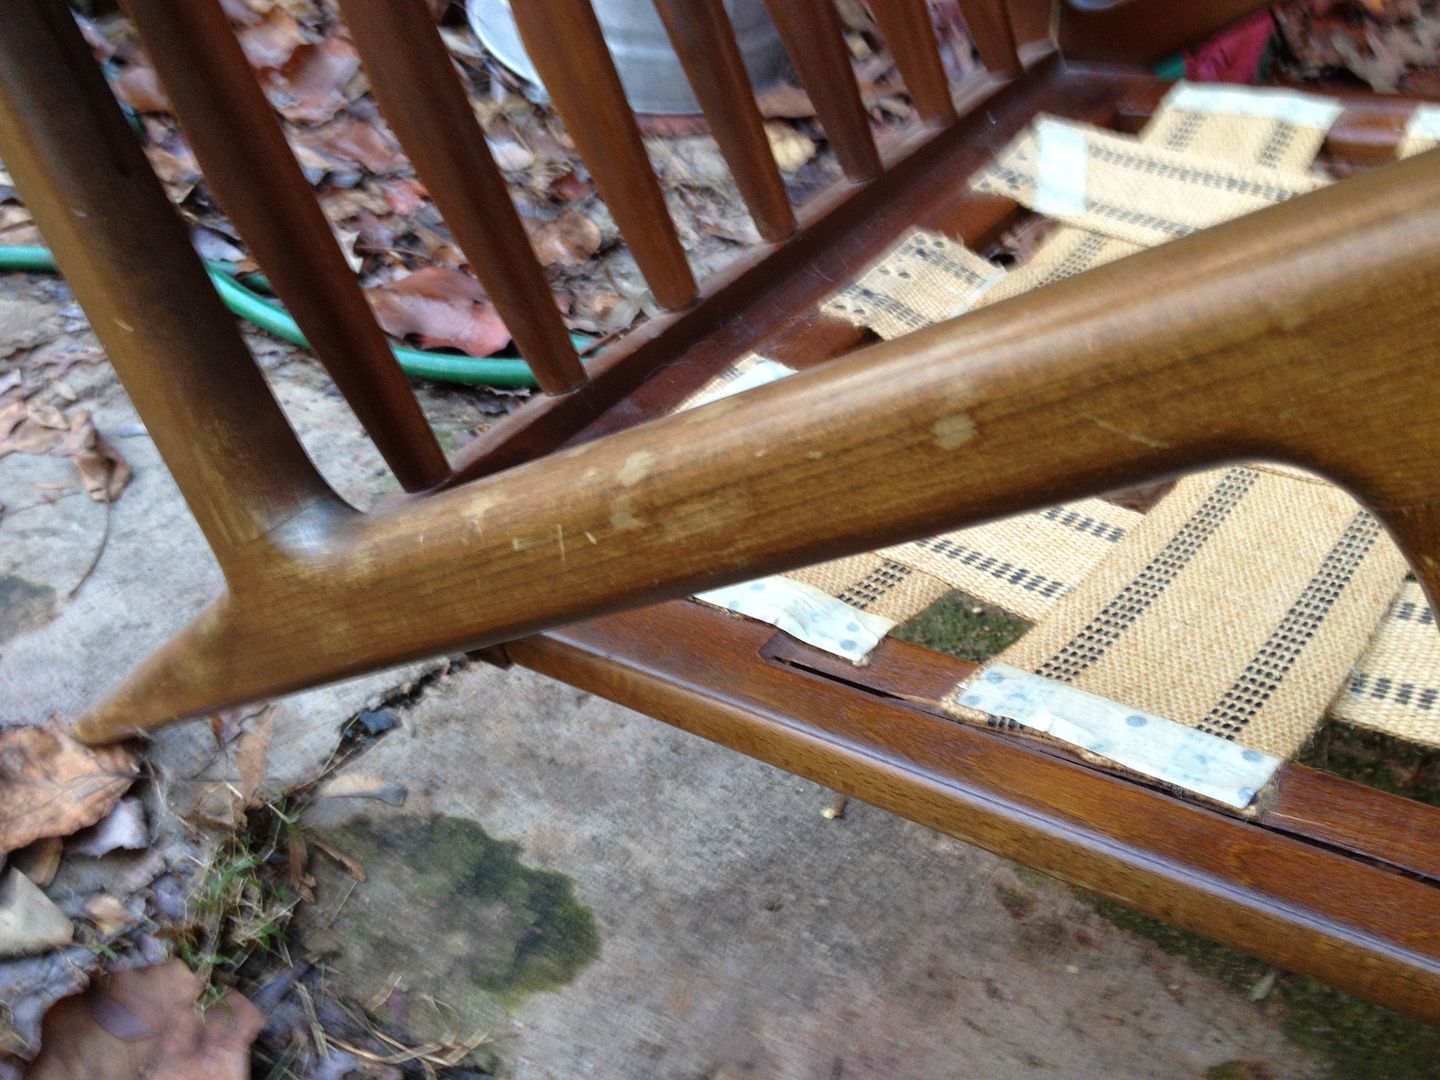
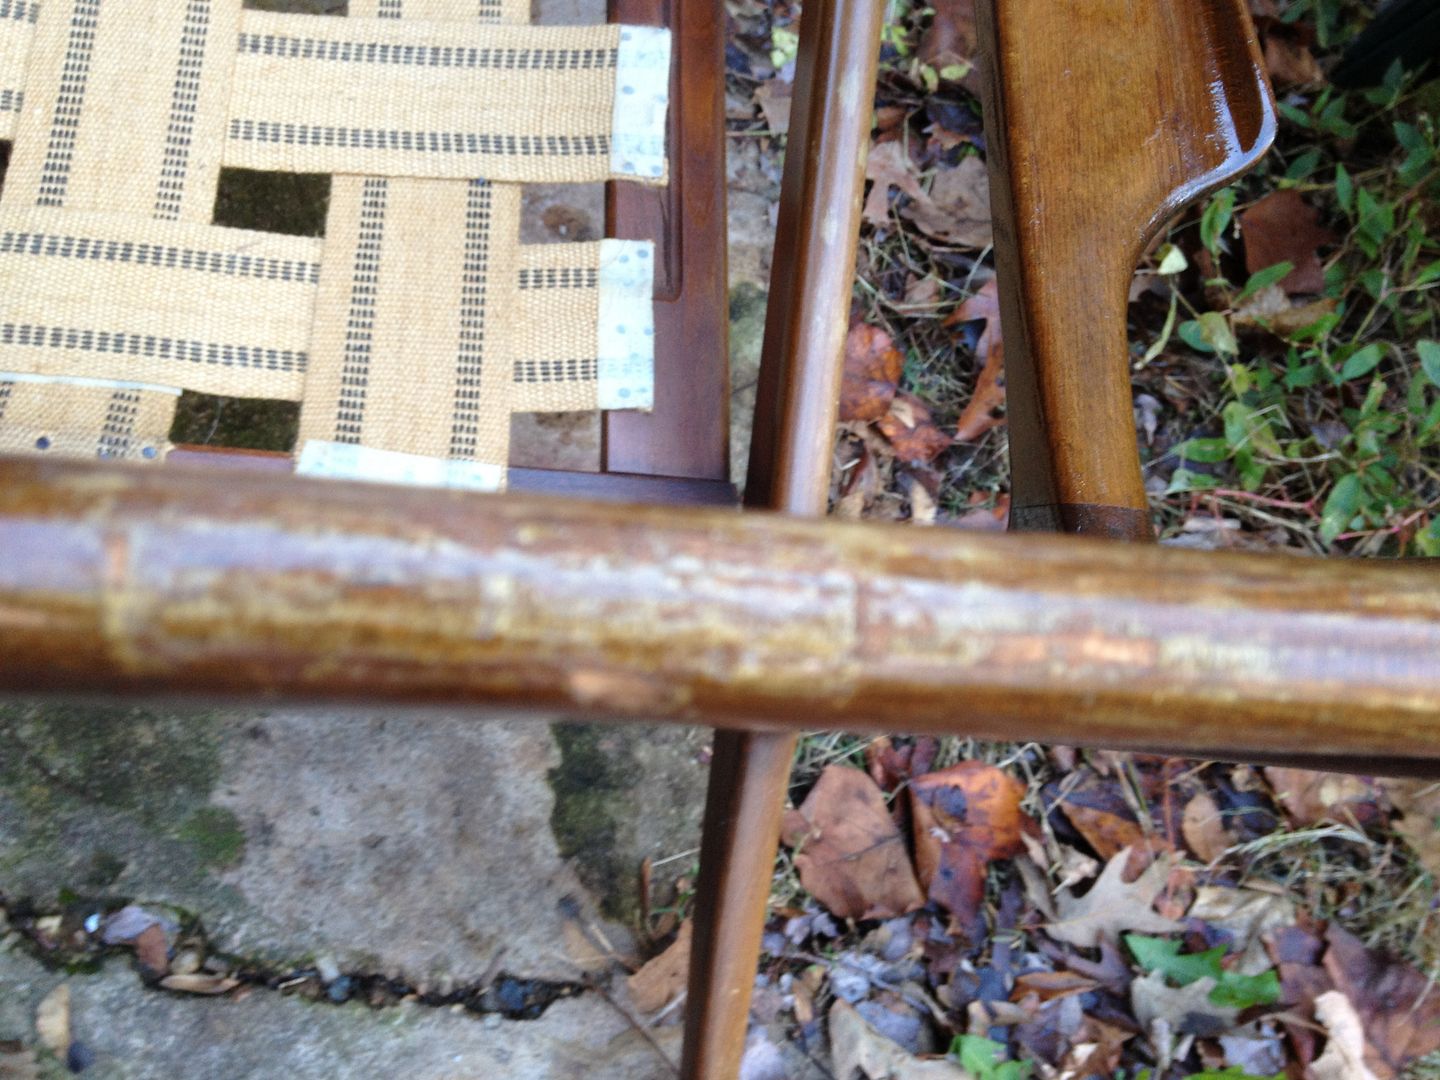
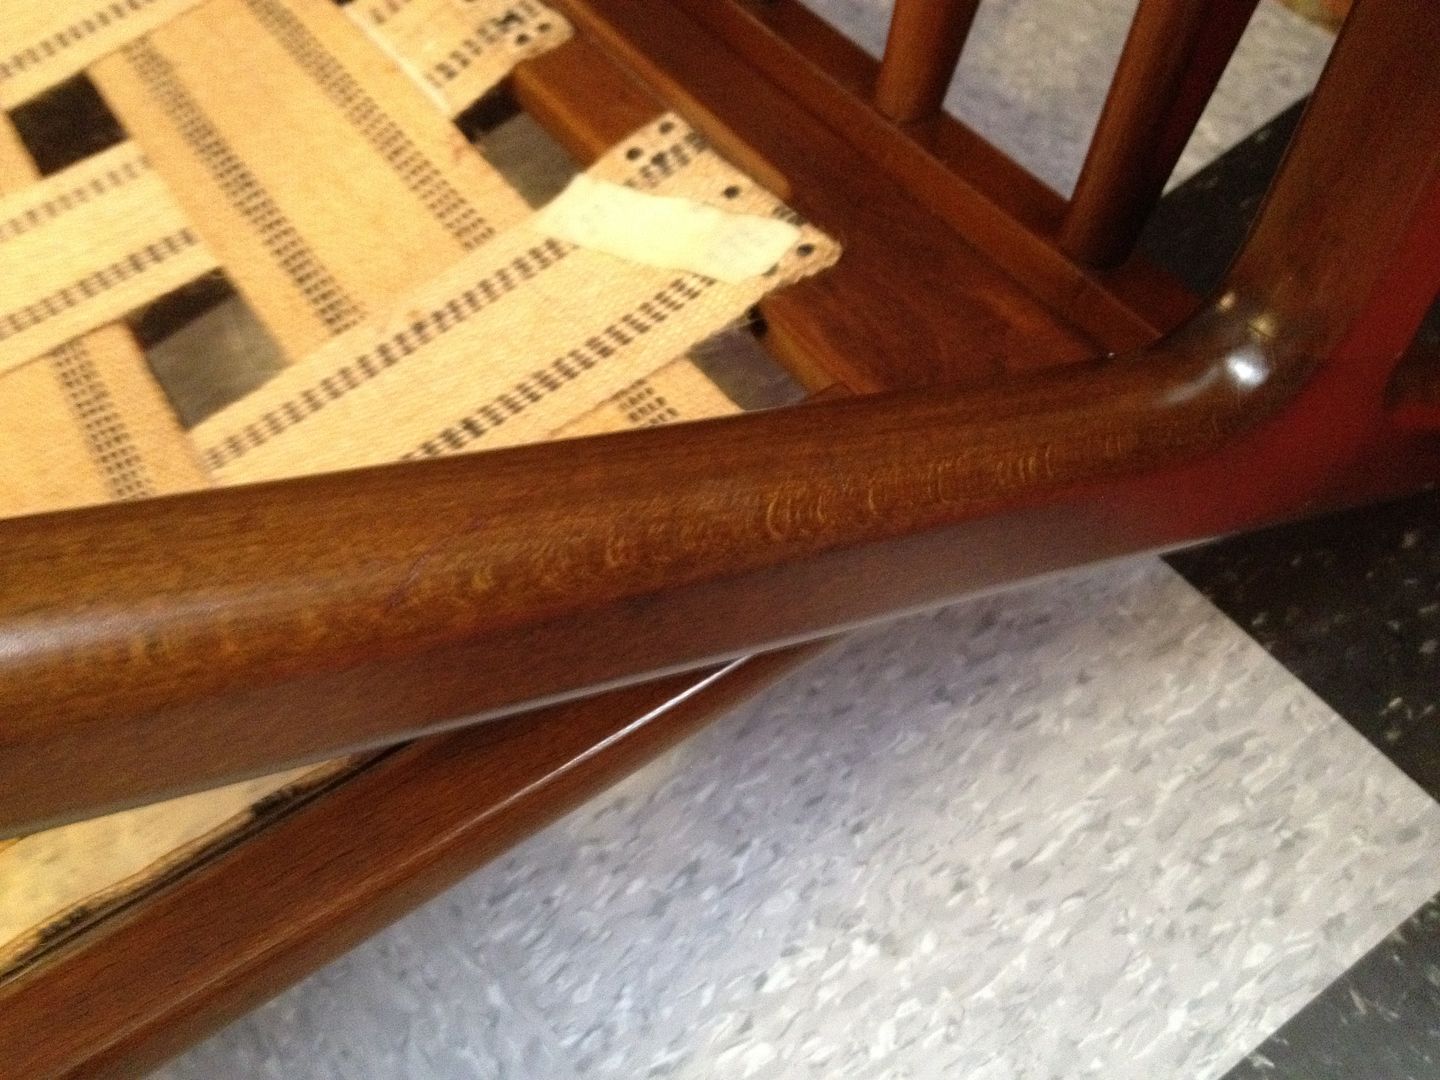
I've had them several years, and the wood was looking scratched, dinged, and dry.


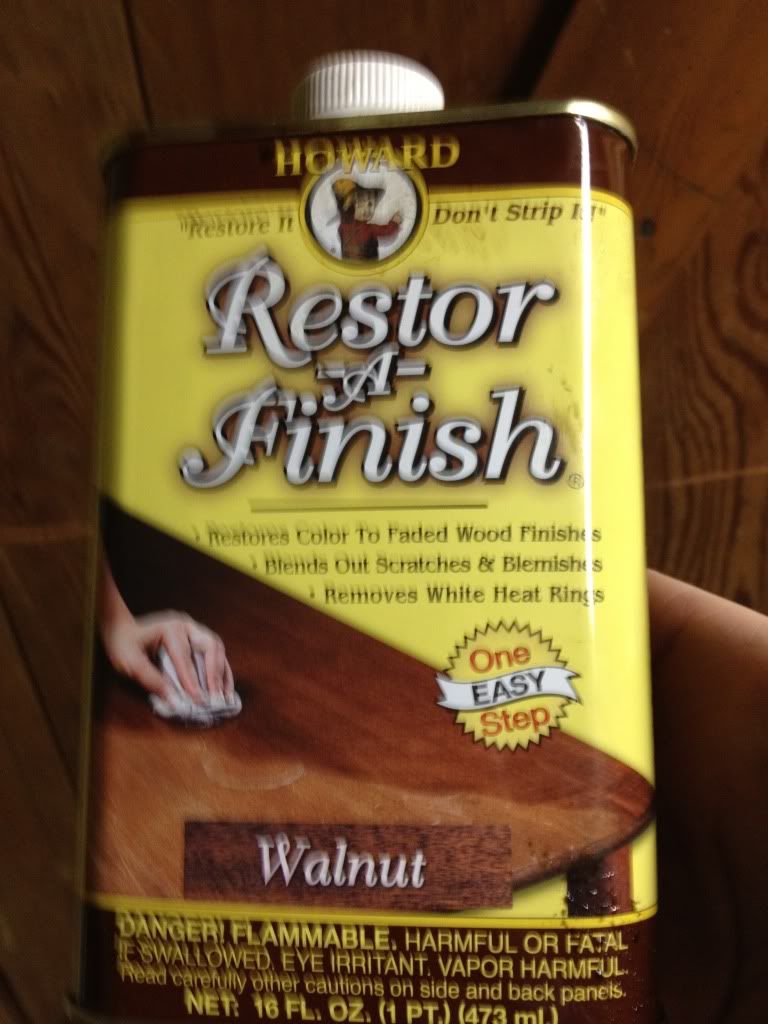
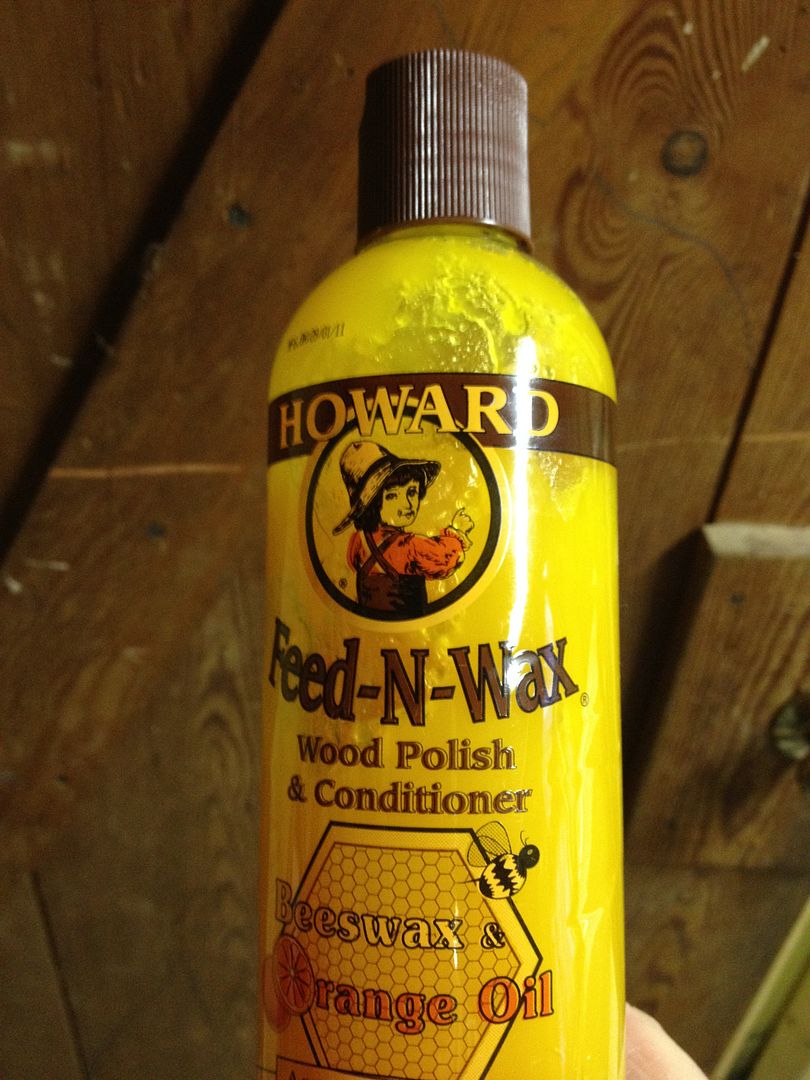
I've seen some of the furniture Mr. Modtomic has given new life to over on his blog, so I picked up a can of this Howard Restore-A-Finish and some Howard Feed-N-Wax.


All you need to do is dip some extra fine steel wool in a small puddle of the Restore-A-Finish and rub it into the wood.  Wipe off the excess and let the piece sit for 30 minutes, wipe again, then with a clean cloth wipe on the Feed-N-Wax.  Rub the wax in well and you're finished. One of the two chairs has some rough spots that I may eventually go over with some sandpaper, but for now, they look a heckuva lot better than they did before.


 I think this stuff works great and it's easy.  

Happy Thanksgiving everyone!